I don’t know about you, but I could spend A LOT of time in Ikea. I’m talking hours. Not (obviously) for the stress relief, but because they have so many things all in one huge space. I constantly pick things up and imagine ways that I can make them better or different. Since things tend to be really inexpensive, I’m counting this as one of my better habits.
A few weeks ago, I found a cute new set of cork coasters and thought they’d make a great base for some DIY photo ornaments. They turned out just as cute as I imagined and I can’t wait to make some more for gifts and for my own tree!
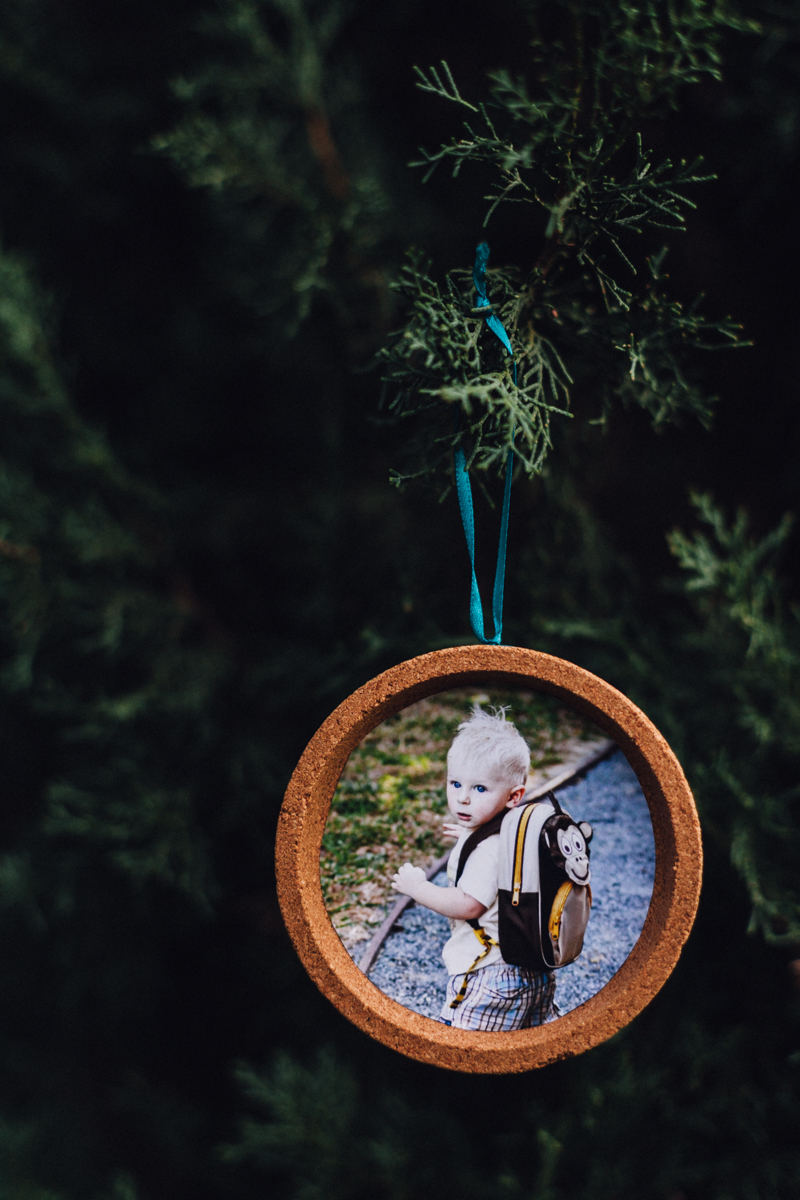
Here’s what you’ll need:
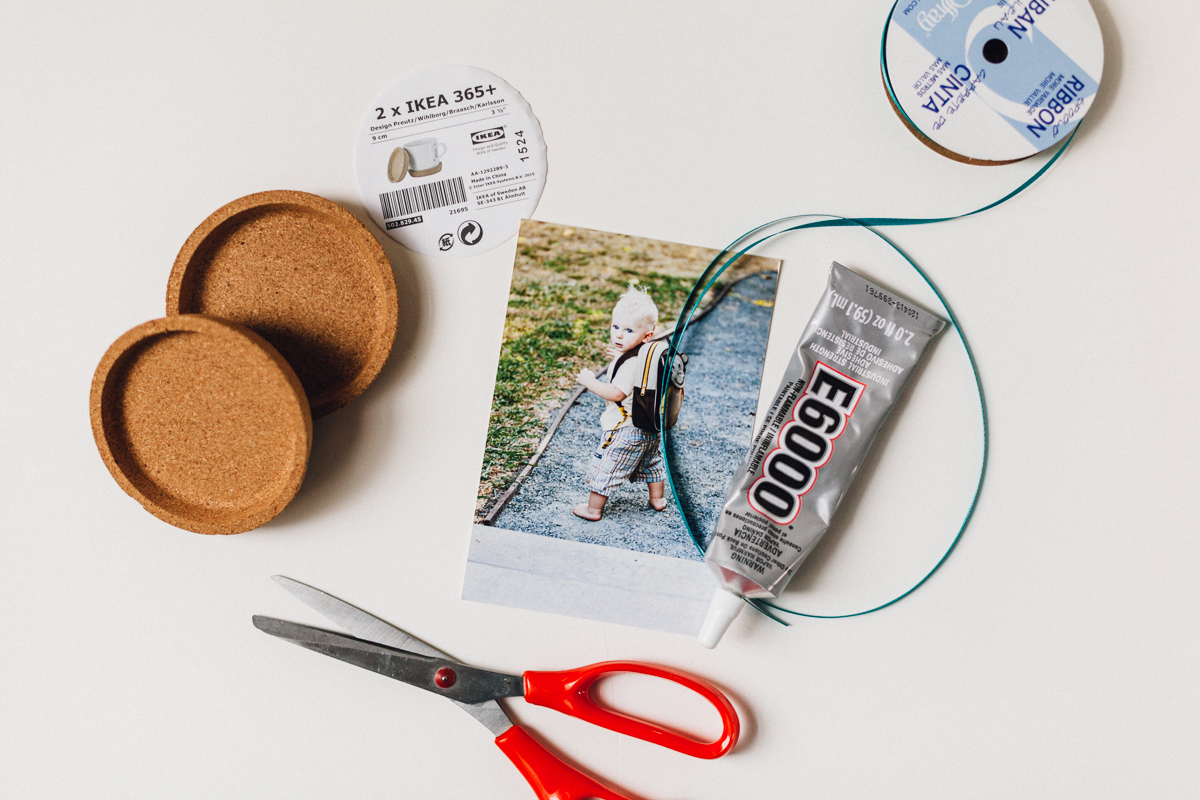
- IKEA cork coasters (they come in a two pack- don’t toss the label when you open them!)
- a favorite photo
- glue
- scissors
- a pen or pencil
- ribbon for hanging
First, use the label to measure and mark the part of the photo you’d like to display.
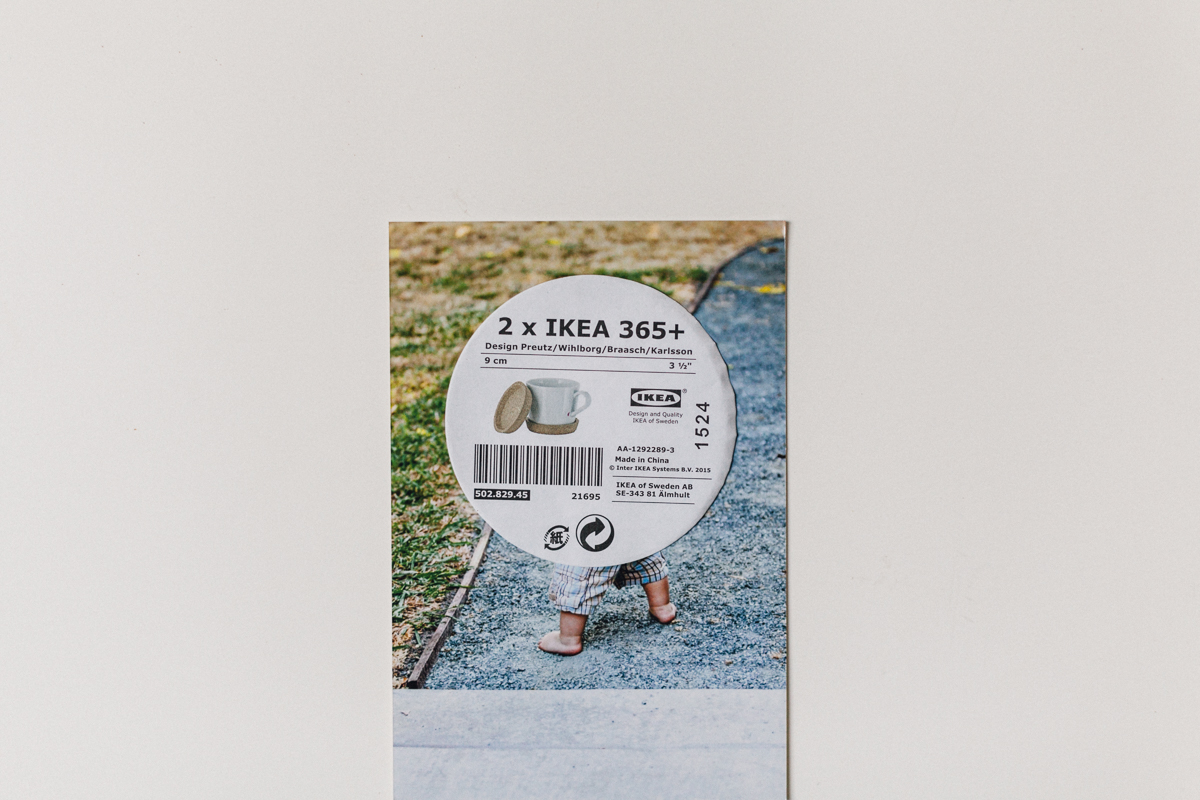
Cut out the circle and give it a trim if needed for smooth edges and a good fit.
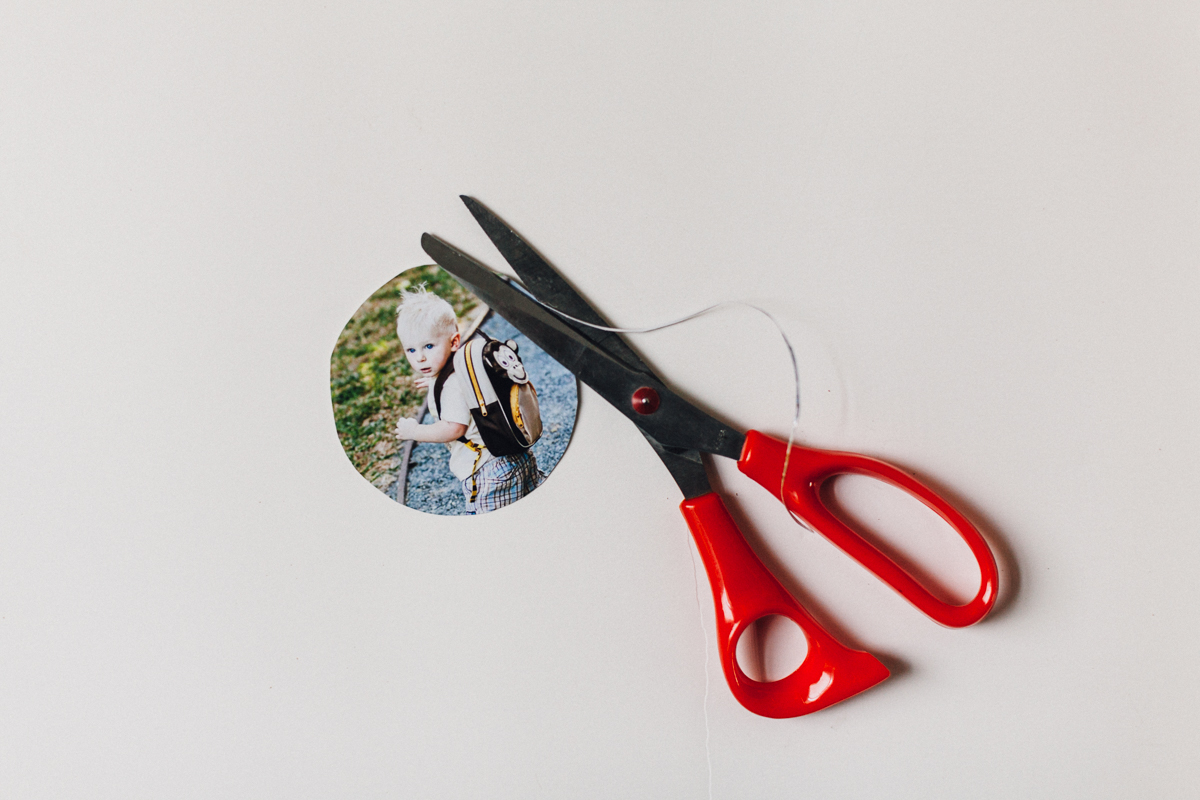
Glue the photo into the bottom of the coaster with your favorite glue. I used a tissue to press firmly so that I didn’t leave any dirty thumbprints behind.
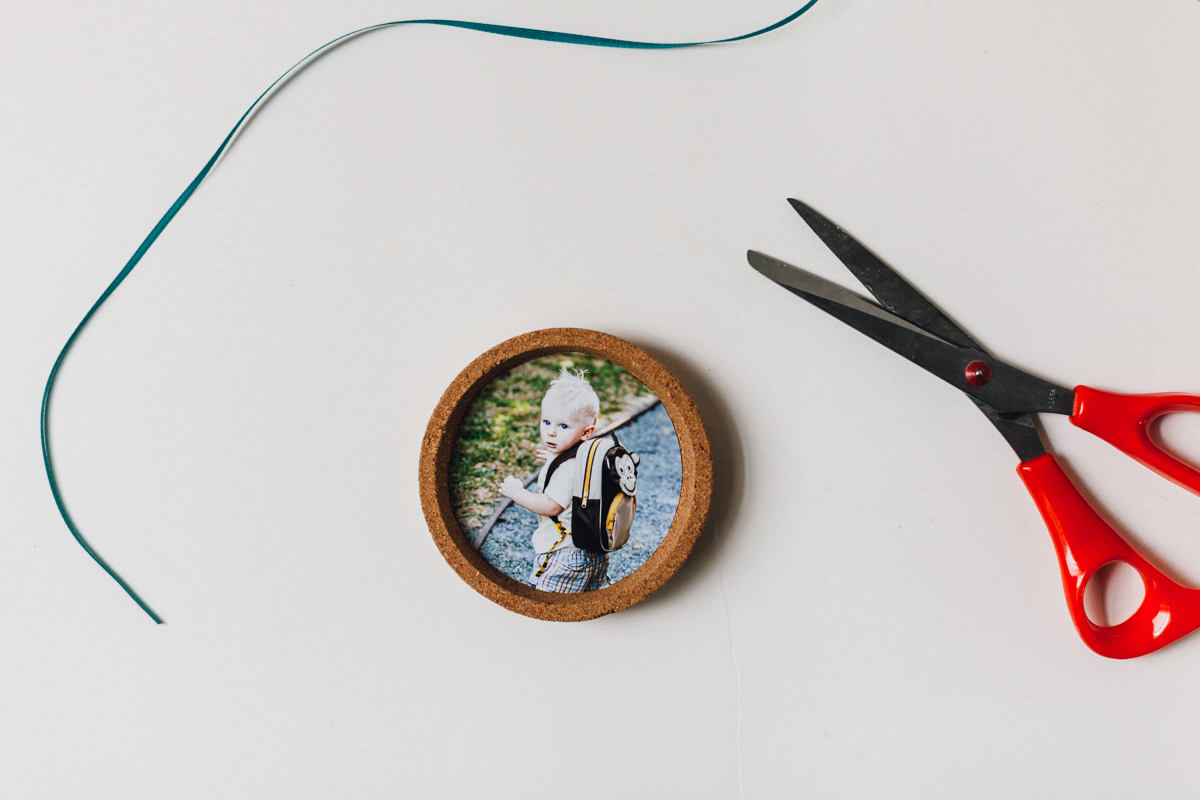
Use a length of ribbon to tie around the coaster, then knot it off and create a loop for hanging. You may also want to add a drop of glue where the ribbon knot meets the coaster.
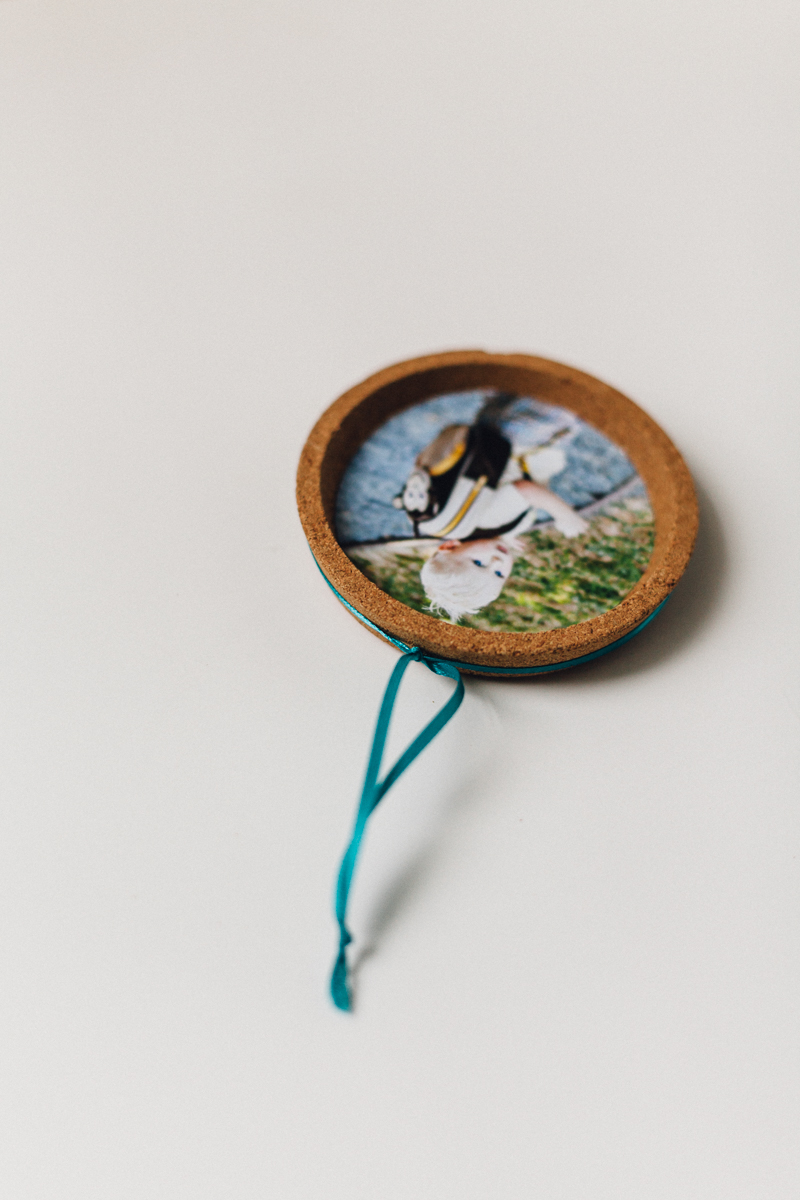
Ta-da! I loved how easy and simple these were- you can definitely make a bunch of them in an evening and people LOVE seeing photos of their favorite people.
Another quick idea: customize an ornament just like this and hang along with each person’s stocking! It’s a super cute visual of who all the goodies are for.
