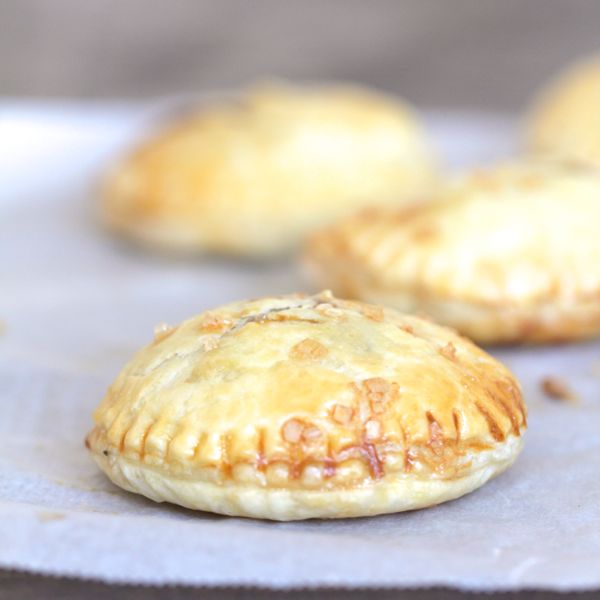
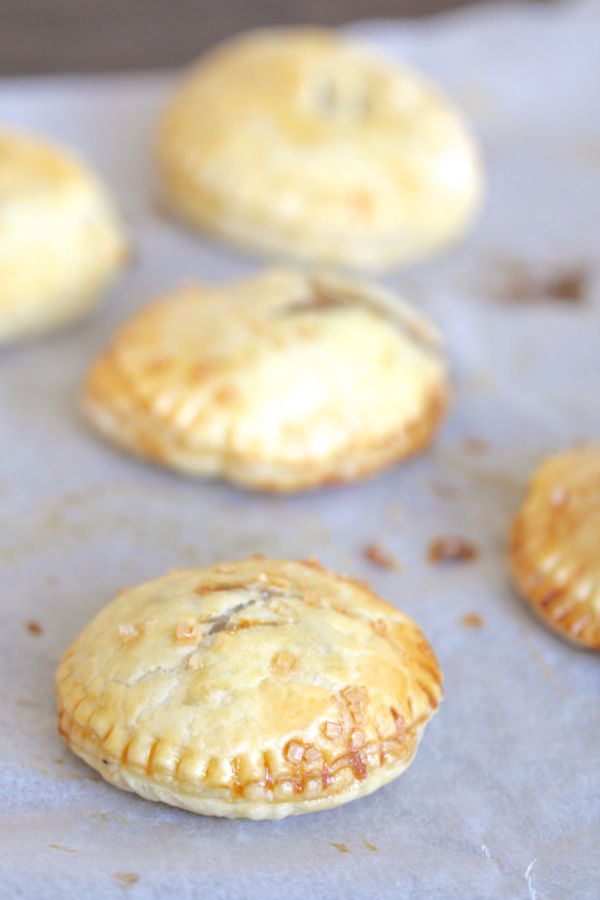
I’ve been dying to make hand pies for a while now. There’s just something about individual, hand-held rounds of flaky pastry hiding morsels of sweet fruit and spices that makes me happy. Also, they’re so cute! And you don’t even need to wash a fork!
But I haven’t made them because I suspected that they’d be a lot of work. And guess what? They WERE. But only because of the limitations I face being in Tokyo. I decided to buy pie dough instead of make it, which helped immensely to reduce the mess and the time spent on them. But my oven. I love the the little lady, but she’s really not ideal for baked goods. I have 2 baking sheets that each hold about 4 of these hand pies. Which means that 1.) I can’t make them all at once because you really should assemble them on the baking sheet and 2.) it took me over an hour to bake all of them instead of 22 minutes, because I had to do them in three batches rather than all at once.
You will not have these problems, however! You probably have a real oven that can accommodate several racks, you lucky duck, you. So these will be a breeze for you. Friends, take note, if I make hand pies for you while in Tokyo, it means I REALLY, REALLY like you. This is probably not happening while we live here.
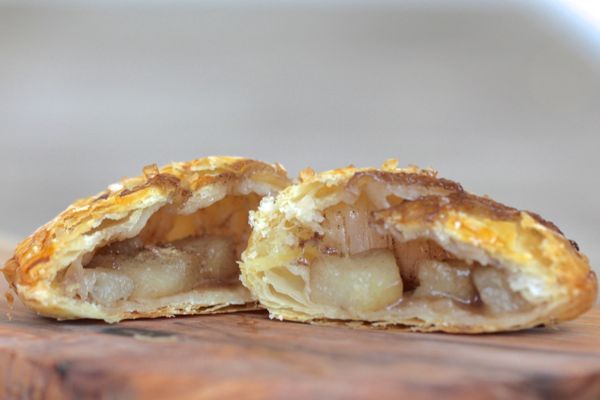
Then again, they’re really fantastic. And fun to eat. The filling on these pear hand pies is truly lovely. It’s full of cardamom (a pear’s best friend), vanilla bean, honey, cinnamon and ginger. They’re cold-weather flavors. I’ll be honest with you, I had THREE of them yesterday (one to make sure they were blog-worthy, one to shoot the gif, and one for dessert) and one for breakfast this morning. Yes, that’s right. I decided that they’re probably healthier than the S’MORES POP TARTS that we used to eat for breakfast before school. Seriously, Mom? That seems like a stretch…
The filling for this recipe yields enough for about 16 pear hand pies. I could only get 12 pies out of my dough (because Tokyo. You’d laugh if you saw the way the pie dough came) and now I have some delicious pie filling leftover to spoon over oatmeal, ice cream or yogurt.
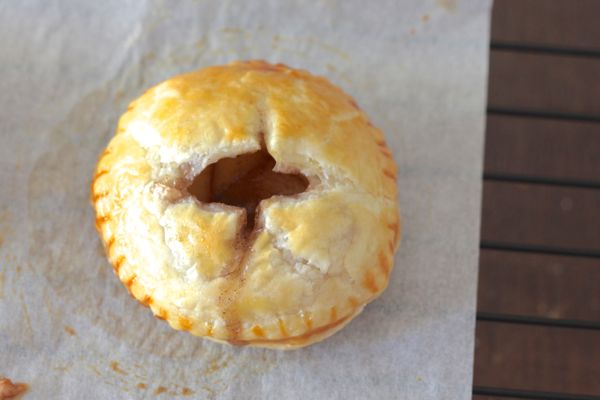
In case you think it might be cute to cut an “X” in the top of the pie rather than using 3 slits, you’re wrong. Instead you’ll create a hand pie black hole that isn’t pretty or cute at all!
I served this for dessert with vanilla ice cream and caramel sauce. Yum!
Also, it appears that I’m on a pear kick lately. Read this post to learn how to see how to check the ripeness of pears.
One year ago: orange and almond sparkling cocktails (Carla, can we make these again in Ohio??) and fried halloumi (crispy, melty, salty gifts from the cheese gods).
- 2 small pears, ripe or just under-ripe. Don't use Asian pears, use something softer like Anjou or Bartlett)
- 1/2 teaspoon fresh lemon juice
- 1 tablespoon butter
- 2 tablespoons honey
- 1/2 of a vanilla bean, scraped with seeds and pod reserved
- 1 teaspoon ground cardamom
- 1/2 teaspoon cinnamon
- 1/2 teaspoon ginger
- 1/8 teaspoon ground cloves
- pinch of salt
- 1 package of your favorite pie crust (with at least 2 crusts in it)
- flour to dust your work surface
- 1 egg, beaten, for an egg wash
- 3 tablespoons Turbinado sugar (optional)
- You'll also need a large cookie cutter. I used a 3 inch round, but might try a heart or something next time (when I have a REAL oven).
- 1. Prep the pears by halving them, removing the core, and removing the skin (I find a potato peeler does the trick). Cut into 1/2 inch cubes. Place in a medium-side, non-reactive saucepan with the lemon juice to prevent browning.
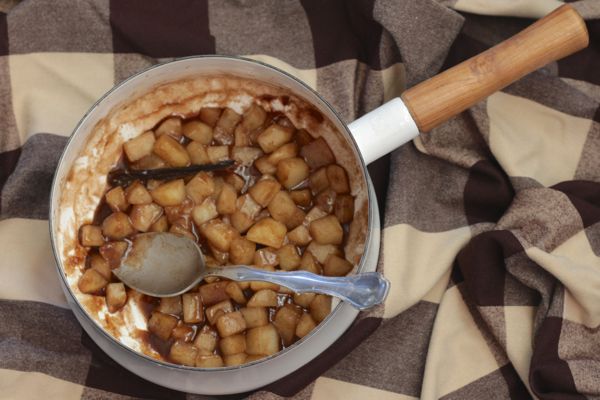
- 2. Add the remaining filling ingredients to the saucepan. Cook over medium heat for 15-20 minutes, stirring often. During this time, the pears will release some liquid. As you continue cooking the filling, the liquid should reduce into a thick syrup and the pears will become tender. Stop cooking at this point, before the pears get mushy. If your syrup isn't thick enough, remove the pears and continue to reduce the syrup until it is no longer watery (I didn't need this step, but it will depend on your pears). Remove the vanilla bean pod (then rinse itand use it to flavor your vanilla bean sugar!).
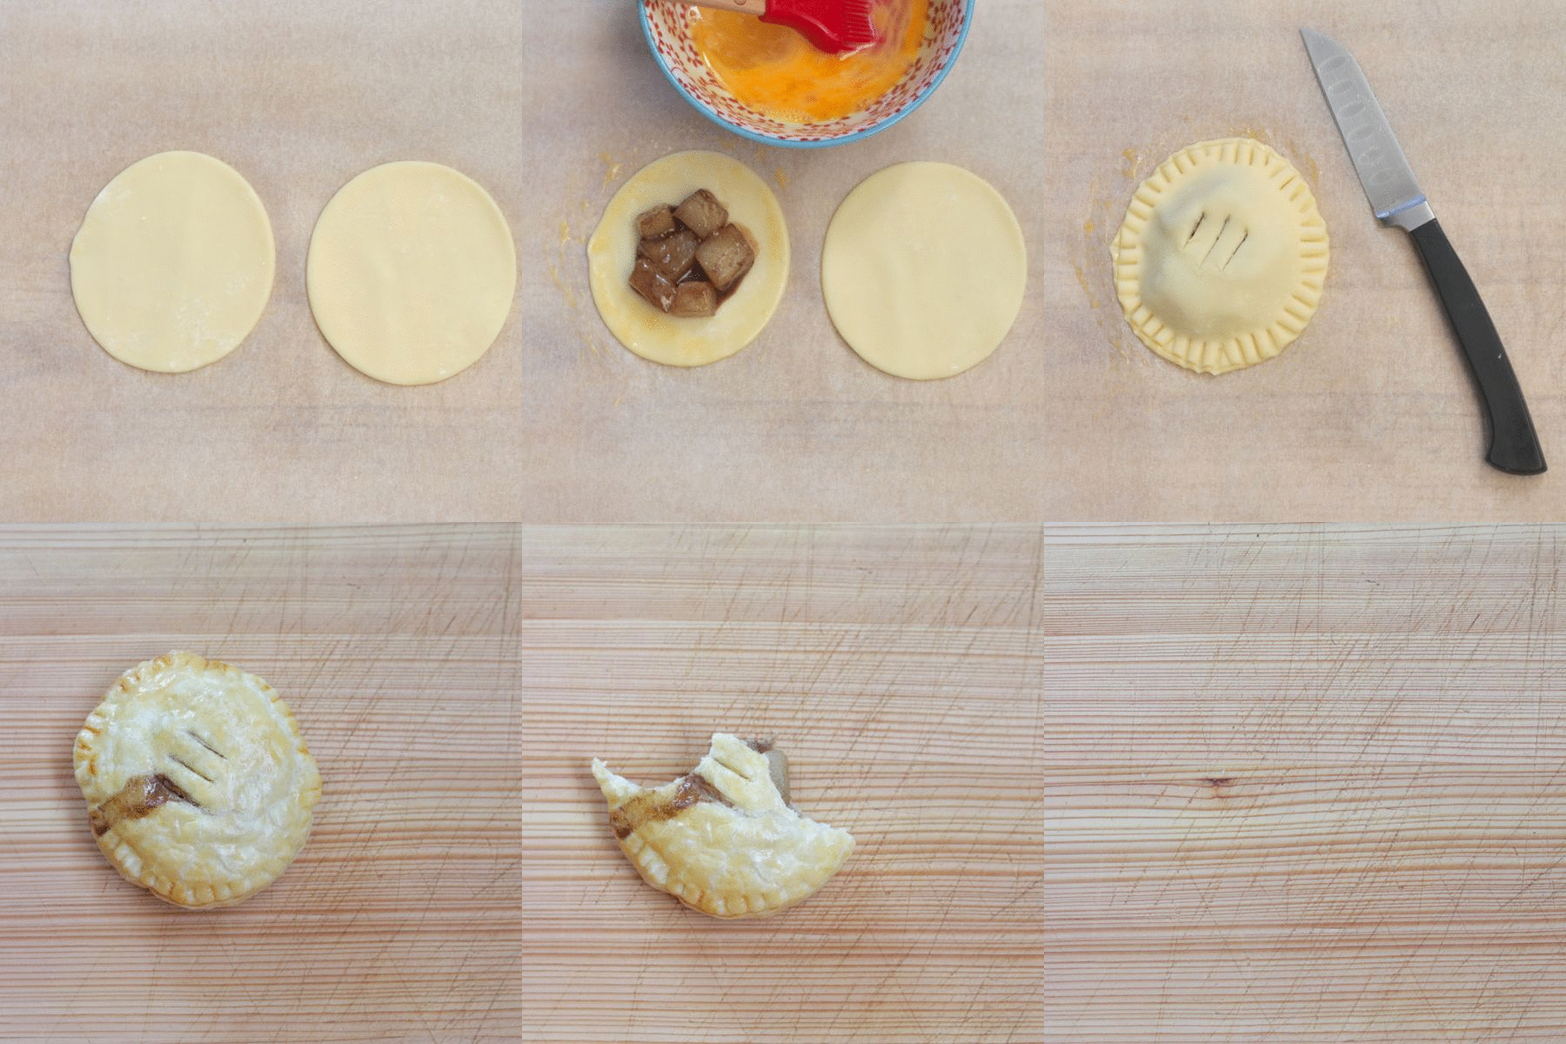
- 3. Flour your work surface and roll the pie dough out to about 1/4 inch thick. Use the cookie cutter to cut as many rounds as you can. You can also re-roll the leftover dough and get a few more rounds.
- 4. Line 1 or 2 baking sheets with wax paper or parchment paper. Place half of the rounds on the baking sheets, leaving at least 3 inches of space between them.
- 5. Add about 1/2 tablespoon of the pear filling to each round. Your amount will vary based on the cookie cutter you used. Don't over-fill or your pies will burst!
- 6. Brush the edge of each round with a little bit of egg white. Top each round with a second round and gently stretch the dough to make the edges meet. Use a fork to crimp all the way around the edges and seal them.
- 7. Preheat the oven to 375 degrees F.
- 8. Place the pies in the refrigerator for 10 minutes. When the dough is a bit firmer, use a paring knife to cut three slits into the top of each pie. This will release steam so they don't pop during baking.
- 9. Brush a light layer of the egg wash over the pies. Sprinkle a little bit of Turbinado sugar over the top for a sweet crunch.
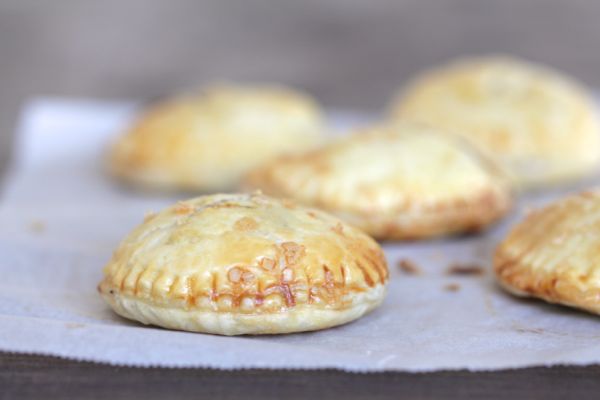
- 10. Bake for 20-24 minutes, until the crust is golden brown. Let cool slightly before serving.
- 11. Best served slightly warm (you can reheat them gently in a 250 degree F oven for about 20 minutes). I love them with caramel sauce and vanilla ice cream!




Ahahah! Wow, sounds like quite a bit of effort went into these little creations. I like the flavor combinations. I wish I had a good pastry chef or baker around to whip these up for me to take to Thanksgiving dinner:)
Thanks, Ashley! If you don’t object to store bought pie dough, they’re not really that much work. At least not with a NORMAL OVEN!
There’s *nothing* better than pie.. except portable pie! I love the gourmet twist you put on these hand pies and I think I’ll take fourteen, please and thank you
Thanks, Cheryl! We’ve torched this batch really quickly, lol. We had a little bit of help, thankfully 😉
oh yum! and so fun – the gif and those cute little handheld suckers…i would pose for so many (silly) pictures with those!!
lol! thanks, annie!
Oh.my.gosh. Cardamom IS pear’s best friend. Thanks for pointing out this uber important friend! And for sharing this amazing recipe! Hand pies are so much fun!
MMM – I’ve only recently discovered the magic of cardamom and now I feel like I can taste your pear hand pies. I used to have a tiny oven, but not nearly as tiny as yours. I’m amazed that you even brave baking expeditions! These hand pies sound DELICIOUS – do you think they’d travel well overseas? 😉