I’ve always wanted a Dremel rotary tool, but when you live in small spaces (like apartments in San Francisco and Tokyo!), you don’t have much room for tools. So it should be no surprise to you that I actually squealed aloud when I found out that Dremel was coming out with a new cordless, micro version. I felt a little lightheaded when I applied to receive one from Dremel to test it out and come up with a fun tutorial, and I did a little dance when we got the acceptance email to be part of their #MyBrilliantIdeaSweep campaign (more info at the end of the post).
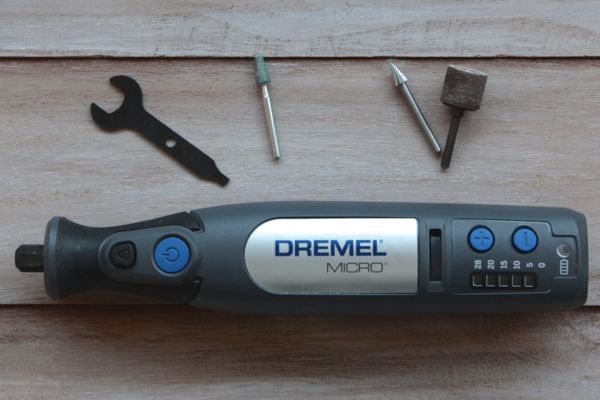
There’s so much that I love about this tool! It’s the size of a cordless drill, which means that I can just tuck it away in my closet. It’s rechargeable so no batteries needed. And the charge life is impressive; I was able to complete this project without needing to recharge, and it probably took a good hour of constantly running the tool before I needed to plug it in. I also love that the Micro 8050 is fully compatible with all Dremel rotary tool accessories, so they’re easy to find (any hardware store or big box home improvement store sells them). This model also has a light on the end of the tool so you can see what you’re doing in small corners or places that aren’t well lit.
I had so many project ideas that it was hard to decide where to start! The attachments for the tool can drill, polish, engrave, etch, sand, etc. You can use the tool to make jewelry, engrave your name into your computer, draw a design on wooden furniture, etch a mirror or glass, and drill holes into pretty much anything.
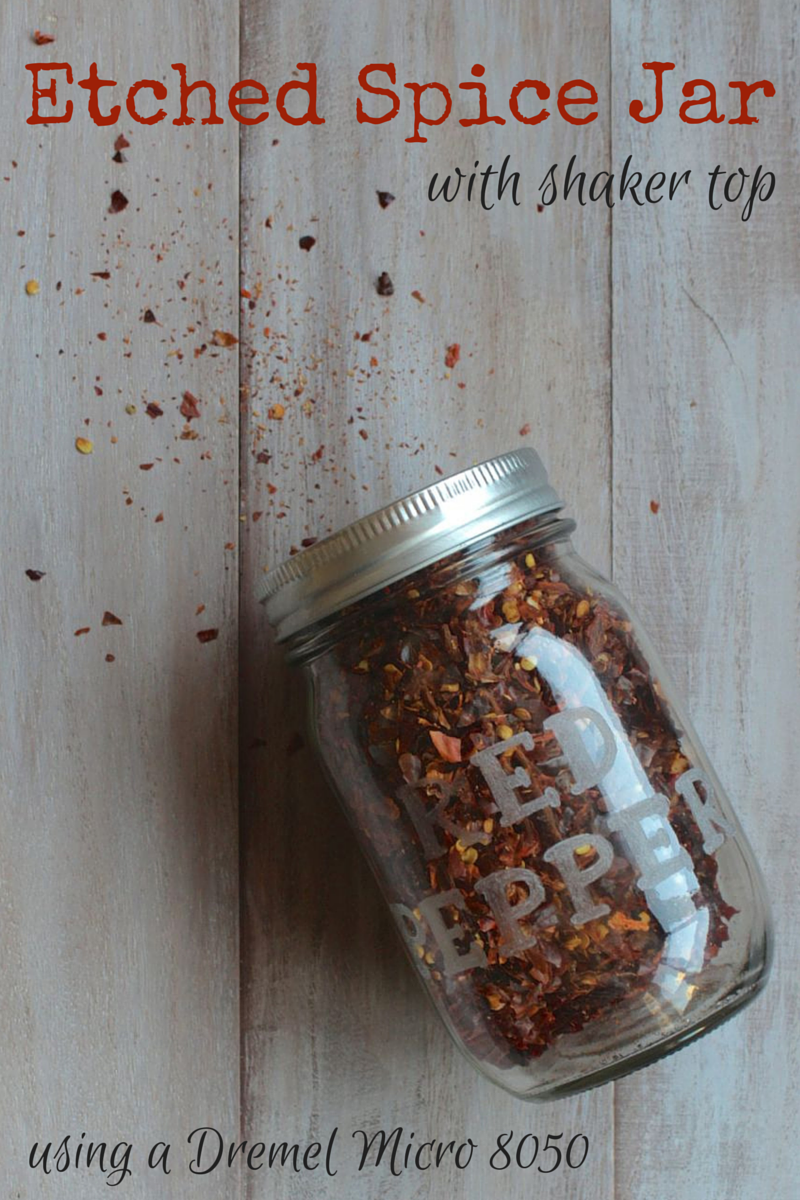
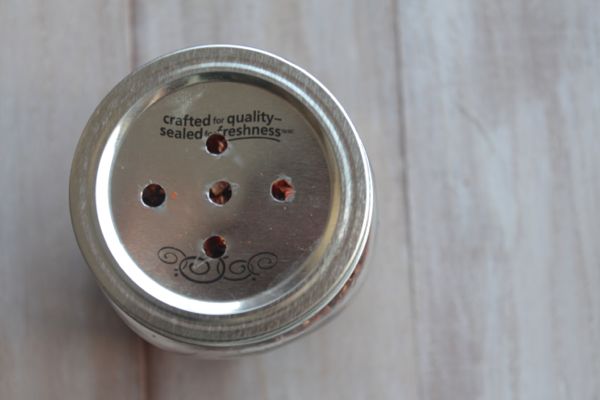
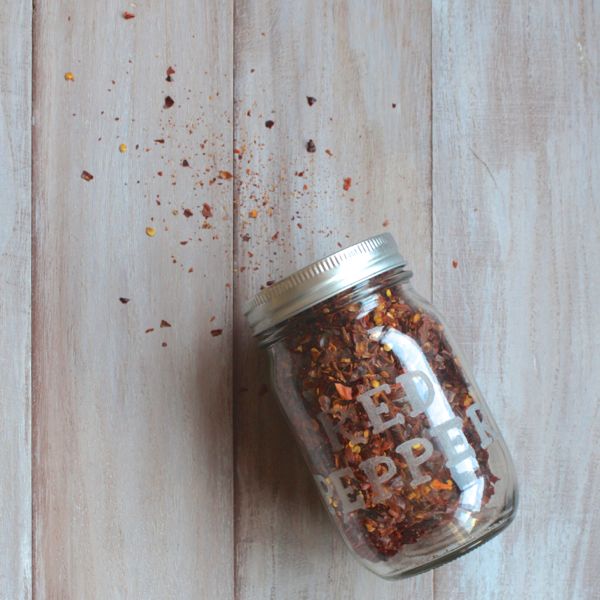
When we went to Italy earlier this year, I bought red pepper flakes in bulk. I keep refilling a small container from the original bag, but why not put them in something more convenient? I decided to play around with the Micro’s glass etching capabilities to make a DIY etched spice jar with a shaker lid from a mason jar. After etching the jar, I drilled holes into a canning lid to turn it into a shaker. I can replace the lid with holes in it with a solid lid when I’m not using the pepper flakes. That way they stay fresh in an airtight container.
I absolutely love the way this turned out! I think I’m going to etch a bunch of small mason jars as Christmas presents and make mini spice sets from the bulk bins (if only there were a Berkeley Bowl in Tokyo, sigh). I love the idea of a “spicy” set, like red pepper flakes, cayenne and chipotle. Or you can make a few different flavors of seasoned salts and give them as a pair. My vanilla bean sugar is always a requested Christmas gift, and it would look great in some colored glass containers.
This was a pretty easy project, especially since you can hold the Micro like a pencil. It took a bit of practice to learn how to control the tool on a smooth surface like glass, so I used an old pickle jar that I didn’t mind messing up. From start to finish, it probably took about 1 hour to make this jar. It would take much less time with more practice, too.
What you’ll need:
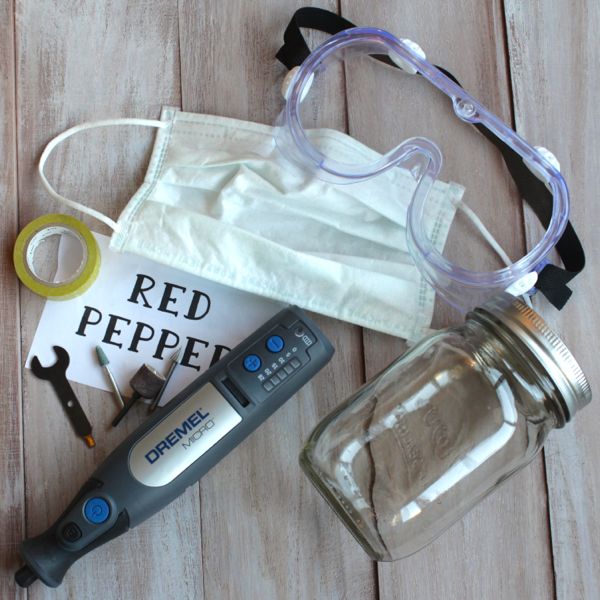
Dremel Micro 8050
84922 silicon carbide grinding stone (comes with the tool)
125 high speed cutter (comes with the tool)
Sanding disk and EZ Drum mandrel (both come with the tool)
Safety glasses
Face mask
Mason Jar and lid
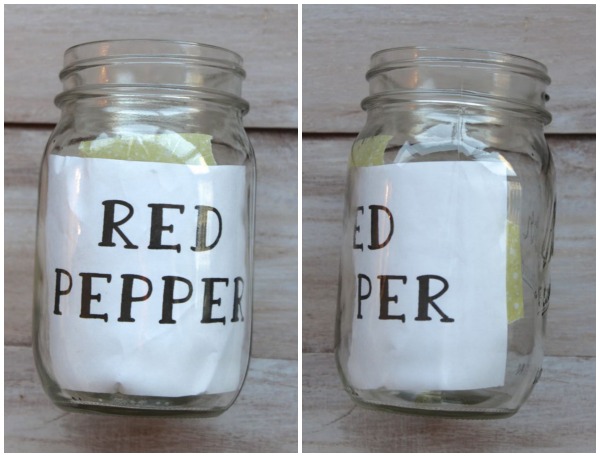
Paper with your design printed on it (you may want to print a few options for font size to see which one you like best)
Tape
What to do:
BEFORE STARTING: practice on something you don’t mind messing up, like a dollar store glass or an empty pickle jar.
1. Tape your design securely to the inside of the jar.
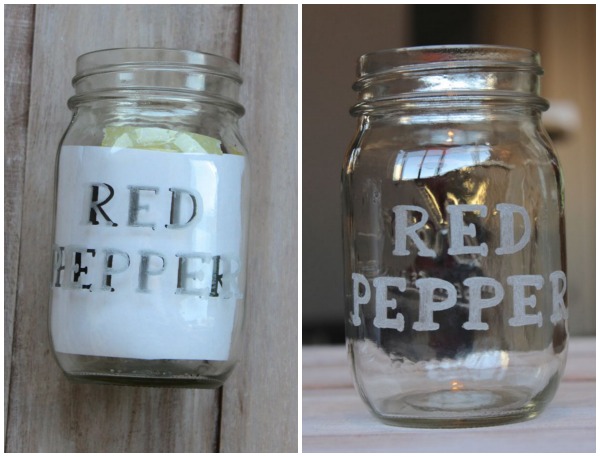
2. Put on the safety glasses and the mask. Using the printed paper as a template, trace and fill in your design with the 84922 silicon carbide grinding stone. Take your time, because you can’t erase etching! I found that it helps to steady your hand on something and either secure the jar to your table or hold it steady with your other hand. Remove the paper insert and make any necessary touchups.
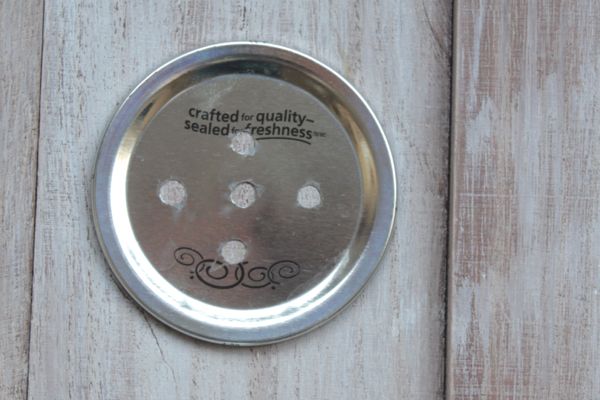
3. Use the 125 high speed cutter to cut holes into the mason jar lid. Use the sanding disk and EZ Drum to smooth any rough edges.
4. Wash and dry the jar and lid. Fill with your contents, screw on the lid and enjoy!
One year ago: I really need to make this roasted squash soup with bacon and seared scallops again. It’s so, so good!
If you have a Dremel rotary tool and love it as much as I do, you can participate in their My Brilliant Idea campaign. Or if this post inspired you, you can purchase the Micro 8050 online at Amazon.com and HomeDepot.com for $89 USD. When you get your own tool, post your projects using these guidelines:
Dremel wants to celebrate its fans’ brilliant projects, work and ideas! Now through October 12, share, tweet or post photos on Facebook, Twitter and Instagram that depict your brilliant ideas using the hashtag#MyBrilliantIdeaSweeps for the chance to win weekly prizes, including free tools and handmade gifts, or the grand prize: a custom-engraved Honda scooter and a Micro 8050. Visit www.facebook.com/dremel for rules and to learn more.
I was selected for this opportunity as a member of Clever Girls Collective and the content and opinions expressed here are all my own.


So crafty! These would be so cute as salt & pepper shakers at a wedding!
you gals and your crafts! i’m so impressed.
Hi Alyssa and Carla,
I came across your site in a email from Dremel, to our company, which gave a link to your “RED PEPPER” shaker project.
I was curious as to the time required to do your shaker. You mention approximately an hour, but thought it would take less time with practice.
You also mentioned doing larger quantities, i.e: Christmas gifts, or possibly items for resale.
As I’m sure you’re aware, this same project could be achieved with your “etching creme”, if the right type of frisket (pattern) were used. I’ve never used etching creme, so not sure what’s involved either with the cost, or time required per piece.
Your idea has many marketing possibilities. Different sets, etc. would be great, which it sounds like you’re already considering.
I’m not sure how much time you want to allocate into producing each piece, but if you’re planning to do multiples, there’s a less expensive way. Don’t worry, I’m not looking to sell you anything, but if you should have an interest, I would be glad to share another process with you.
My guess, you may have already come up with a better approach on your own!
Thank You,
Jim Dasher
Spectrum Graphics
Hi Jim,
Thank you so much for your comment! We’re glad you like our project idea.
We have worked with etching creme before and have found that it can be a bit unreliable. We love using the Dremel tool because it’s so hands-on and tactical. It’s just our preference with how we like to craft, and we’re know that other people LOVE etching creme.
One faster way we’ve played with involves cutting a stencil out of vinyl or use sticker stencils to guide your letters more easily. It also puts up a little bit of a barrier to protect against mistakes. If you have any other ideas, we’d love to hear it!
Thanks again,
A&C