Ah, washi. The latest work horse of crafts- is there nothing it can’t do? What did we do before we covered everything in it? (Pretty sure I spent a lot more time with masking tape and colored Sharpies, honestly.) The tough part is- it’s not always a simple matter of peel and stick and smooth with your fingers. This project stumped me a bit! Stay tuned for some real talk on washi tape and curved surfaces.
When I bought this pack of hangers at Ikea a while ago, I got started on several ideas for making statement hanger pieces. I love the idea of something pretty to display an outfit or favorite piece- even if it’s just in your closet! Since I often try the iron-using-steam-from-the-shower trick,this particular hanger will live on the back of my bathroom door. But how fun would this hanger be using glitter washi for a wedding or special event? So many uses, seriously.
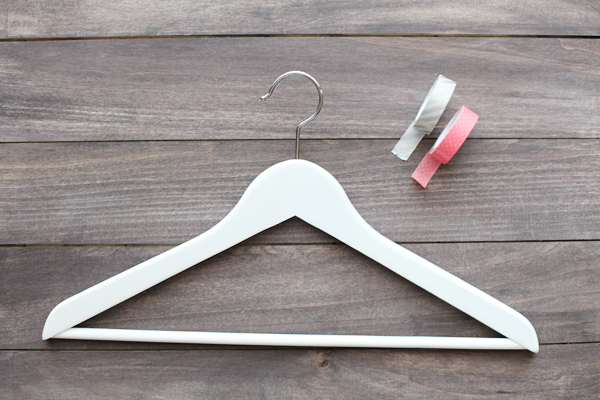
First things first, gather up your simple supplies:
– hanger
– washi tape
– scissors (not pictured)
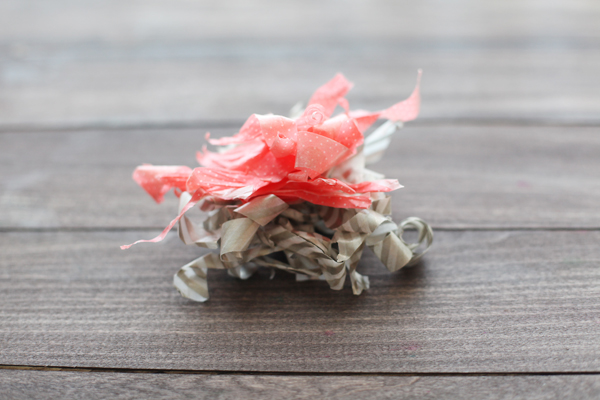
This tutorial could have been really quick. “Cover hanger with washi tape.” Except when I tried to just DO that, this is what happened:
So. here’s the problem with that simple concept: washi doesn’t stretch much and although it’s not sticky, it GETS sticky if you have to pile too much on. The curves of the hanger mean that you end up adding a lot of washi trying to cover everything and it gets… messy. And funky looking. Don’t let this happen to you and your washi supply! After a bit more trial and error, I decided this was the best course of action:
First: cover the front of your hanger with wide strips of tape, like so.
Smooth out any wrinkles with your fingers, especially where the hanger curves.
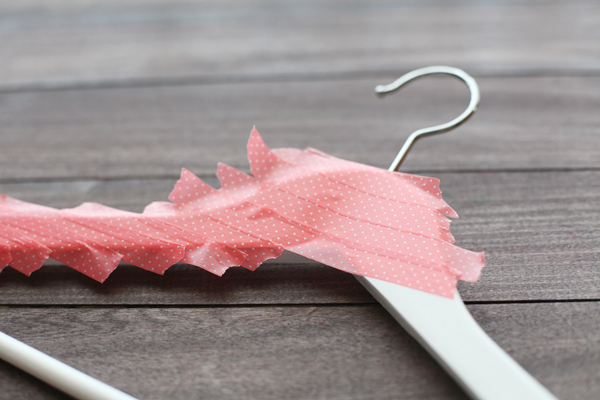
Next, wrap the ends of the tape around the edge of your hanger. This photo is actually a bit misleading because I ended up going back and trimming the edges of my tape so that the ends didn’t wrap around all the way to the back. This makes each side look as smooth as possible, so that’s why your scissors will come in.
When wrapping around the edge, there will be some curved spots that want to buckle or twist or not lay flat. In these instances, make a small vertical cut in the tape to ease the curve. Easy!
If you like, repeat on the back of the hanger. I would definitely do both sides if you’ll be able to see it from behind or if you’re using the hanger for photos.
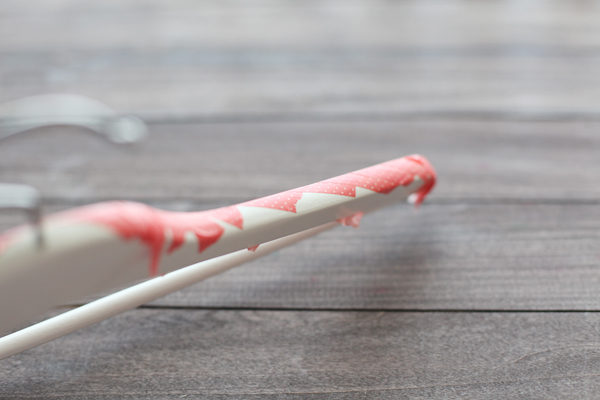
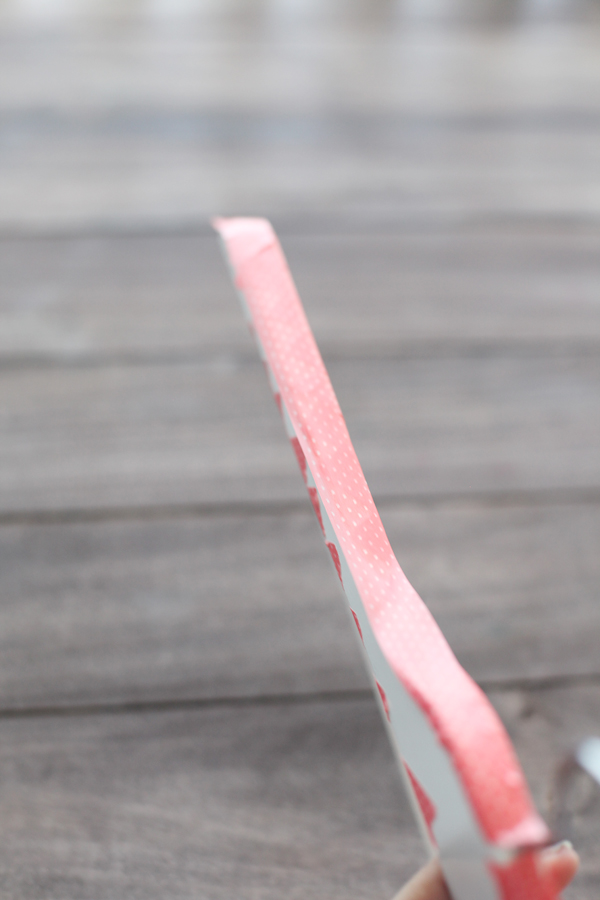
Next use a long strip of washi tape down the edge of the hanger. This will hide your edges and provide a smooth finish (especially nice so your clothes won’t snag on any exposed tape edges)! If needed (depending on the width of your tape), fold any extra tape to the back side of the hanger.
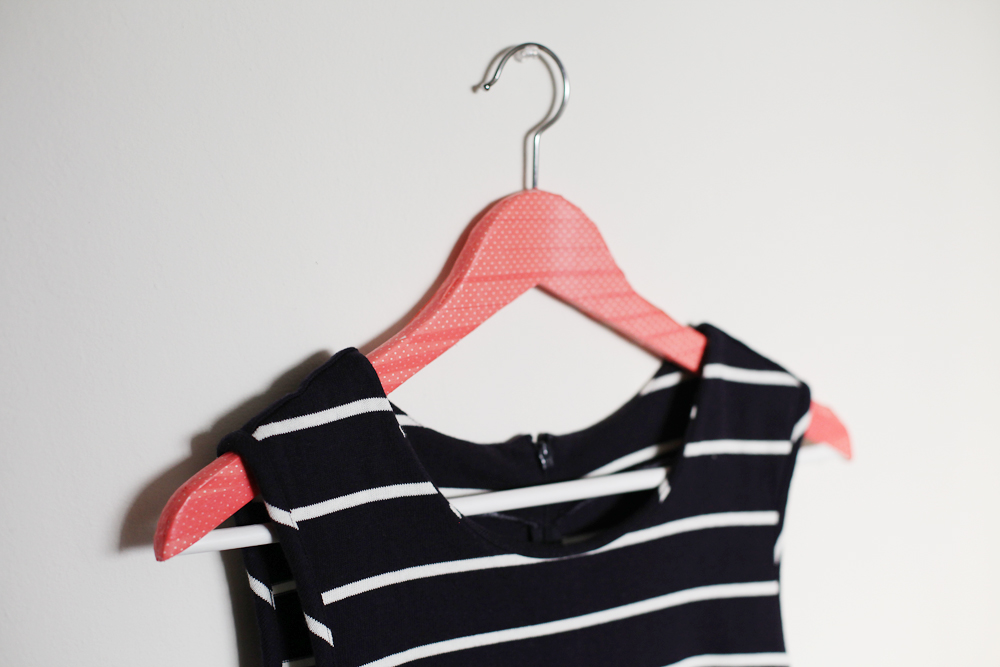
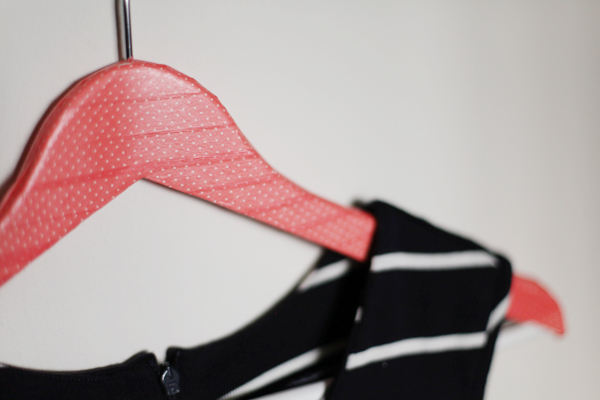
There you go! Easy peasy and I bet you won’t even end up with a sad pile of destroyed washi. Look at you go!



Such a cute idea!
Brilliant! Looks adorable.