*** Disclaimer: The burlap sacks for this project were provided by the nice folks over at burlapfabric.com. I was sent the products in exchange for my honest review, but I was not compensated further for this post. ***
Although burlap has recently become a trendy fabric for special occasions and home decor, I still tend to think of it as a really functional fabric. I especially loved using burlap for my DIY coasters because it is so hardy and I knew it could stand up to a little water.
When a rep reached out to us about supplying some burlap for a craft, I was immediately drawn to their used cocoa and coffee shipping bags. Not only was I excited to use a recycled material that would otherwise probably have been tossed, but I already knew that the bags were sturdy and perfect for hauling. Score!
The bags arrived and I’ll be honest: THESE BABIES ARE BIG. Huge! Burlap for DAYS! They listed their dimensions on the site, but I don’t think you can get a great feel for what the inches truly mean without a visual. So let me provide one for you, starring Alyssa herself:
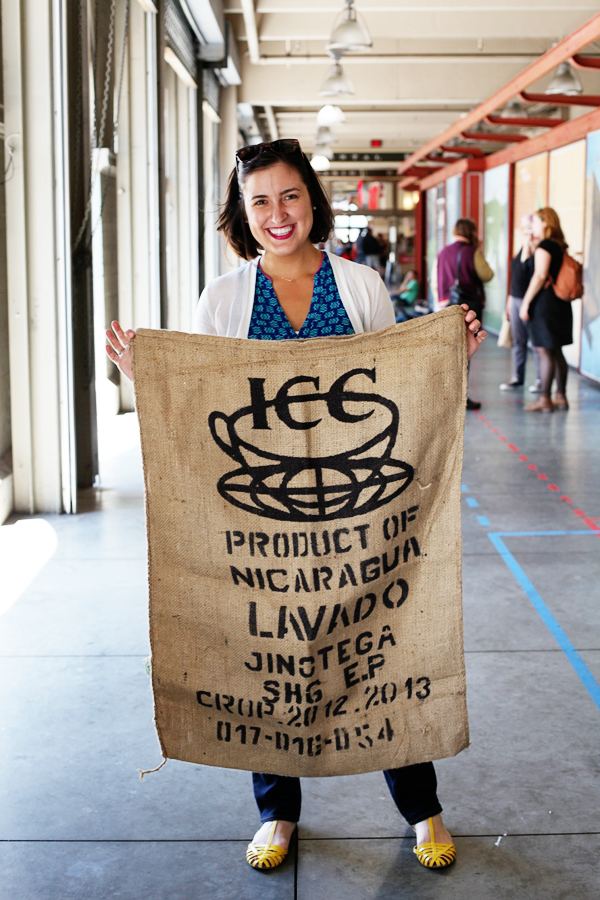 It’s an Alyssa-sized bag, basically.
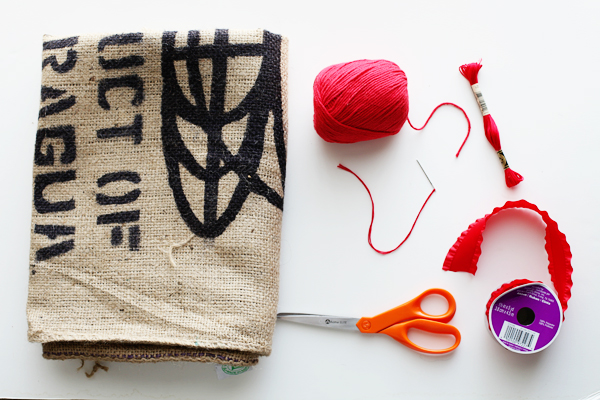
After you’ve completed your compulsory sack races, gather the following materials for an easy DIY burlap market bag for your next trip to the farmer’s market:
– your burlap bag
– scissors
– yarn and a yarn needle
– embroidery thread and a tapestry (or other large eyed) needle
– ribbon for your handles
The steps are so simple and just require some quick cutting and easy stitching!
Step one: The bags come with seams at either end and are likely sliced open somewhere in the middle (to remove the contents sometime prior). We are going to use one of the seams to create the bottom of the new market bag. Pick an end (paying attention to the design) and cut off enough space for your desired height, leaving an extra inch or so at the top to create a hem.
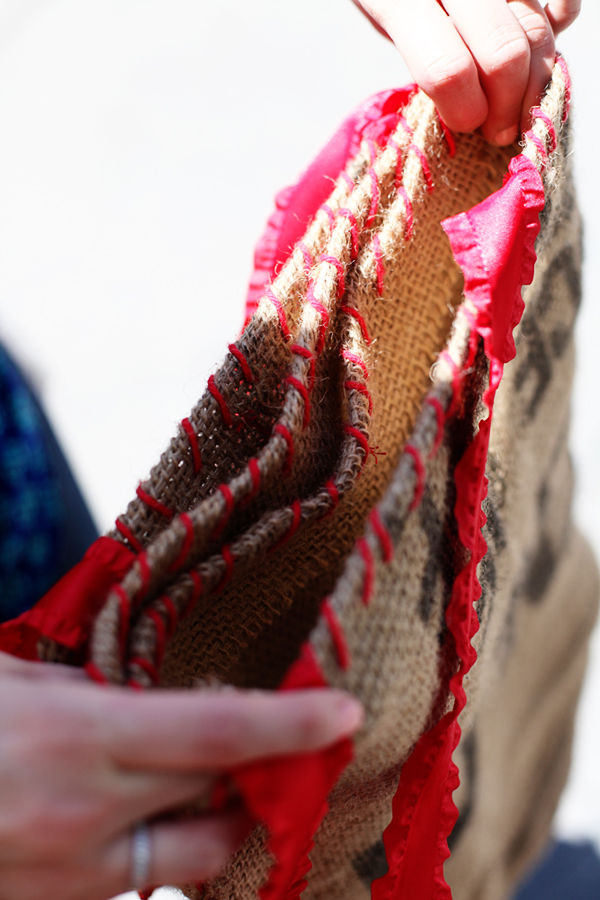
Step two: Fold over the top edge and use your yarn/yarn needle to create a rough hem. (No need to be precise, this is just so nothing unravels.) I used an easy overcast stitch.
Step Three: Once your top hem is finished, fold the bag in half and use your embroidery thread/tapestry needle to stitch up the open sides. I used a running stitch as opposed to another overcast stitch since I know I’ll be using the bag a lot and don’t want to wear the weaker embroidery thread out.
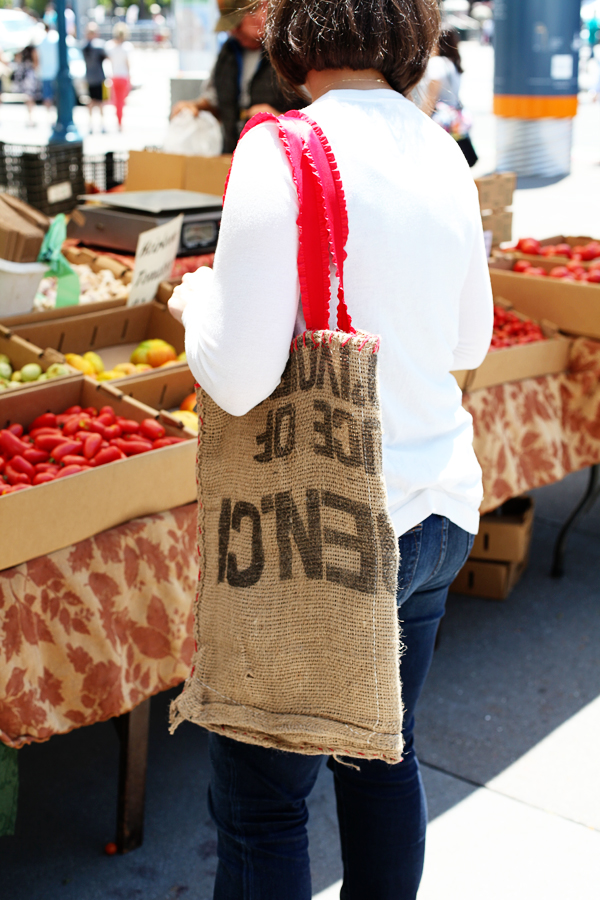 Step Four: Use the embroidery thread/tapestry needle to secure two long lengths of ribbon to the top edge of your bag as handles. (Another running stitch!) I like the opening of the bag to be secure under my arm without being too high, but you can make the handles as long (or short!) as you like.
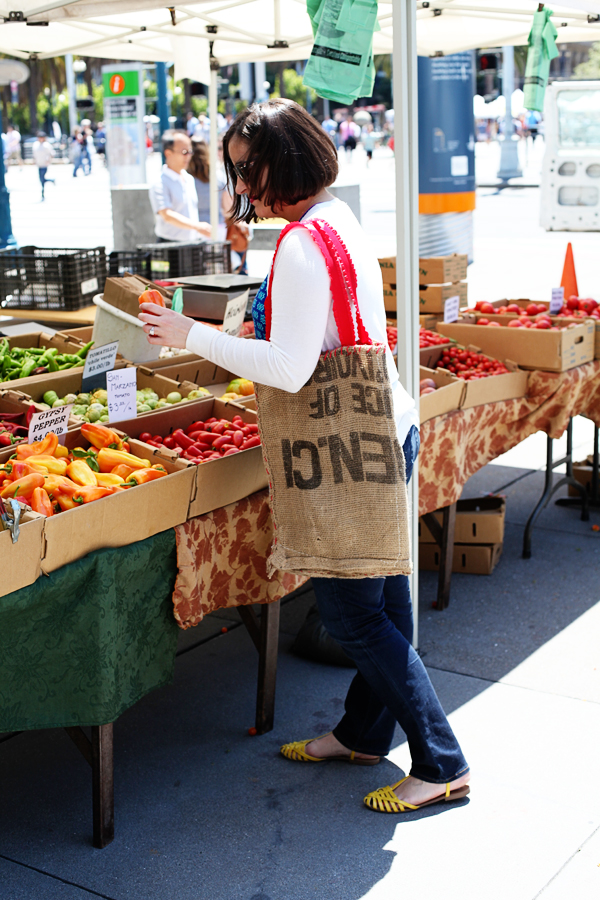
Step Five: Take that sturdy, pretty bag to the farmer’s market and fill up those deep pockets!
 A note: these used bags are likely coming from warehouses where they’ve been stored with lots of other materials. Mine didn’t smell like coffee OR cocoa, but did have a strong dust smell. I’d suggest letting them air out a bit outside before using them for your craft!
you girls are just adorably crafty! such a cute idea. also, those shoes!
I KNOW- the SHOES. Alyssa is always telling me how hard it is to find shoes in Japan and then she SHOWS UP WITH THOSE. Liar! 😉
LOL! They’re from The States! But they’re at least a year old, sorry.