I love ring holders and jewelry cups (you might remember the metallic trimmed ring bowl from a few months ago). For me, they’re really the kind of small accessory that’s simple and understated while also being useful! Apart from using them for jewelry storage, you can pepper ring holders near any sink or craft area in the house- no one wants to accidentally leave a ring behind on a windy sill or slippery counter or hovering near an open drain if they can help it. Add in the fact that there are so many adorable options and styles and you’ve got a winning item in my book.
You’d think that I wander aisles at craft stores just thinking of items I could re-purpose into ring holders. And you’d be partially right! Some of the time, though, those ideas veer in other complimentary crafting directions. But SOMETIMES you see a product and immediately decide that it could work perfectly to fulfill a DIY ring holder dream:
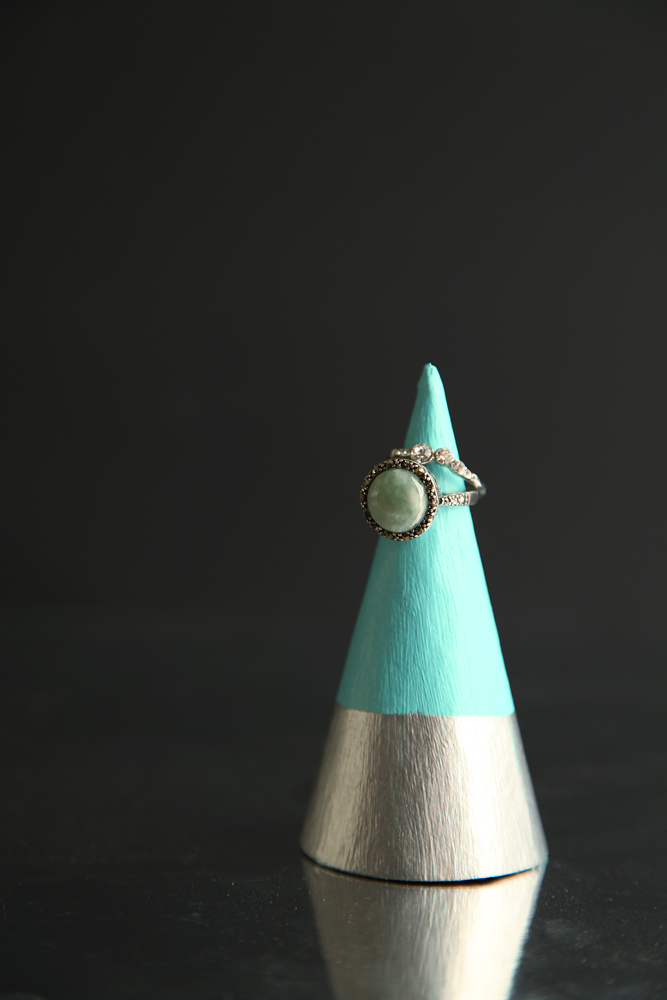
This ring holder is just so pretty. Sincerely. It’s simple and both understated (due to its shape) and vibrant (due to its color). I love how easily you can coordinate the contrasting colors to any decor or style, too.
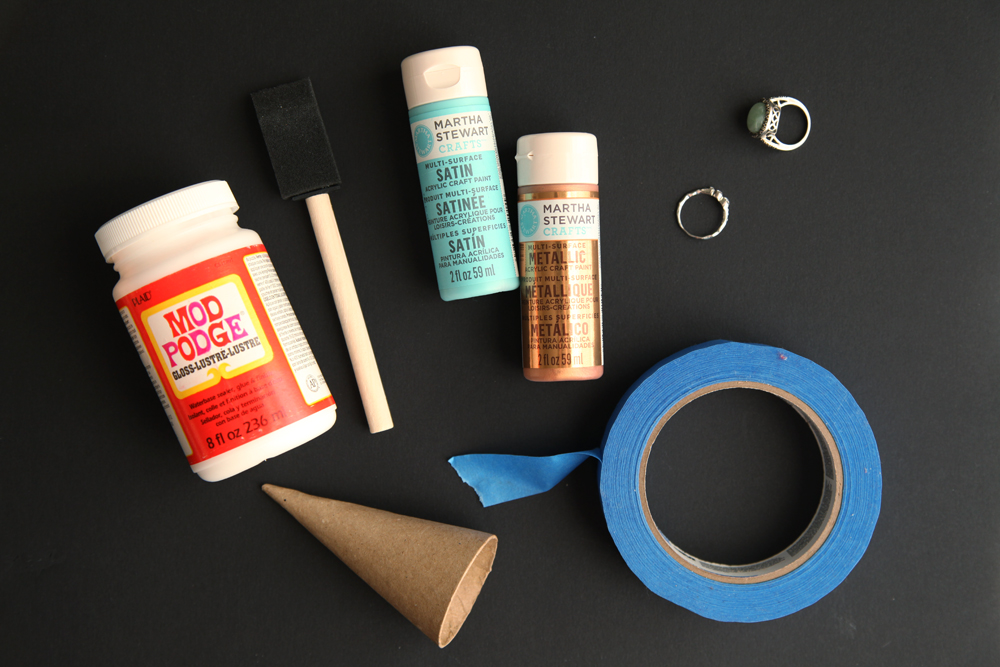
Here’s what you’ll need to get started on this DIY Colorblock Cone Ring Holder:
– a paper mache cone, 4″ by 2″ (I bought mine on Amazon and they came in a package of 6!)
– two colors of craft paint
– painter’s tape
– foam brush
– Mod Podge
The steps are simple. First, paint your base color to desired coverage. My turquoise-y paint required two coats to get perfectly opaque. Let the paint dry to the touch before starting on each coat.
Once your base layer is adequately applied, use painter’s tape to tape off the bottom section of the cone. I set my border about an inch and three quarters from the base. Press gently, but firmly along the edge of the tape. (Hard enough to adhere, soft enough to not destroy the not-fully-dry base paint.
Apply your second paint color on the bottom half of the cone, taking care to be gentle at the edge of the painter’s tape. Once you’ve added the proper amount of coats, peel off the painter’s tape carefully. Once paint has dried for an hour or two (or is dry to the touch), add your layer of Mod Podge to seal the cone.
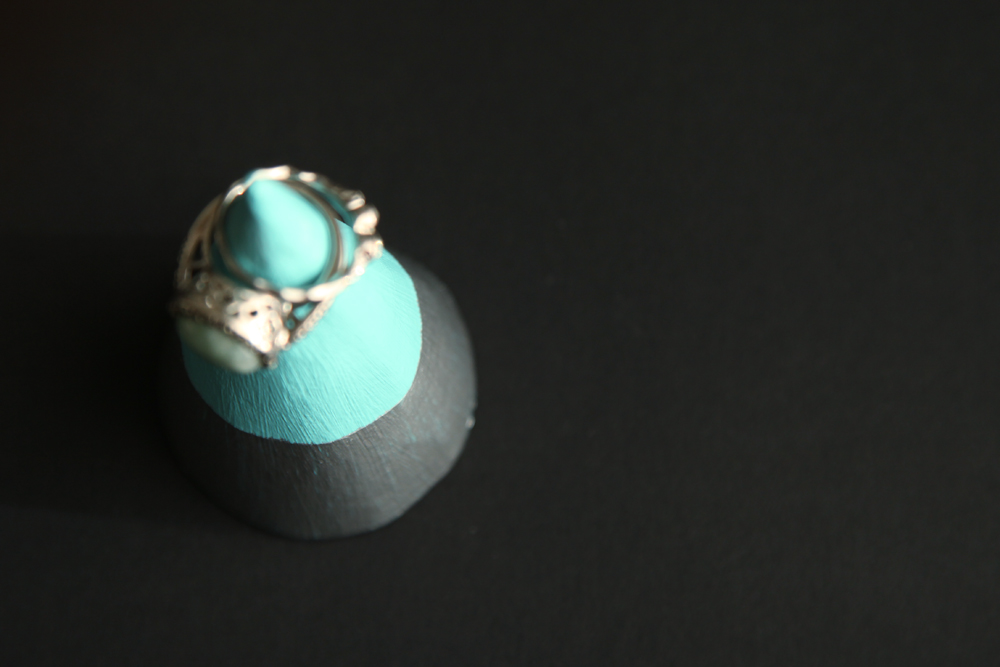
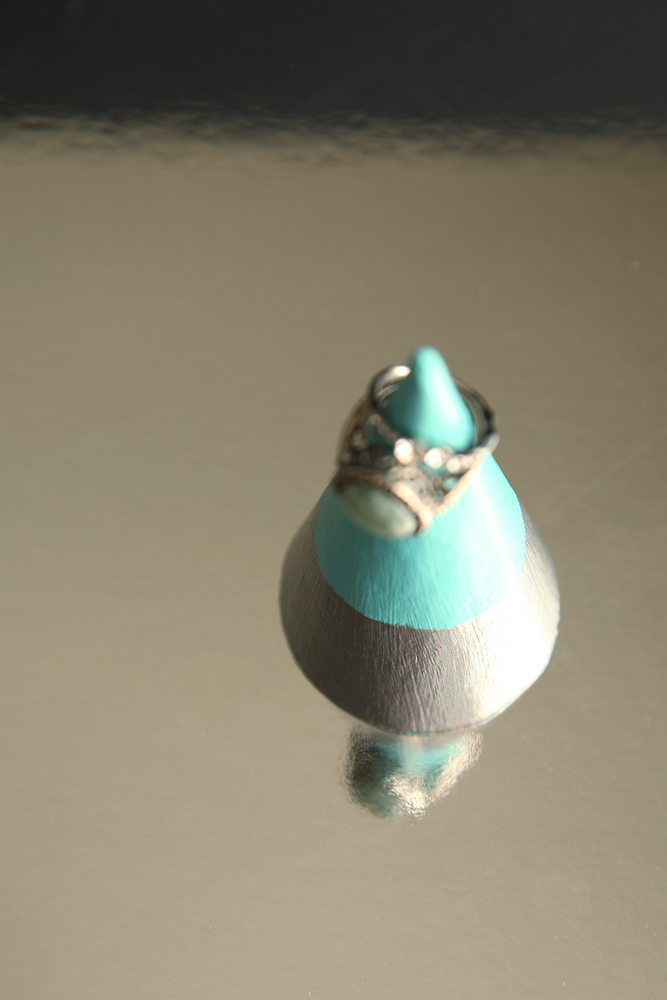
At this point, I’d wait overnight to ensure everything is nice and dry and then your ring holder is ready to go! Stack a few rings on it, set it by your kitchen sink or wrap it up as a sweet gift for a friend.
(P.S. Since I still have five cones, I’m thinking… ombre?)

What a sweet holder and I love your combo too! I will definitely try the ombre 😉
The weather is starting to warm up where I live and sleeping in my rings is making me crazy, so I find myself waking up in the middle of the night, taking off my rings, and setting them on my night stand. I am worried that I am going to loose them one night. I think this ring holder will help remind me to take them off before bed and have a great place to keep them safe. Thanks for sharing! Pinned!!
I just wanted to let you know that this post was featured on my Father’s Day Inspiration post. 🙂 Thanks for the inspiration! https://www.bumblebreeblog.com/2014/06/01/metal-leafing-inspiration-fathers-day/