Despite my hefty paper product obsession, I never feel like I have ENOUGH. I have shelves full of stationery and cards and specialty envelopes and varying thicknesses of colored card stock, but I still want to craft my own. I use washi tape like Alyssa did for her masculine birthday card and colored markers and stamps and calligraphy pens. My mom loves using stickers on her letters and birthday cards (yes, it IS adorable) and sometimes I channel her and add a few of my own. It’s an exceptionally varied infatuation is what I’m saying.
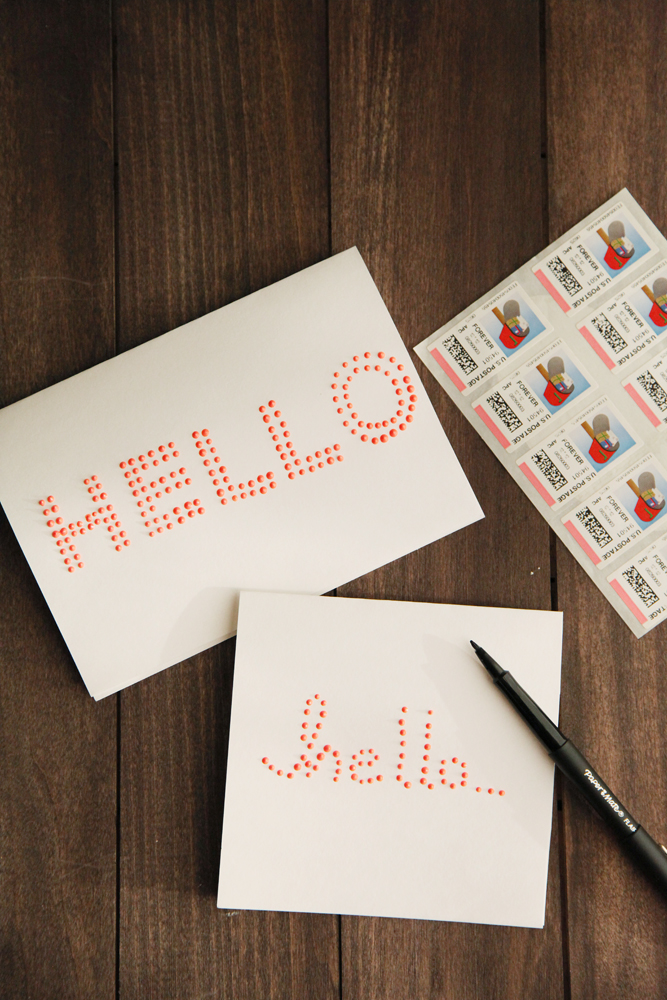
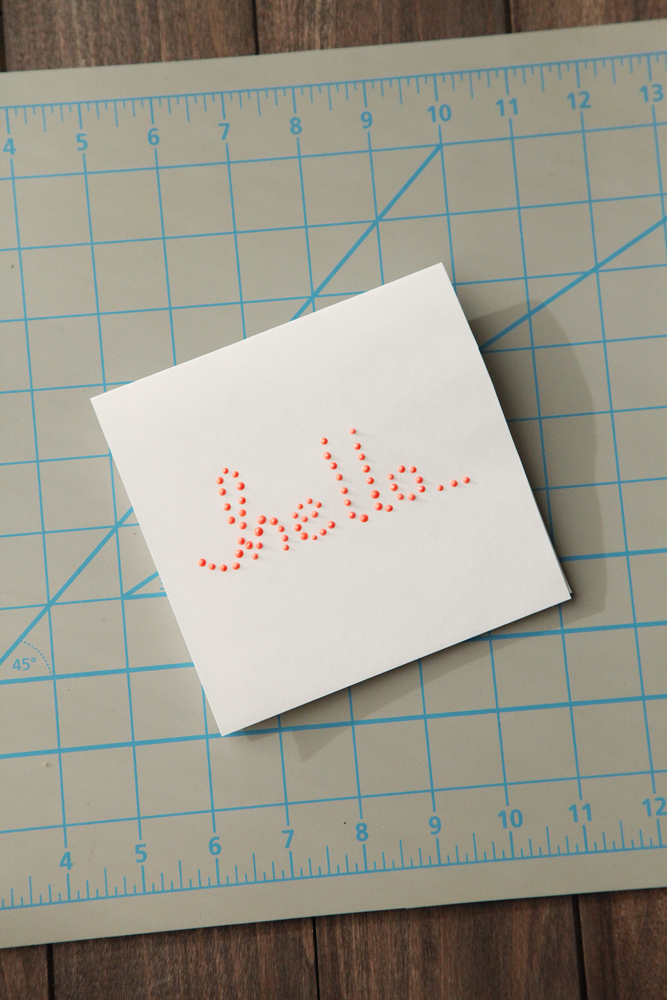
Today let’s talk about how to make this fun paint dot card:
Depending upon your age, you may remember Liquid Beads- one of the Rainbow Looms of my generation. The concept was simple: apply a specialized iron-on transfer to a fabric item and then cover the dots with “beads” of puff paint. No, really. This was a thing.
I’m feeling like you don’t believe me.
THIS is how badly I have to prove it to you. Yes, that’s me. Yes, I’m petting a goat (I hate goats). I’m 12 and I’m at Disneyland in a petting zoo (who spends a significant amount of time in the PETTING ZOO at DISNEYLAND?) Note the bangs. And the glasses. But- most importantly- NOTE THAT SWEATSHIRT. Are you not BLOWN AWAY by the specially applied paint dots?
I may not want them on a too-big sweatshirt, but I sure do love some cute little dots on a notecard!
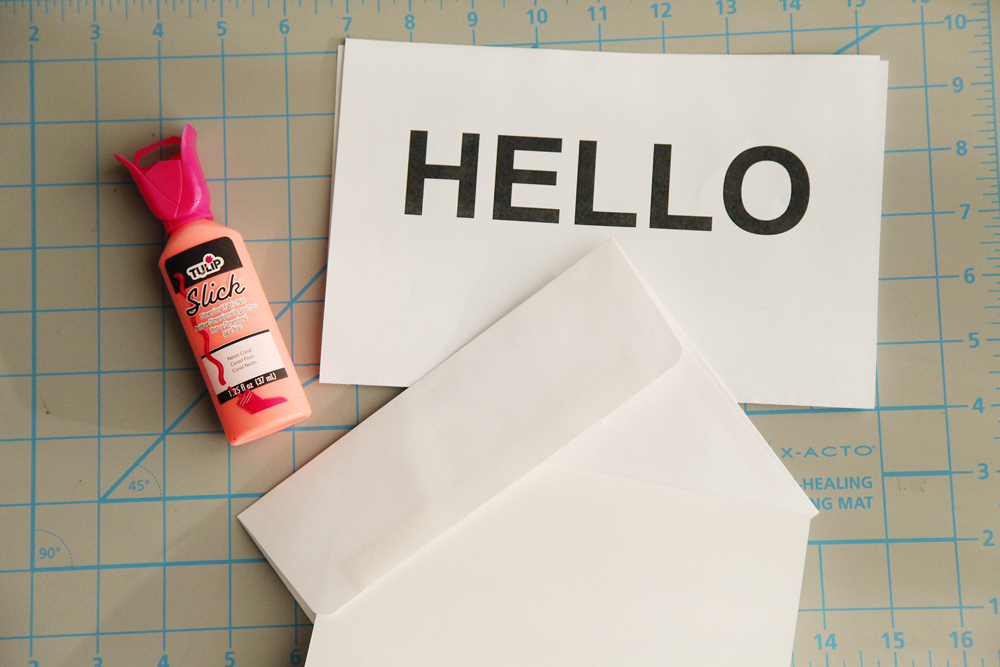
To get started, gather up:
– puff paint
– blank folded notecards
– optional: template (your greeting printed out at proper size), X-Acto knife
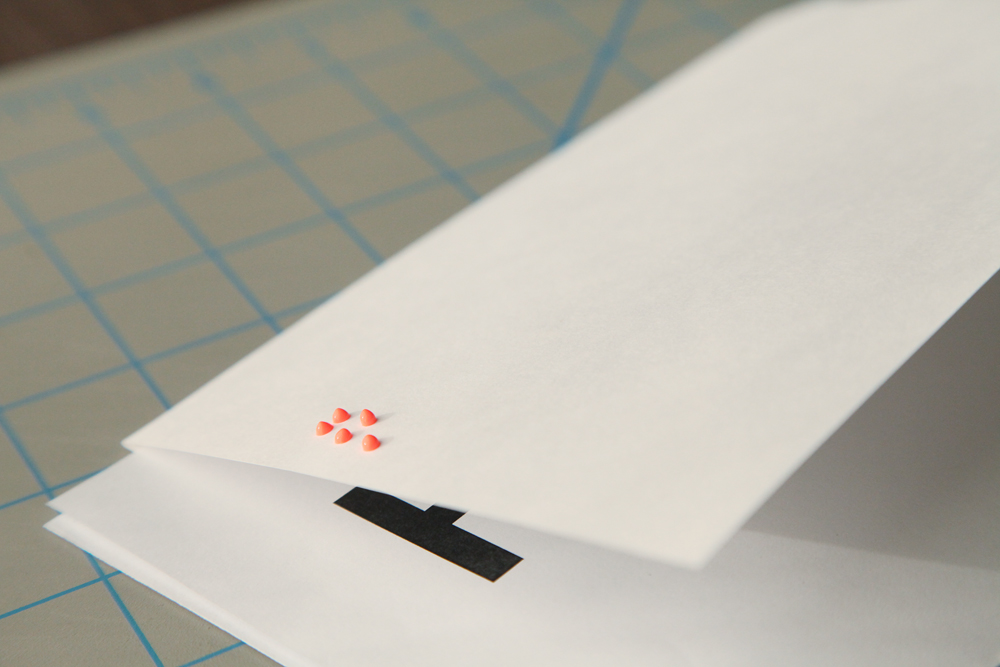
I got lucky in that my template was easy to see through the blank white note card, but if yours isn’t visible (or you’re using a colored card) consider cutting out the letters in your template with the X-Acto knife. If you do this, set the paper down (minus the letter holes) and plan to leave it there until the paint is dry.
Set up your template and ponder how many dots you’d like in a row. I decided I wanted to use two dots per stroke, like so:
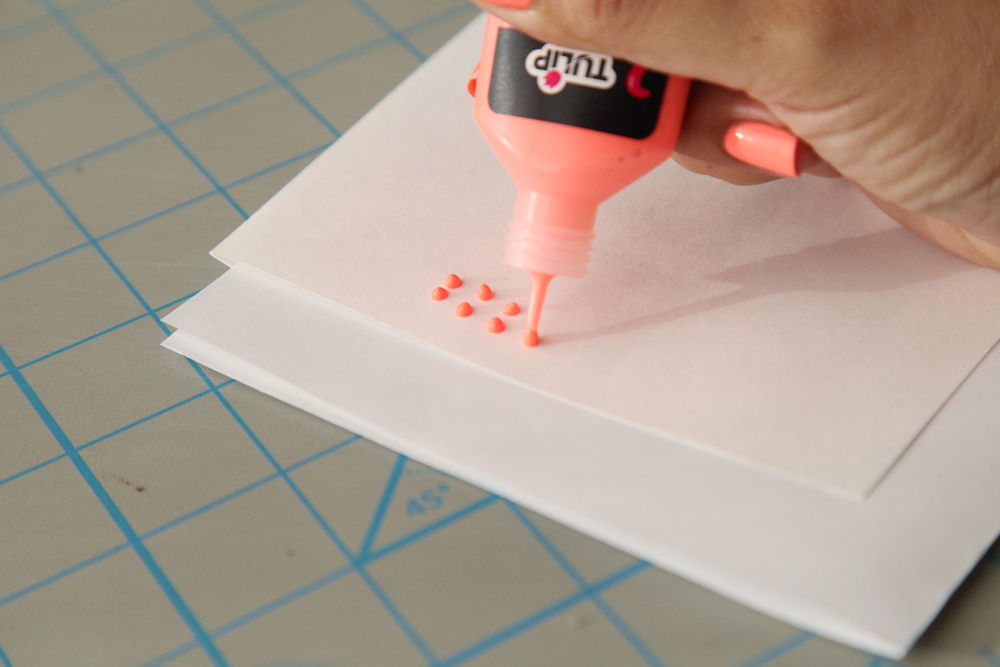
To make the dots, hold the tip of your paint bottle slightly above the page. Let a paint dot start to form and place it gently against the paper. Try your best to make the dots as uniform as possible in size and shape.
And that’s it! Follow your template to complete your greeting and allow to dry for a few hours. The effect is not only dimensional- it’s cute and unique!
Don’t be afraid to go template-free either- I think this freehand “hello” card turned out just as good.


don’t worry! everyone has pictures like that in the drawer! hehe… anyway really like this tut! going to try it for easter 🙂
<3
Irene