Making your parties unique can get EXPENSIVE. You want everything to have your own little touch, but where do you draw the line? If you’re a DIY-er, you can do more for your party on a tighter budget. Personalized cocktail napkins are a really great touch, but have you seen how much they cost? $30 for 50 napkins? That I’m going to THROW AWAY?
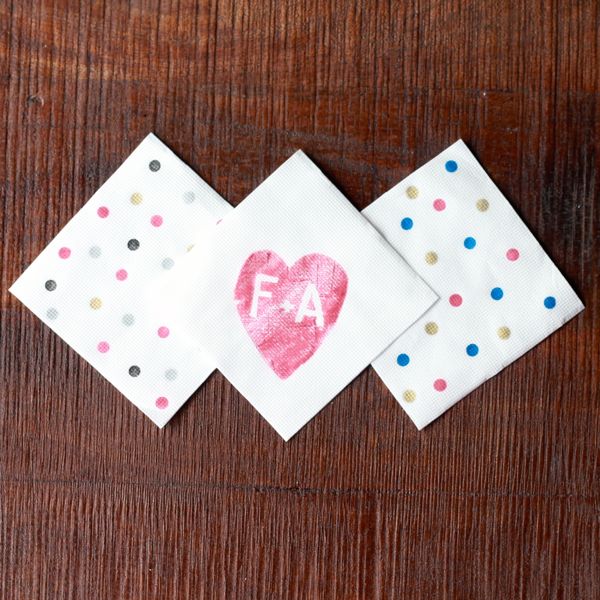
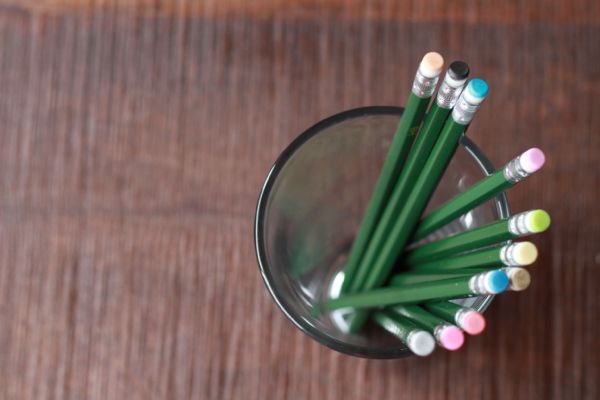
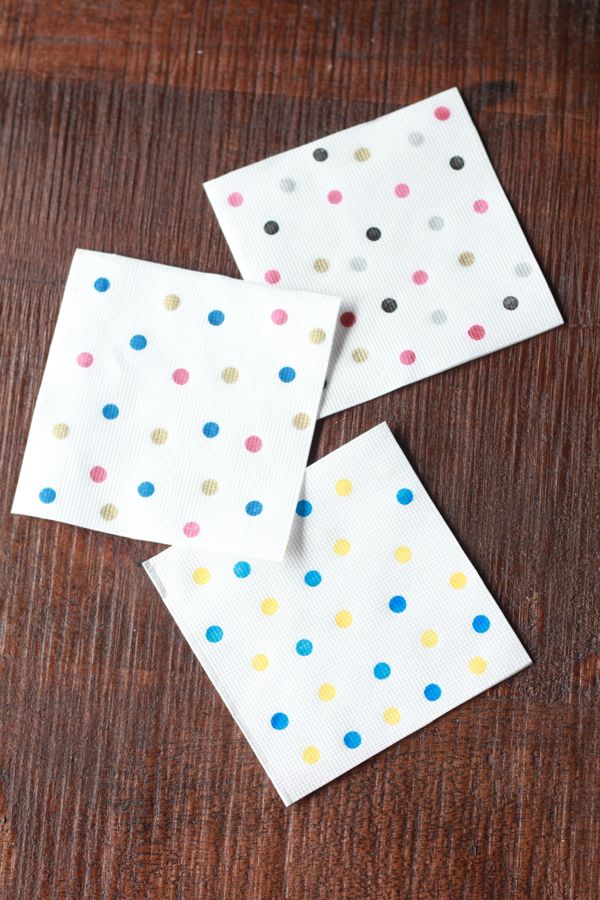
Here are a few great ways to make your own cocktail napkins. The polka dot napkins are a fun way to add color to any party. You just use the eraser on a new pencil and a stamp pad. Buy one of those multi-colored stamp pads in a combination that you like and save yourself some money; you only need a small area of the pad to stamp a pencil eraser.
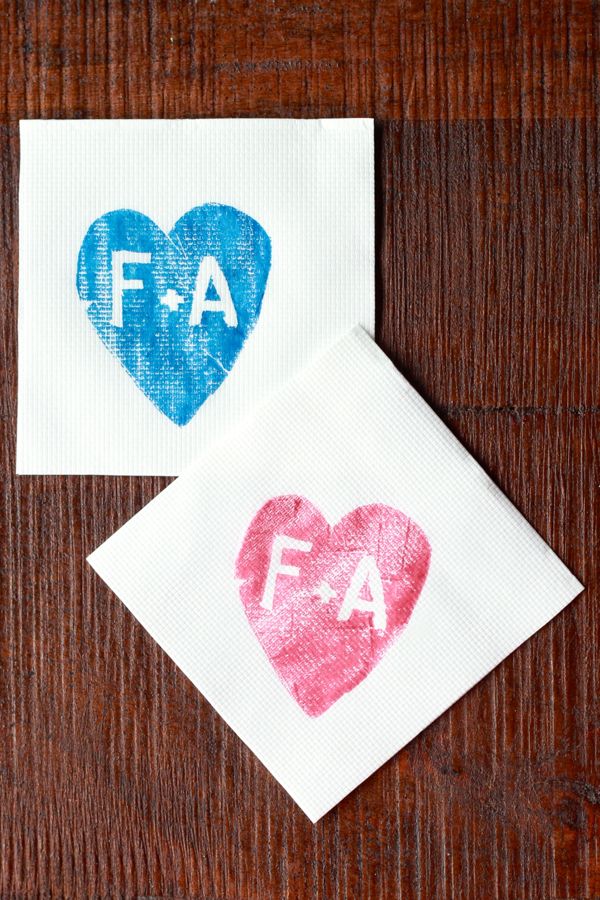
Remember the potato stamps you used to make when you were a kid? I put those skills to good use to make the initialed heart napkin. Wouldn’t these be PERFECT for a wedding? And you could bang 200 of these out in no time flat for your bar, since it’s just one stamp for the design! But you could get creative with your potato stamp and do something specifically for your party. Cut out a diamond ring shape for a bachelorette party or bridal shower. Use two stamps to do birthday candles for a birthday party (1 stamp for the candles, 1 stamp for the flames). If you’re really confident in your potato stamp skills, try the outline of an elephant or attempt a cute owl for a baby shower. And definitely share the results if you do, I’d love to see you show off!
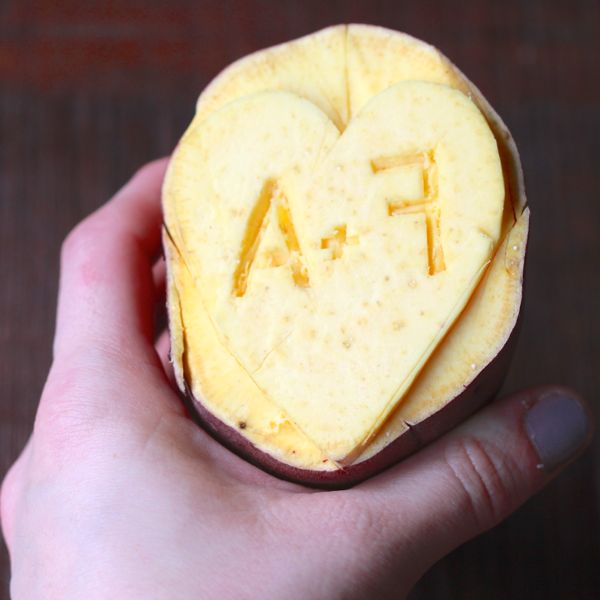
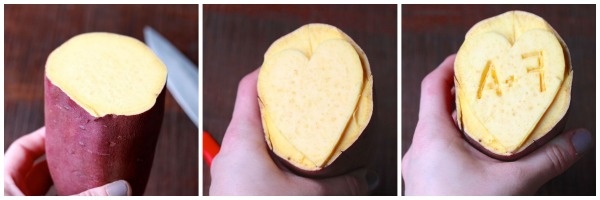
IMPORTANT NOTE ABOUT INITIALS! Don’t forget that lettering on stamps needs to be carved backwards, like this:
I like these as cocktail or appetizer napkins because they tend to be one of the first things you see. It also tends not to be the napkin that people use to wipe their faces. I wouldn’t recommend this technique for dinner or dessert napkins, however, just in case the ink you used decides to run. You don’t want your guests to end up with ink on their faces! In fact, it might be with experimenting with your ink/napkin combo in case they get wet so you don’t end up with ruined furniture, clothing or faces. I used a dollar store inkpad and a fairly high-quality napkin and didn’t have any issues with bleeding, but you can never be too sure.
Polka Dot Napkins
What you’ll need:
1 clean, new pencil eraser for each color you plan on using
Stamp pads
Solid-colored cocktail napkins
Using the pencil eraser as a stamp, press the eraser firmly into the stamp pad. Apply even pressure and create a polka dot on the napkin. Repeat, reapplying ink for each dot. If you like, you can use a pencil to create very faint marks ahead of time to decide where you want to place your dots in advance. But they don’t have to be perfectly spaced! They’re supposed to be fun and random.
Heart and Initials Napkins
What you’ll need:
A potato (I used a Japanese sweet potato because the regular potatoes were too small here in Tokyo! But I would NOT suggest using a traditional sweet potato or yam, since they tend to be very hard.)
A large knife and a small paring knife
Stamp pads
Solid-colored cocktail napkins
Slice the potato, creating a flat surface. Carve around a heart shape to create a raised heart. Carve initials into the heart. Apply ink from stamp pad onto the design. Use uniform pressure to firmly press the stamp into the napkin to transfer the design.
