I really love the color of the cork when you pull it out of a bottle of red wine. It’s always a surprise: will it be a beautiful blush? Or deep, rich purple? I’ve been stockpiling our used corks for at least a year now, trying to find the perfect use for them.
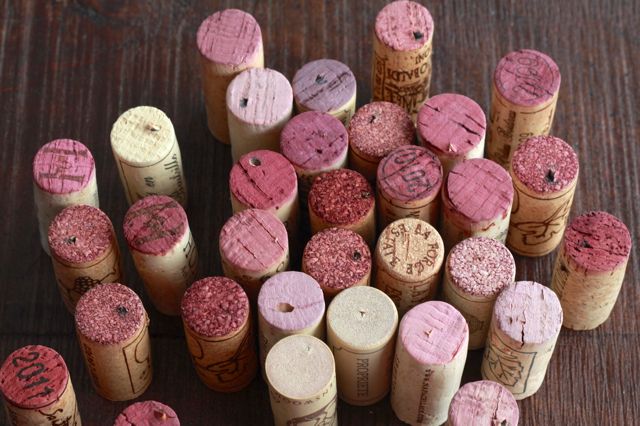
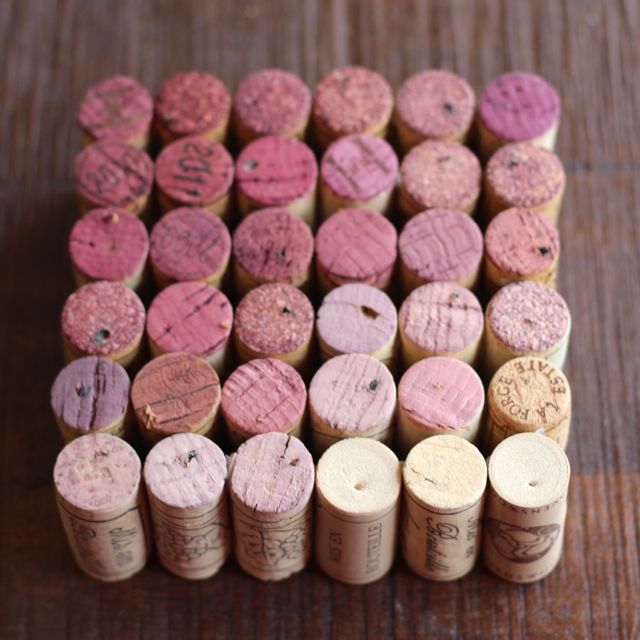
Most of the DIYs I’ve seen use the sides of the cork. But I wanted to come up with a way to use the pretty, colorful end. And with such a great range of pinks and purples, why not make it ombre? I can always use more trivets, especially for our dinner parties. Potholders do the trick in a pinch, but trivets are so much nicer! An ombre wine cork trivet sounded perfect. And it was really easy to make!
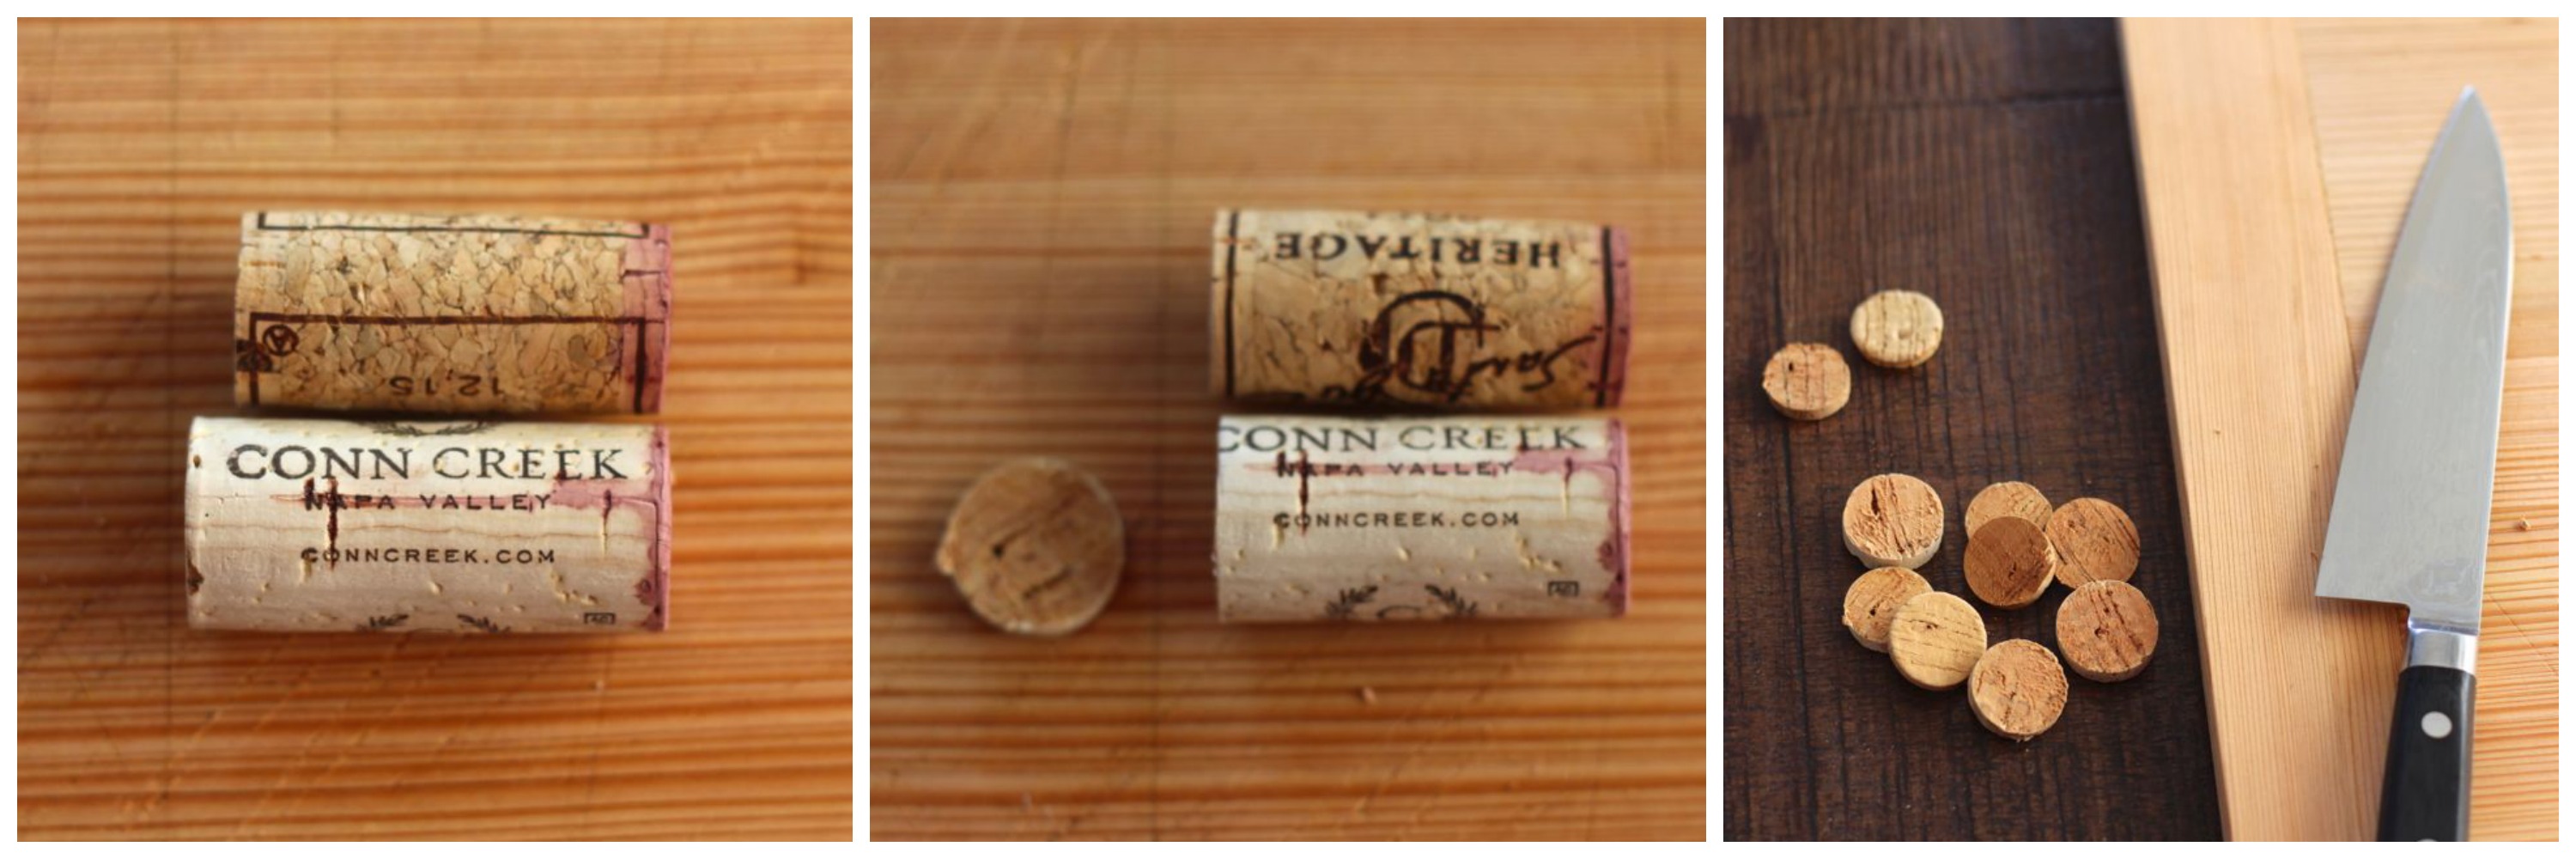
Except for one little hiccup. Did you know that there isn’t a standard height for wine corks? So I had to trim the tall ones down a bit to make them the same height as the others. It only took a few minutes and was really easy to do with a sharp kitchen knife.
What you’ll need:
36 wine corks (makes a 6×6 cork square, you can always adjust the shape based on how many you have)
hot glue gun and glue
a sharp knife or exacto knife and a cutting board.
What to do:
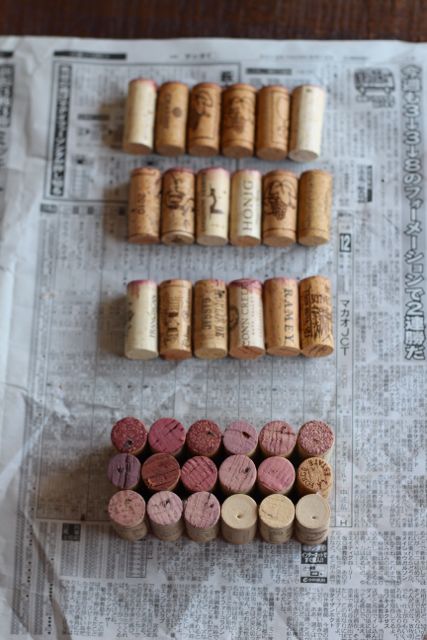
1. Trim the non-colored end of the tallest wine corks so that they are roughly the same length as the shorter corks. They aren’t going to be perfect, but try to get them close. Take one of the shorter corks and line it up next to the longer cork. Use that as a guideline for where to cut the end off. (Hold onto the trimmed ends, I’m trying to come up with a DIY to use those up!)
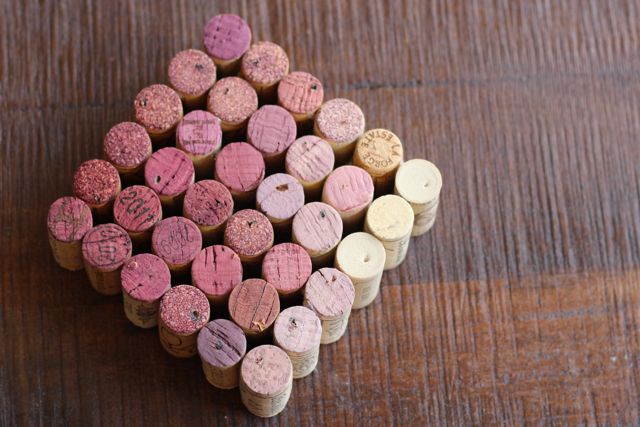
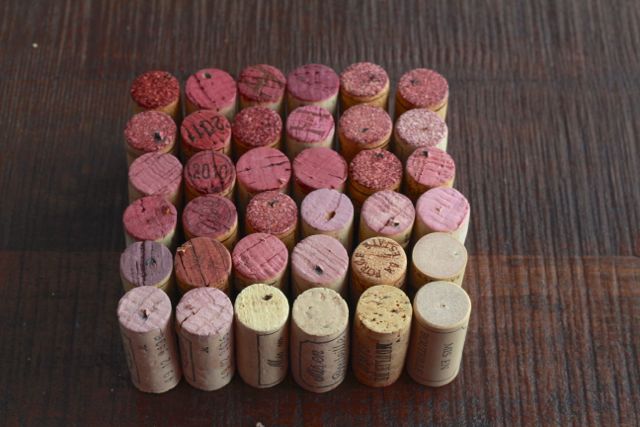
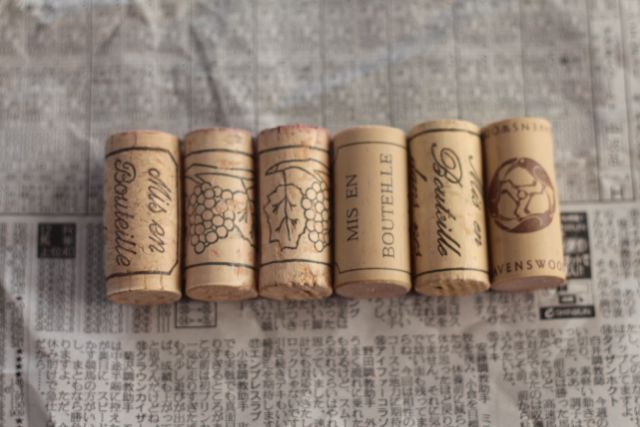
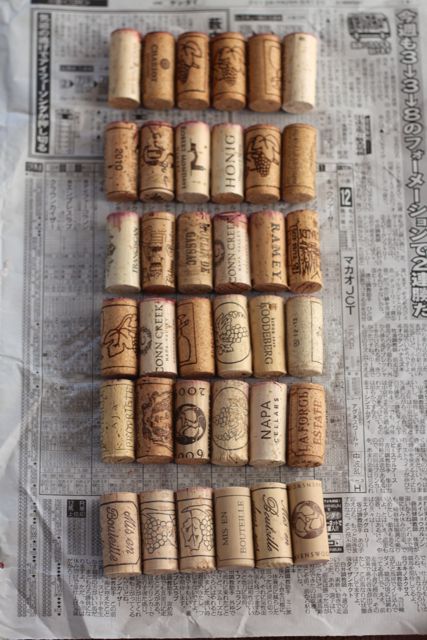
2. Arrange your corks the way you want the final product to turn out. I tried to create a pattern that went from dark purple into pink into light pink to no color to create an ombre effect, but it would look just as nice to mix them all up.
3. Glue the edges of the corks together with hot glue. Work one row at a time, one cork at a time. After you glue each cork and while the glue is still hot, press the sides of that row into a straight line against the table. Then stand the row up and press it so that the bottoms of each cork line up and create a flat surface.
4. Repeat with each row.
5. Glue the rows together with hot glue, again making sure that the bottom is flat as you add each row.
6. Use this great tip to get rid of those annoying, super-thin strands of hot glue that are hanging off the trivet.
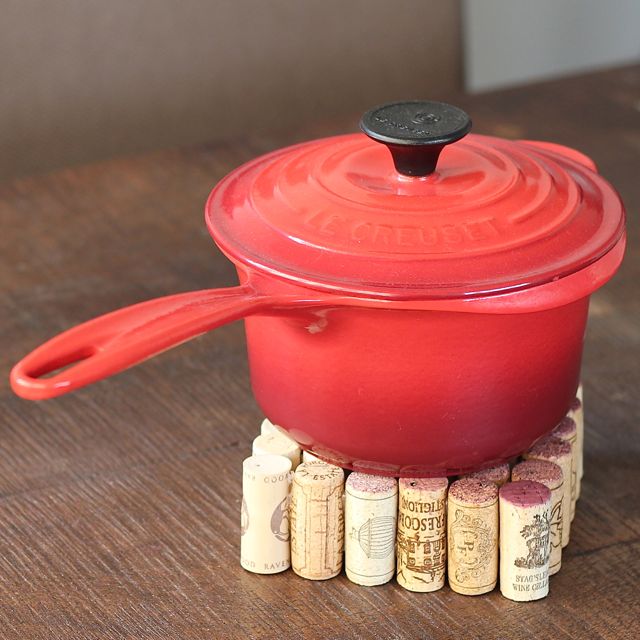
Such a great idea to use up all of those corks I have! 🙂
https://www.happinessiscreating.com/
Thanks, Meghan! Love your site, by the way. Especially your ombre necklace. I think we have a theme going…!
You could glue the trimmed ends onto those magnets that come with shower curtains and use them for messages or photos or whatever on the fridge.
cute idea! thanks!
Just came across your website and thought your wine cork trivet idea very inventive. I had an idea for the trimmed off pieces of cork. If the leftover cork pieces are relatively the same height, why not find an interesting square tile and glue the trimmed cork pieces on top for a nice, stable drink coaster.
Hi Annette, great idea! Thank you! 🙂