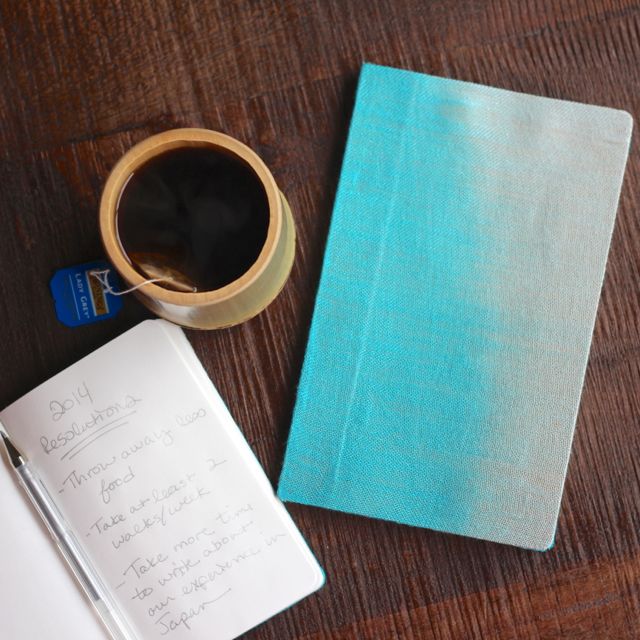
We really, really love stationary here at A&C. Cards, paper, tags, and especially notebooks. It’s a bit of a problem. And nothing makes us want to buy new notebooks more than a new year! This may be cheesy, but the blank pages of a fresh notebook make us think of all of the possibilities to come. They represent a clean slate, just like a new year does. And every year, we vow to be more organized, to better keep track of our ideas, and to record the important moments and memories that happen. What better way to do so than with a shiny, pretty new notebook?
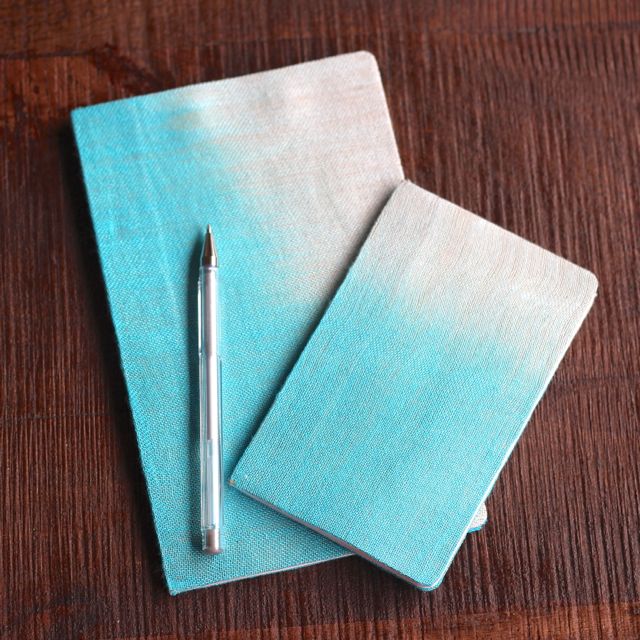
This DIY takes a boring dollar store notebook and turns it into a unique place to record your thoughts. All you need is a cheap notebook, some glue, a paintbrush, and a piece of fabric. If you’re looking to make it extra-special, chose a piece of fabric with some memories or personal meaning.
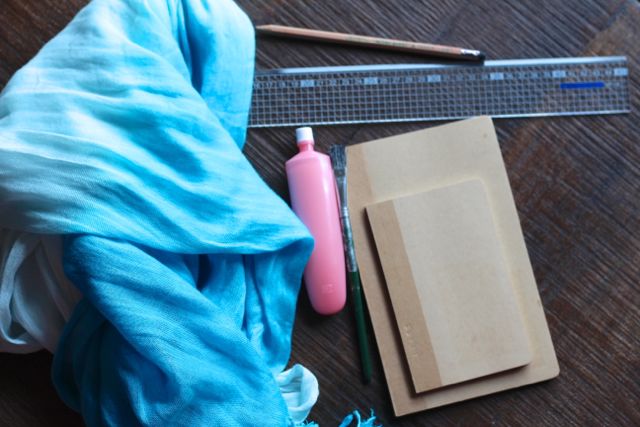
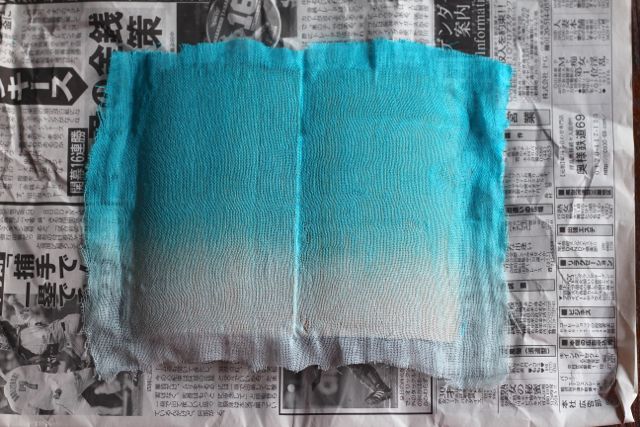
For me, it was an ombre scarf made by my previous employer that I had snagged on the zipper a few too many times and was starting to look a bit rough around the edges. I worked for a major American retailer before moving to Tokyo, and I wanted to use this scarf as a cover to remind myself that (while I enjoyed working there and met some amazing people) it’s not what I believe I was meant to do with my life. It’s easy to fall into what is comfortable or allows you to make a decent living, but following your dreams requires sacrifice and perseverance. I need to be reminded of that periodically! The scarf was pretty difficult to cut because it was gauzy and flimsy, but I really like the way it looks. Worth the trouble.
If you’re creating a travel diary, you could pick a piece of fabric that reminds you of a special place or trip. I contemplated using the fabric from a skirt I bought in Thailand that I will likely never wear again. You know, it’s one of those things that seemed like a good idea at the time but you just end up looking like a hippie when you attempt to wear it in your home country? But I fully intend to return to Thailand, and I may as well use the skirt on another trip.
While you could also use paper for this project, I think the fabric makes it a little more special. But it could be fun to use menus from your favorite restaurants, posters that you’ve outgrown, or some gorgeous paper from a place like Rifle.
Does all of this seem a little . . . too philosophical . . . for a notebook?? Admittedly, I can take stationary little too seriously sometimes. If you decide to go in a less philosophical direction, simply choose a thin fabric in your favorite print or color. You can even make sets of them in coordinating colors to give as gifts. I know I’m going to bookmark this idea for Christmas gifts next year! Especially when I can find these small kraft-covered notebooks at Muji for less than $2.00 each. (Do you know about the amazingness that is Muji? It’s like a Crate and Barrel, but with a minimalist Japanese aesthetic.) And they’re a great way to use fabric that you love but would probably never wear. I think I’ll find some cute Liberty printed fabric and do a few different sets for friends.
Just a few quick notes when deciding what notebook to use:
-If your fabric isn’t opaque enough, whatever is underneath might show through a little bit. So you may want to pick a notebook with a plain, solid cover. Or you can always add a layer of neutral fabric or paper underneath, like they did in the post that inspired this DIY.
-Use a notebook that is bound with glue, rather than a spiral-bound notebook. I haven’t found a way to make a spiral-bound one look cute yet.
You’ll need:
a notebook (with a neutral cover)
thin fabric (enough to cover the notebook and have a few inches to spare around the edges)
white glue, like Elmer’s
a paintbrush
a ruler and pencil
scissors
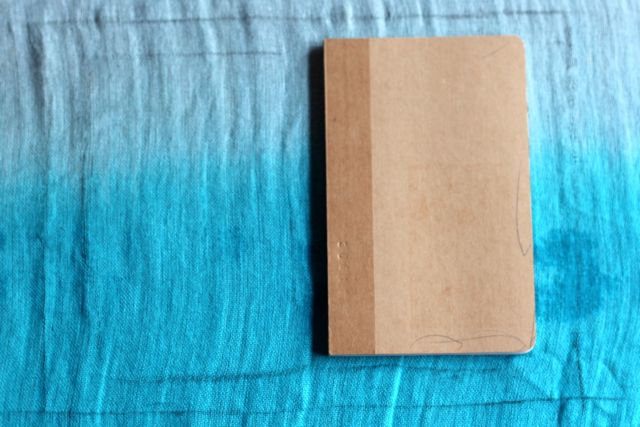
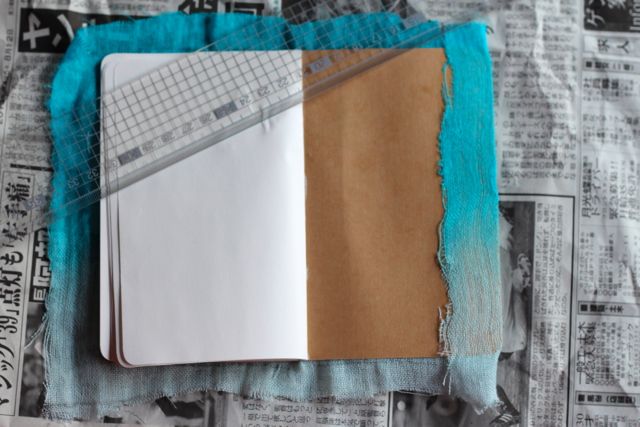
1. Trace the outline of the notebook on the back side of the fabric. If you have a thick binding, make sure you leave enough length to cover the spine.
2. Use the ruler to measure an allowance around the entire notebook that will give you room to glue the fabric inside the cover. For my tiny notebook, I gave myself 1/2 inch. For the larger notebook, I gave myself about 1 inch. Create a new outline that you’ll use to cut out the fabric.
3. Cut out the fabric around the bigger of the 2 outlines.
4. Spread a thin layer of glue over the notebook and carefully affix the fabric. While the glue is still wet, make sure you can close the notebook (that you didn’t pull the fabric too tightly over the spine).
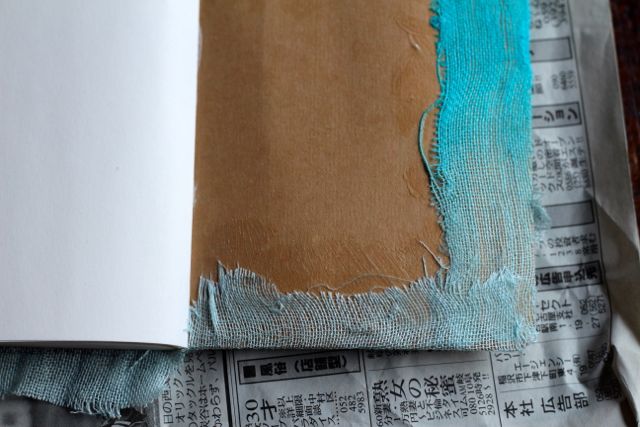
5. Spread a thin layer of glue over the inside edge of the back cover, just on the side opposite the binding. Fold the fabric over the edge and glue down.
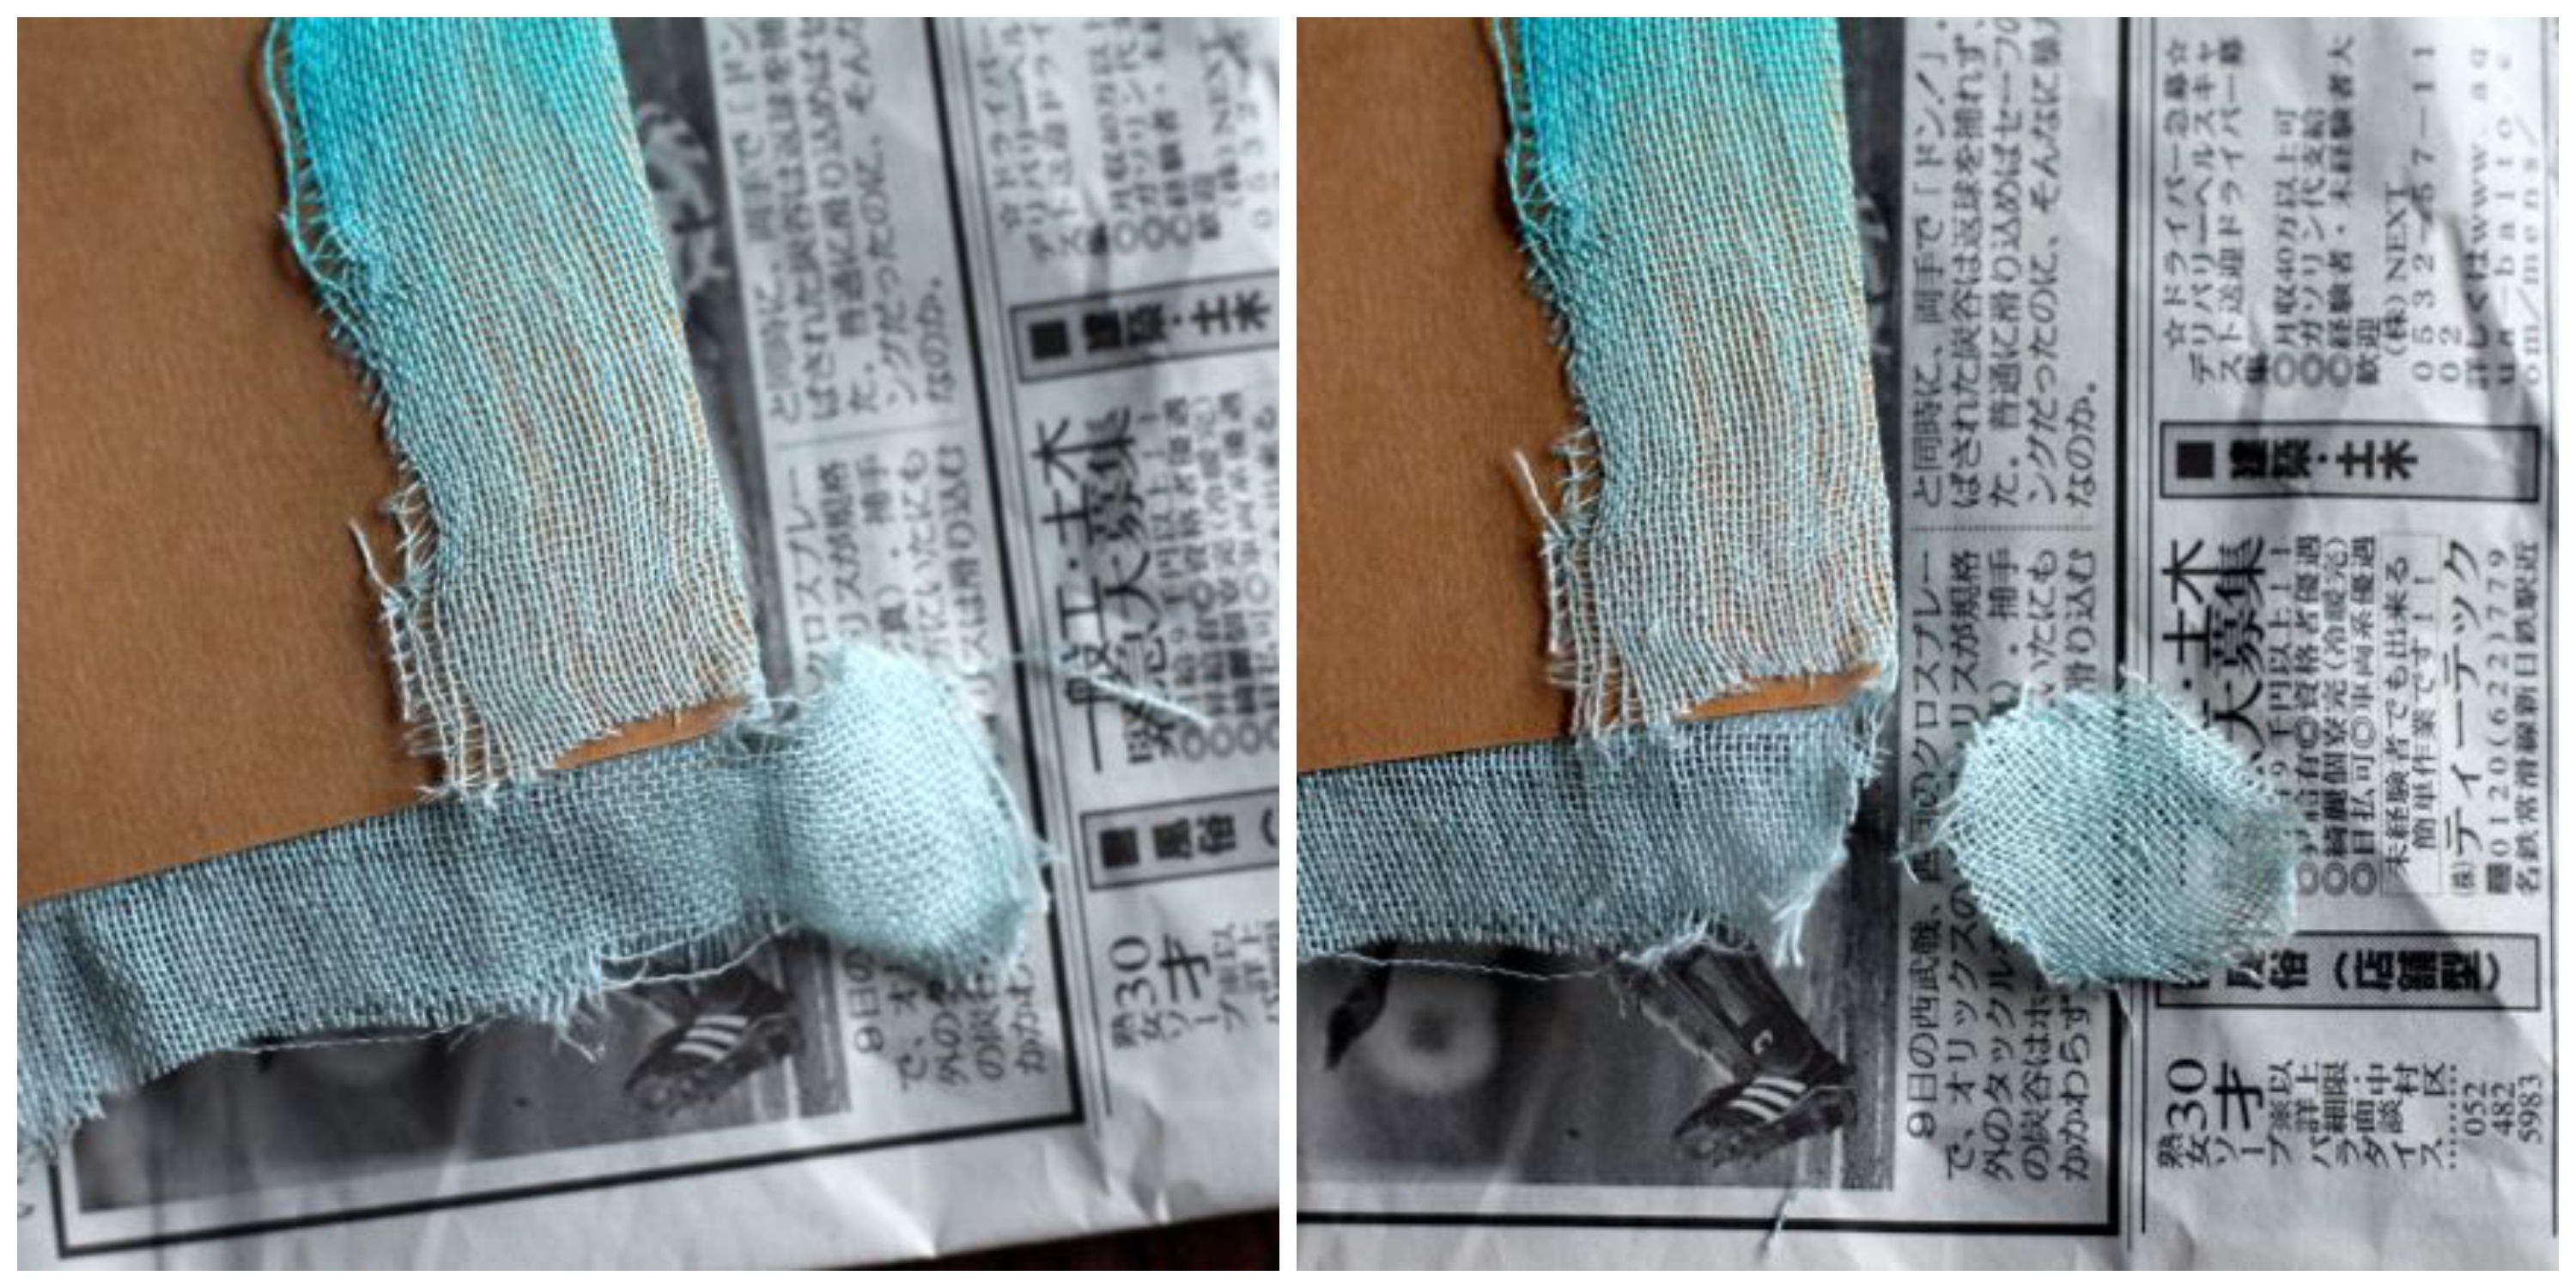
6. Cut the corner piece into a flap along the edge of the book. Cut a square out of the fabric so the raw edge won’t show when you fold over the other piece of fabric.
7. Cut a slit in the fabric at the book’s spine so you can fold it around where the pages are attached.
8. Spread a thin layer of glue over the inside edge and fold the piece that you just cut. Fold it over and glue it to the cover.
9. Repeat steps 4-7 for the rest of the edges.
10. Cleanly trim any pieces of fabric that are left around the binding and seal any raw edges with a dab of glue.
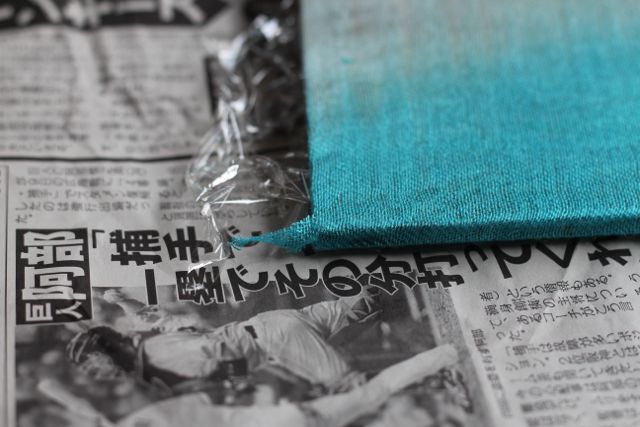
11. Let dry completely. My books had a relatively thin paper cover, and the glue was making the cover curl a little. I put each notebook in a plastic bag and placed a heavy book on them so they would dry flat.


What a neat idea!