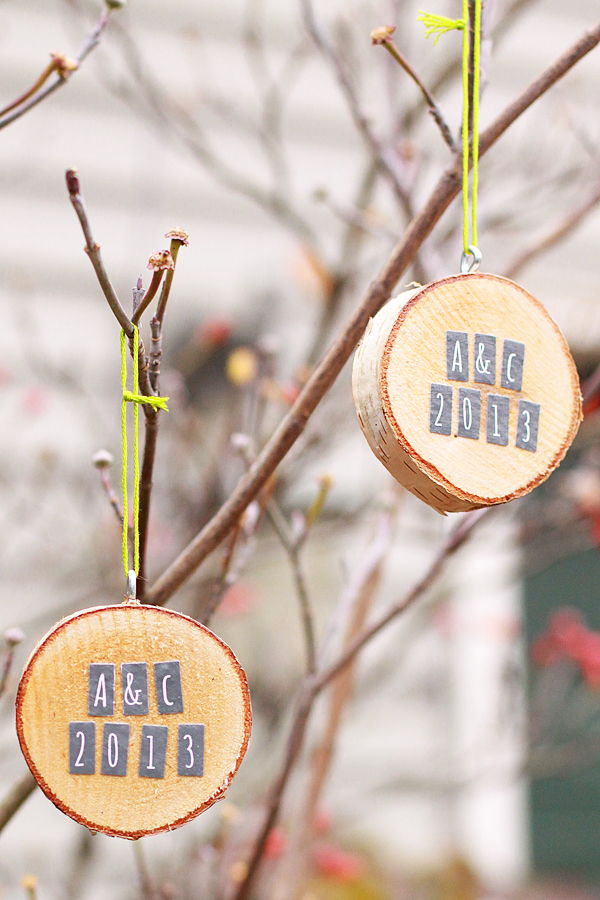
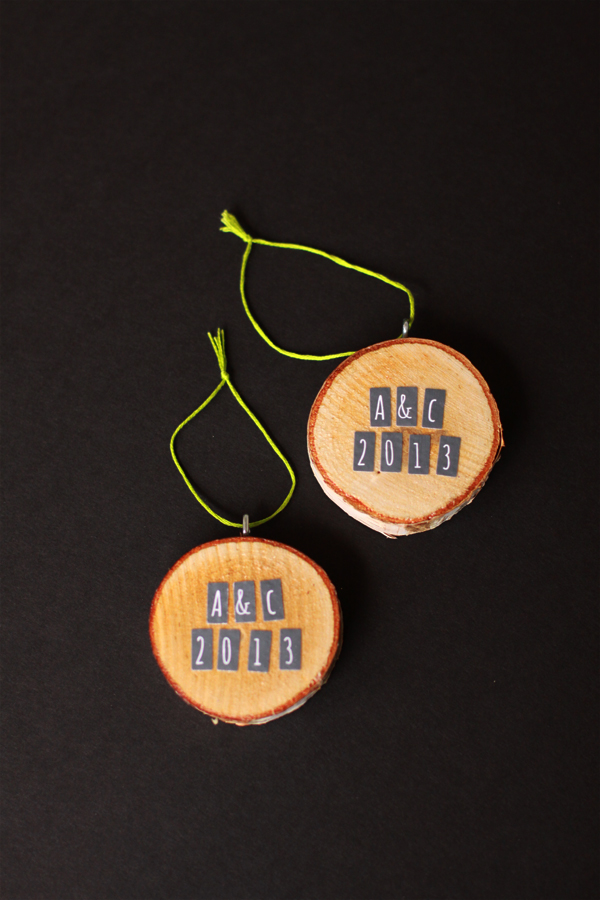
Still on the hunt for some cute ornaments? Given our recent birch round love (did you see our cheeseboard or place cards?!), it only seems natural that we’d be turning those pretty discs into a great decoration for the tree! You can make these personalized birch round ornaments in just a few minutes.
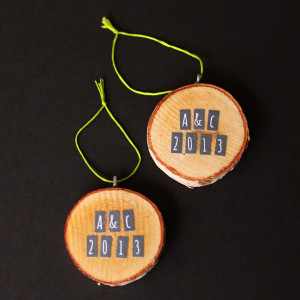
DIY Birch Round Ornaments
2013-12-11 20:05:51
Ingredients
- birch rounds (about two inches round)
- screw eye rings (found at your hardware store)
- decoupage glue (like Mod Podge!)
- alphabet stickers
- embroidery floss or twine
Instructions
- Use a thumb tack to create a starter hole in the side of your birch round. Using this hole, screw in your eye ring until it's embedded into the round. (Note the position of the ring in the photos here- you'll want to ring to run vertically to the round when it's laying flat on the table so that it will hang just right!)
- Use your alphabet stickers to create your design. You may wish to use a spot of glue to get them to adhere super well.
- Coat the entire face of the round containing your design with decoupage glue. It will take 3-4 coats to get a sheen since the birch wood really soaks up the moisture. It should only take about 20 minutes for the glue to dry between coats, depending on your brand.
- Once dry, thread your floss or twine through the eye ring and tie!
Alyssa and Carla https://www.alyssaandcarla.com/
