It’s finally time to start posting about Christmas decorations! WHEE! I’m thrilled!
I’m a huge fan of House Hunters and it recently occurred to me that you frequently hear the buyers make the same comment: “I really love (insert random house style here), I think it’s because I grew up in a house like that.” And while I can’t commiserate with that sentiment, I am pretty sure the same goes for Christmas trees. I’m a huge fan of things that are shiny, things that are silver and things that glitter. But I REALLY love trees with homestyle, cozy charm- probably because ours was just like that growing up. (Case in point: some of my favorite ornaments were simple crocheted stars, similar to these I found on Etsy!)
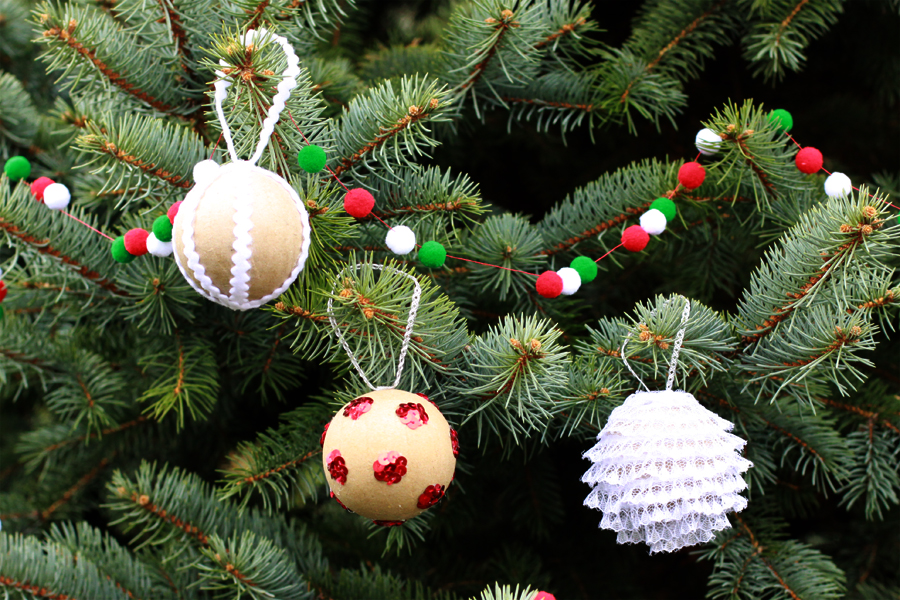
(If you love the polka dot sequin and lace versions, be sure to stay tuned for their tutorials later this week from Alyssa!)
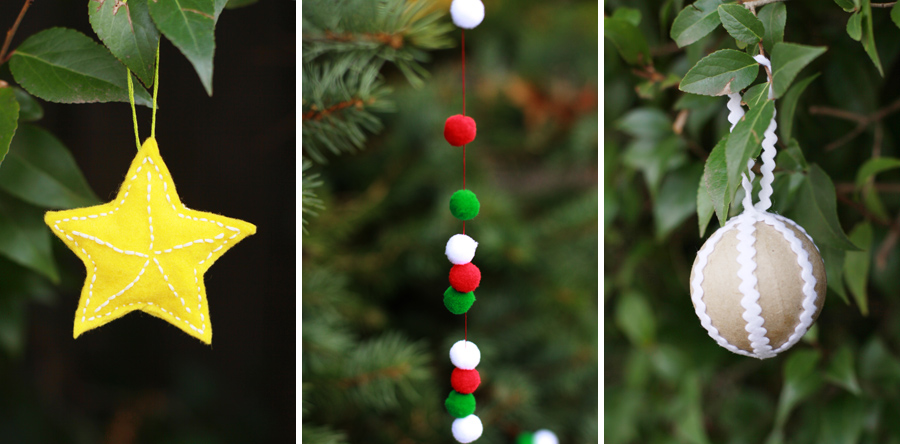
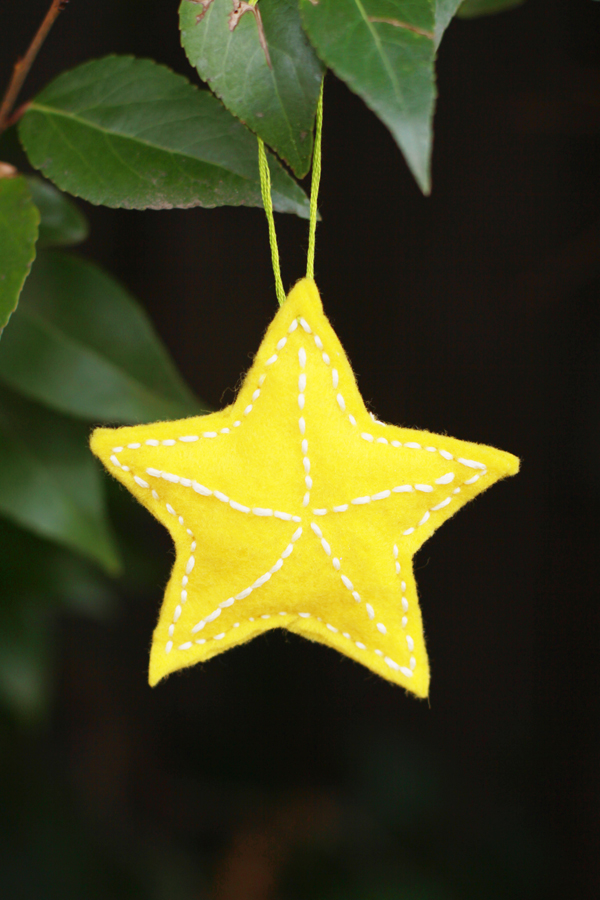
Today we’re going to tackle three cozy items: a felt star ornament with contrast stitching, a super easy felt ball garland and bric a brac craft ball ornament:
- felt sheets (in the color you'd like for your stars)
- embroidery floss (one for a contrasting stitch and one for a hanger, these can be the same if you like)
- felt scraps or batting
- embroidery needle (with an eye large enough to use all 6 strands of floss at once)
- Using the below pattern (printed out at full size), cut out 2 star shapes per ornament.
- Thread a long piece of embroidery floss in your contrast color and stitch a pattern onto one side of one of the shapes. Don't worry about being neat in the back, it will never show!
- Once you've completed your stitching, place the two ornament pieces together with the stitches facing outward. Stitch the pieces closed about halfway (I stopped after stitching three points of the star.)
- Fill your star with batting (or felt scraps), using a pencil to stuff as much batting as you like into the points.
- Continue to stitch around the star, pinching the felt together to keep the stuffing inside. Finish your stitch on the back of the star and tie a few knots to hold.
- Create a loop through one of the star points.

I love the way this little star turned out, it’s very charming and looks handcrafted- just the right DIY to show the heart you’re putting into your tree decorations!
On to the easy-peasy garland:
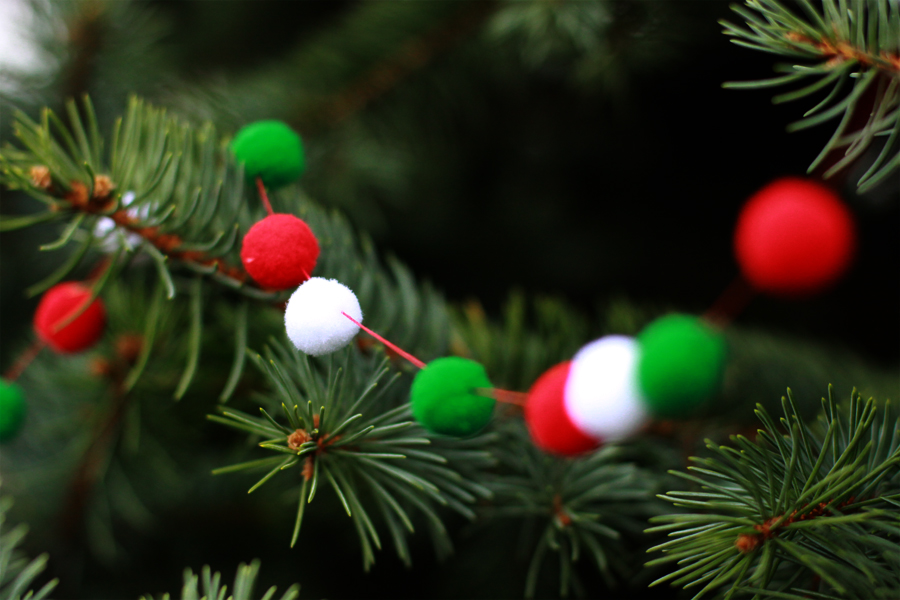
- felt balls (pom poms) in your choice of colors
- thick, heavy-duty thread (such as upholstery thread)
- large-eyed sewing needle
- If you know how much garland you're looking for (say, for a mantle as opposed to an endless supply to encircle a tree), cut a length of thread three feet longer than needed and thread on to your needle. If you are going for the endless supply, thread the needle with the end of the thread, but don't cut it! You can just keep going until you run out of felt pom poms and your spacing is just how you like it.
- Keep stringing felt balls onto string. You can either space them (as I did in the above photo) or smoosh them all together- both look fabulous!
- Decorate!
Lastly, this ball uses one of my favorite trims- bric a brac!!
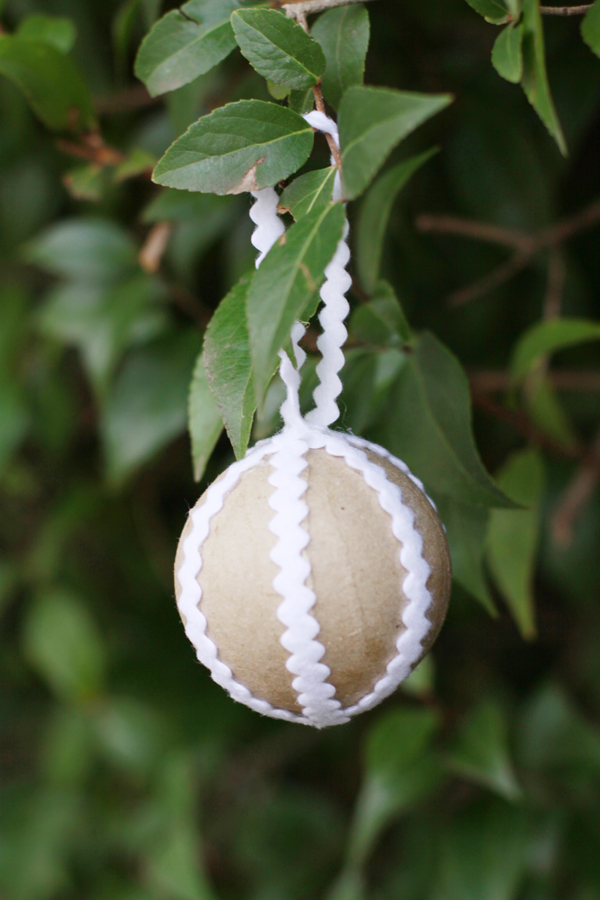
- bric a brac (this one is a hefty version made of thick felt)
- craft ball ornament
- glue gun/glue (easiest, but a strong craft glue would work too if you have time to dry)
- Cut off the thread that came on your craft ball.
- Beginning at the point where the thread used to be (the "top" of the ball), apply a thin line of glue around the circumference of the ball, returning to your starting point. Press firmly as you go to ensure the trim is attached well.
- Repeat twice, rotating the bric a brac to wrap around the ball and 'splitting' the ball into six sections. Always return to the same place where you've started at both poles (top and bottom of the craft ball).
- When you've completed the three wraps around the ball, glue the bric a brac securely to the top of the ball. Use another several inches to create a loop, gluing back down into the same place on the top of the ball.
