My landlord is very against a lot of things. Some of these make sense (like not parking on the lawn) and some of them make less sense (I’m pretty sure she really thinks you should not nail a single hole into the wall). Since I hate just giving away security deposit money, I have a stack of gorgeous photos and prints and assorted art leaning against my living room wall. This is kind of a bummer- those photos are wonderful and make the place feel like home! On the other hand, it has given me the opportunity to branch out and think of new ways to decorate around here.
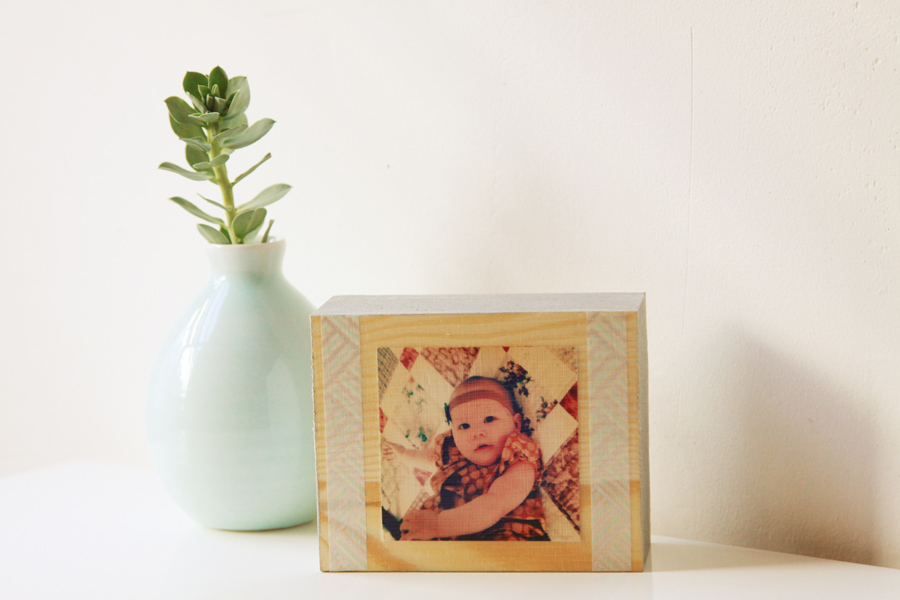
Last month I came across a super cute post about wooden photo blocks from Angry Chicken. I love the size of her final project and how fresh and homey and fun it looks. So I decided to try and make some myself!
Task #1: Find wooden blocks. This is harder than you might imagine. I scoured the local Home Depot, wandering aimlessly from stick-on tiles to ant spray and couldn’t find anything similar to her size/shape. I suspect if you know anything about wood you could select a piece and get them to cut you smaller blocks. But I wasn’t sure and I was too afraid to ask, so I headed to a more familiar location: the craft store. It took two laps around the place, but I finally found something I thought would work.
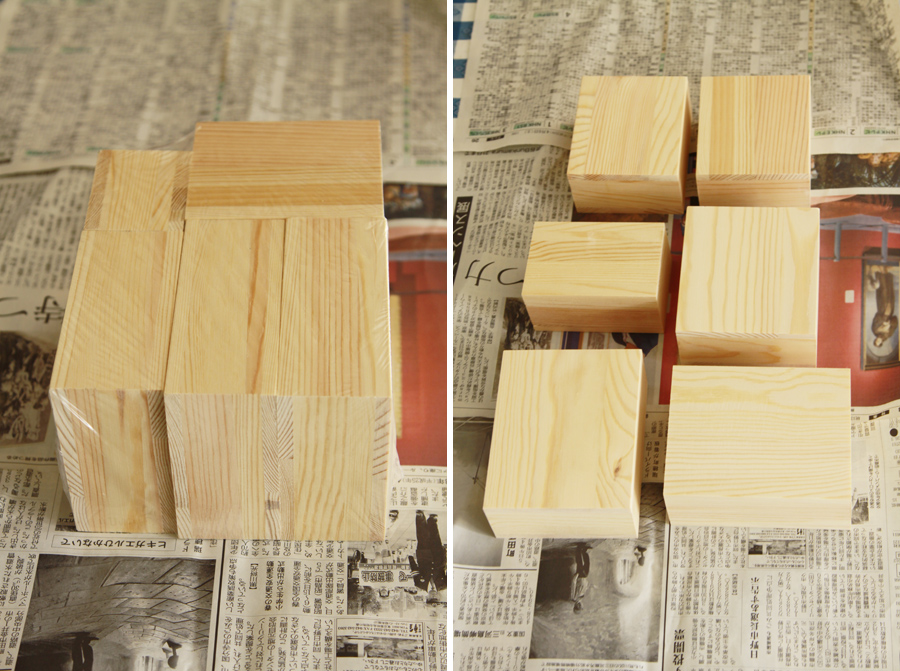 The package is a variety pack of 6 hollow wooden blocks, in slightly varying sizes. They needed a very quick sanding on some of the edges to remove small snags, but were otherwise ready to go. (The bag was $14.99, but cost me $7.50 on sale.)
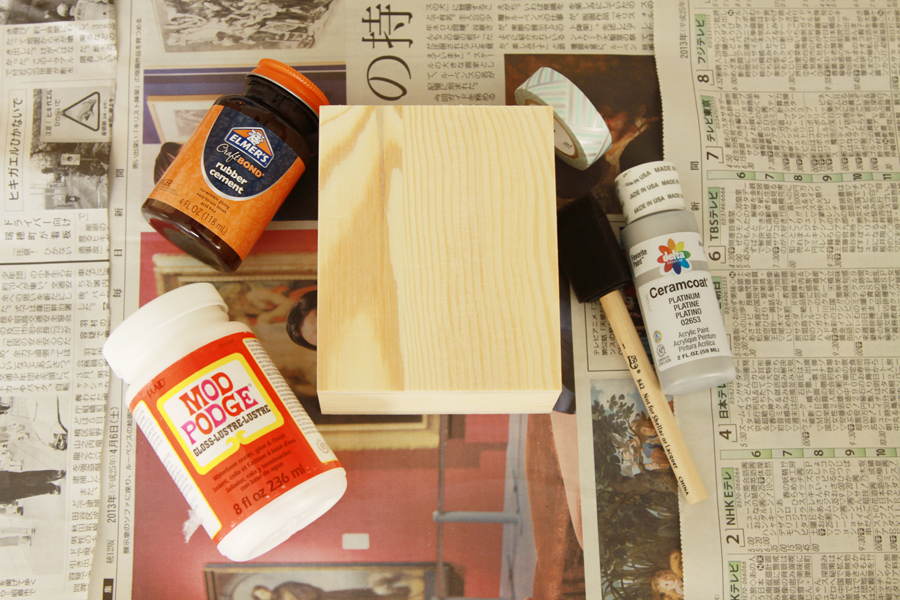
Once I got home, I assembled all my items: a slightly sanded wood block, silver paint, Mod Podge, rubber cement, a foam brush, and some amazing washi tape I found in Japan.
 Task #2: Begin assembly. I started with painting the edges of the block silver.
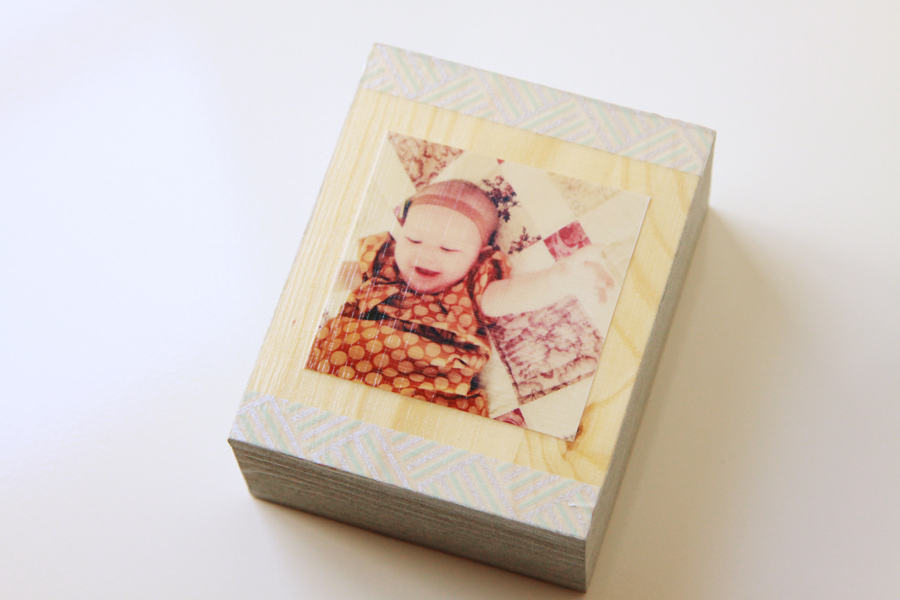
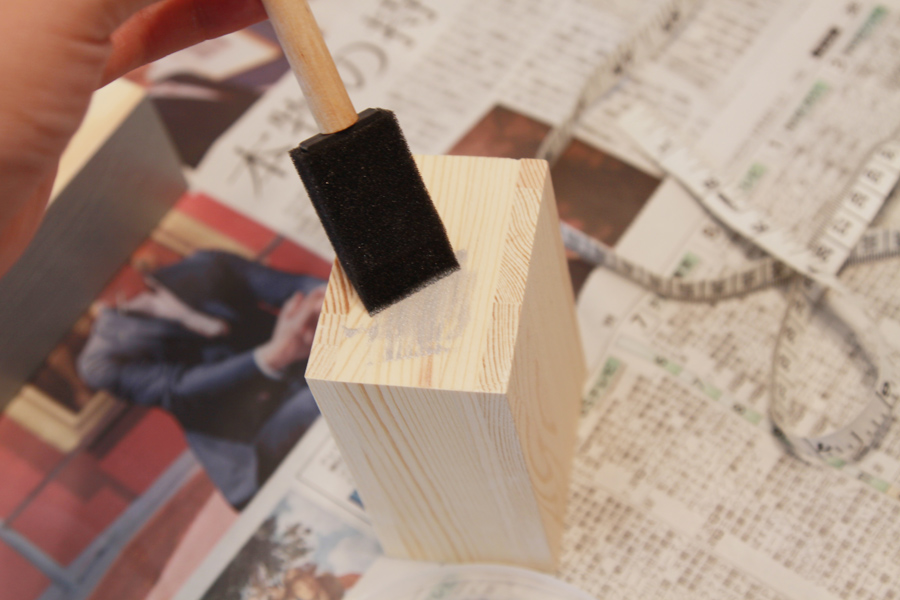 After that’s dry, attach your selected photo with rubber cement. (I used some on the block itself and a coat on the back of the picture for a strong bond. I also am slightly neurotic, so I used that masking tape to ensure the proper placement.) Decorate with your washi tape. Apply Mod Podge. (I went for three layers, with two applied horizontally and the last applied vertically. This helped give the finish a nice texture.)
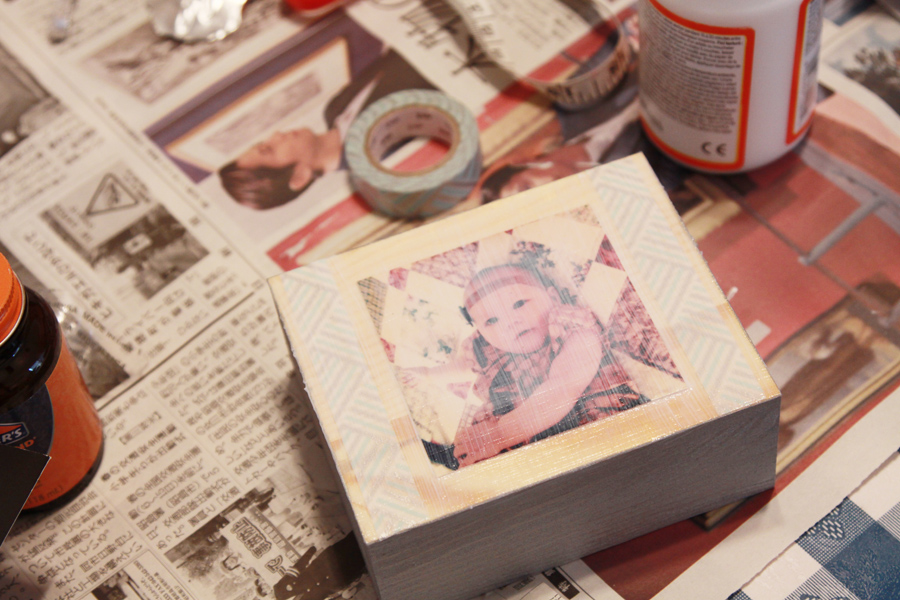 Don’t let that white look worry you, it won’t dry that way.
Task #3: Pick a perfect spot to display your new block and enjoy! I’m taking this one of my cute niece to work since she hasn’t made her appearance on my desk yet.
(PS- Don’t forget the back! Two looks for the price of one!)
* Quick tip: these are Instagram pictures that I loaded into Photoshop and re-sized to fit my blocks. I was able to fit these side by side on a 4×6 print as 3×3 inch squares and only paid $.19 to have them printed in under an hour. Score.
