If you happened to stop by last week (while I was still jet-lagged and unable to fall asleep like a normal person), you would have noticed two things:
First: I went to Tokyo to visit Alyssa! It was an incredible trip (with fantastic hosts)- I went everywhere and saw everything (it seemed). As you might imagine, we did tons of shopping and ate A LOT of amazing food, including an incredible dinner at the Michelin-starred Lauburu plus the best sushi I’ve ever eaten (no surprise), three ramen meals at two different restaurants, tempura, hamburg… I could keep going for a long time and there are STILL meals I’ve put on a to-do list for my next trip.
Second: I got to introduce Alyssa to a Japanese item in Japan! Since another fun activity was hitting up the Japanese markets to marvel at the prices of their produce (EXPENSIVE), their collections of soy sauce and spices (expansive) and new treats I’d never seen before, you can imagine my surprise when I happened upon the steam cakes Alyssa mentioned in her last post on Cherry-Balsamic Sauce! These little pockets of goodness were introduced to me here in San Francisco and can be found in Japantown or any of the Asian markets in the area (including 99 Ranch, which I visited when I made Sizzling Rice Soup.) Over the last few years, I’ve seen the supply dwindle and I’m not sure why. I can imagine that the packets (which are only about $1) get snatched up pretty quickly, but that doesn’t really help me when all I want is a tasty, easy sweet cake!
To get my own fix and help those of you who either can’t find steam cakes in your area or don’t have an oven (ahem-Alyssa-ahem), I decided to share a recipe for these super-easy little cakes! The process took me about 13 minutes from start to finish, yielded just enough for four small cakes and made me feel very fancy (cake dessert on a weeknight!)
Japanese Steamed Cakes
recipe from katefromscratch
- ½ cup all purpose flour
- 1 tsp. baking powder
- 1 egg
- 2 tbsp milk
- 2 tbsp sugar
- 1 tbsp vegetable oil
- 1 1/2 teaspoons pure vanilla extract
1. Prepare your water by selecting your ramekins/steaming bowl(s). You’ll want to fill your pot up with water just high enough to cover approximately two-thirds of your container. Make sure that once you put all the containers into the water it won’t spill inside! Bring to a boil.
2. While waiting for the water to come to a boil, whisk together all your ingredients. I did this in one bowl, combining the dry ingredients first and adding all the wet ingredients before I combined gently.
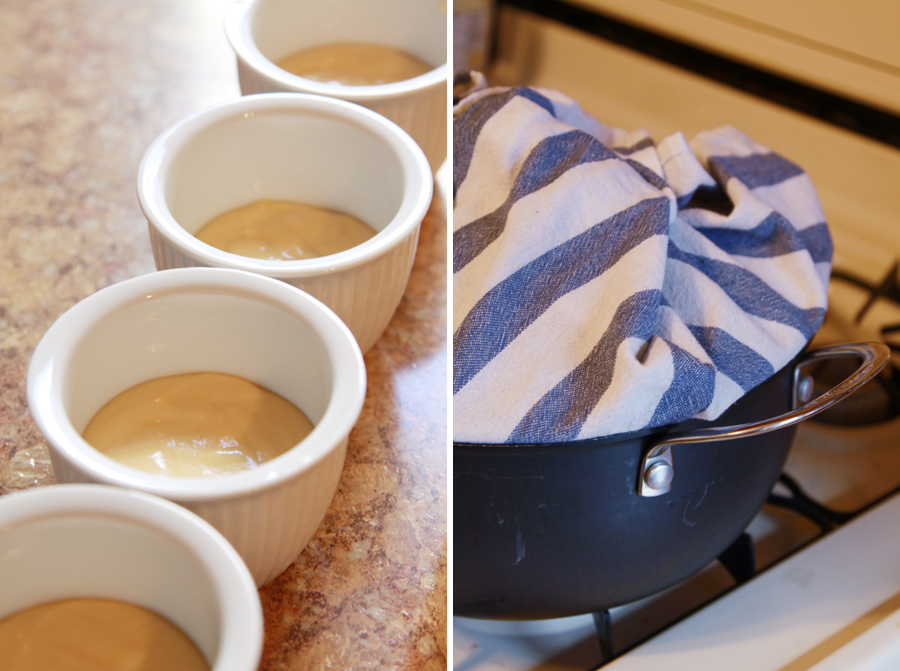
3. Divide the batter into your containers. (I used 6 ounce custard cups and filled them about 1/3 to 1/2 full). *Note: the original recipe calls for you to spray your container with cooking or baking spray. It slipped my mind during baking and made no difference in being able to take the cakes out of the ramekins, so this step is up to you!
4. Once your water has come to a boil, add your containers. Leave the heat on high as you put in the containers and prepare your lid- the water will cool when you put in your containers and depending on their temperature, the water could cool considerably and the extra moments of high heat will ensure enough steam for cooking.
I would strongly suggest covering your lid with a kitchen towel (as shown in the picture above)- this will allow any water droplets created on the lid to be absorbed rather than fall back into your cakes. (This is what I like to call Tamale Knowledge.) Once your lid is on, reduce heat to a simmer.
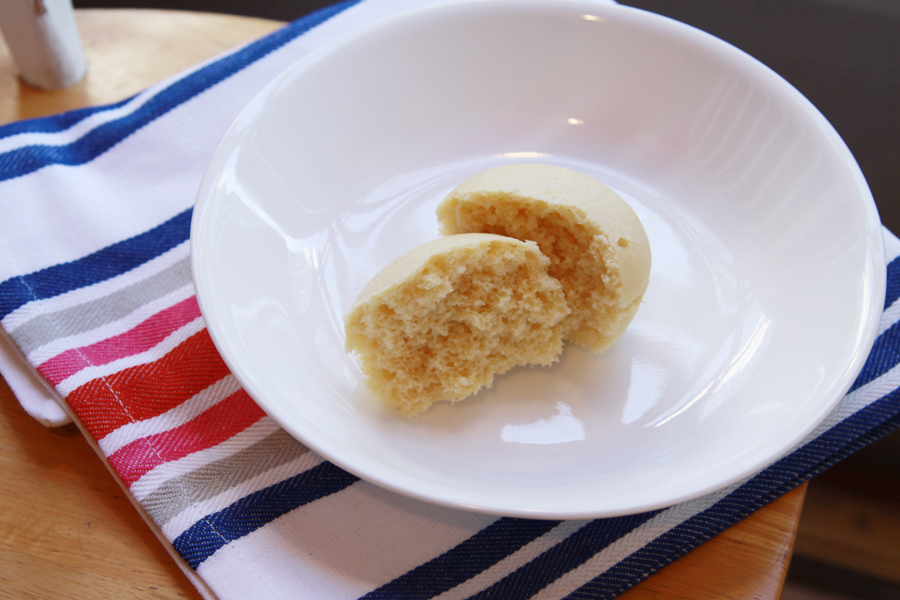
5. The cooking time varies according to your specific container. The original recipe calls for 8 minutes for 1/4 of the batter, but found the same cooking time for 1/2 of the batter cooked in stoneware rice bowls. The next time I use these ramekins, I will start checking on them at around 6 minutes. Since my cakes were a touch on the dense side (but still delicious!), I think they may have cooked just a bit too long for my preference. You’ll know they’re done when a toothpick inserted into the middle comes out clean.
6. Remove from water and set aside to cool slightly.
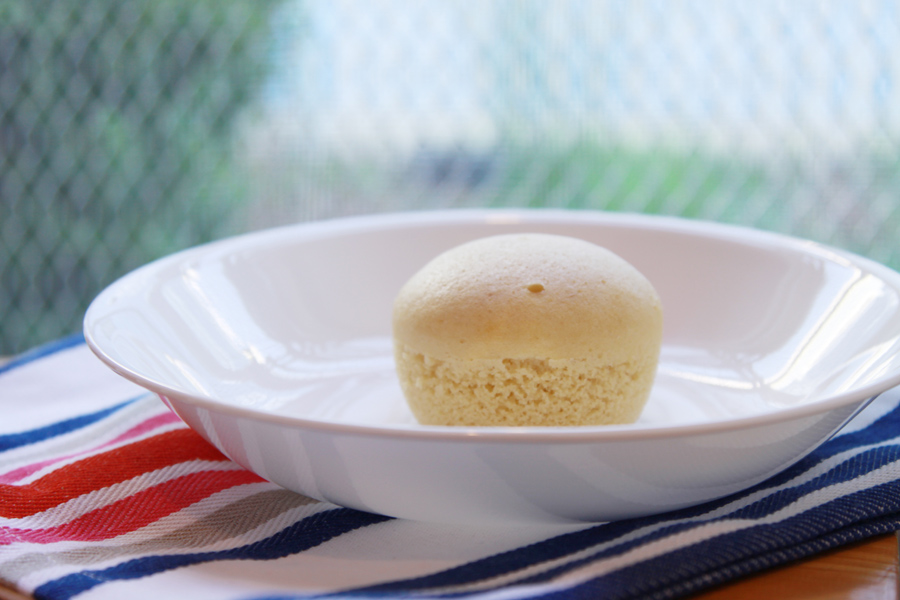
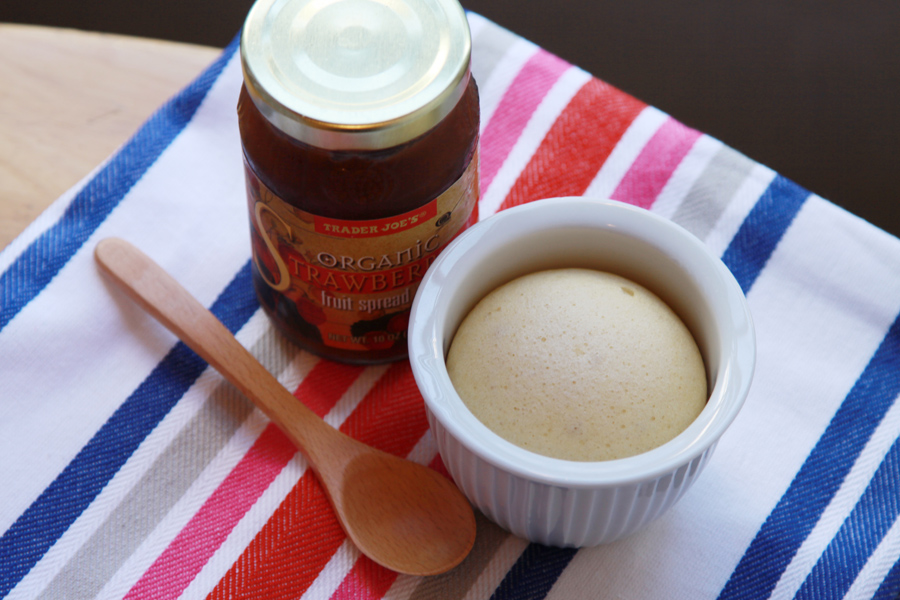
MMM- look at that steamy goodness! Serve them right away with your choice of sauce or jam or berries- or even just plain.
These cakes are every bit as delicious as the store-bought version with the added benefit of being easy and simple. As a bonus, the batter is a great base and lends itself to a variety of add-ins. I’ve seen these offered in cheese and cocoa flavors, but I’m most eager to try adding some vanilla bean to my next batch!
Happy steaming!


Whoa – these are a must-make for me. I LOVE the simplicity and elegance of steamed buns, but I’ve always been intimidated by the process, despite never really researching it! You broke it down beautifully. I’m actually hosting a blogger potluck thing in our area soon, and these would be an awesome base for one of my dishes. Are they fine at room temp?
They would be great at room temp, certainly delicious! You’ll just want to make sure that you don’t oversteam them- that’s the only way they might get a little on the chewier side. 🙂 (Still tasty even if this happens, fyi.)
I’m so jealous about your blogger potluck! I can’t wait to hear more about how it turns out!