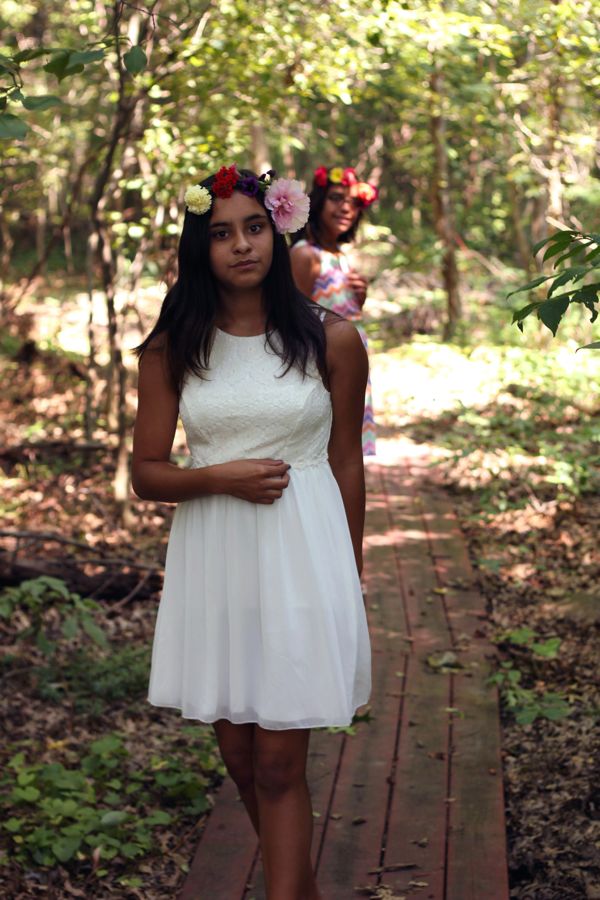
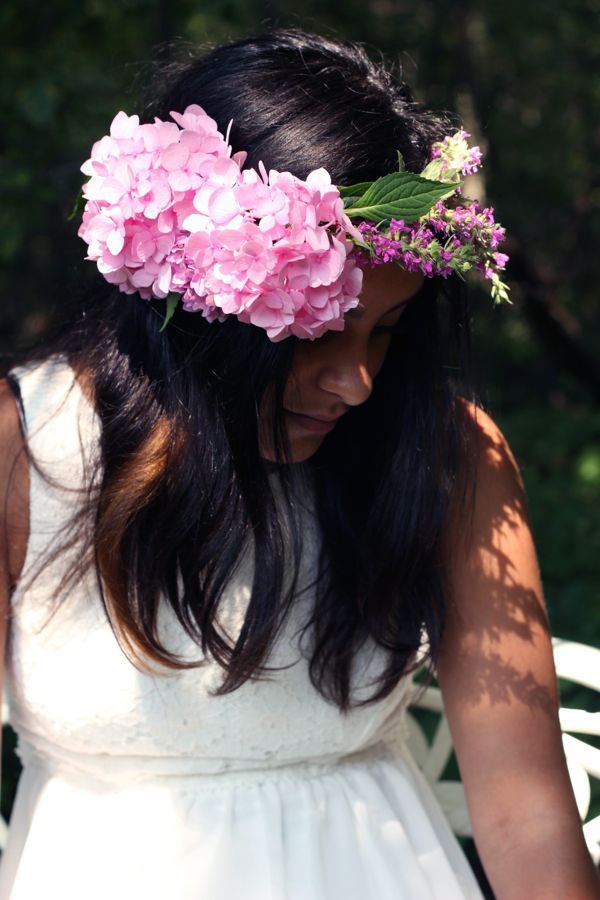
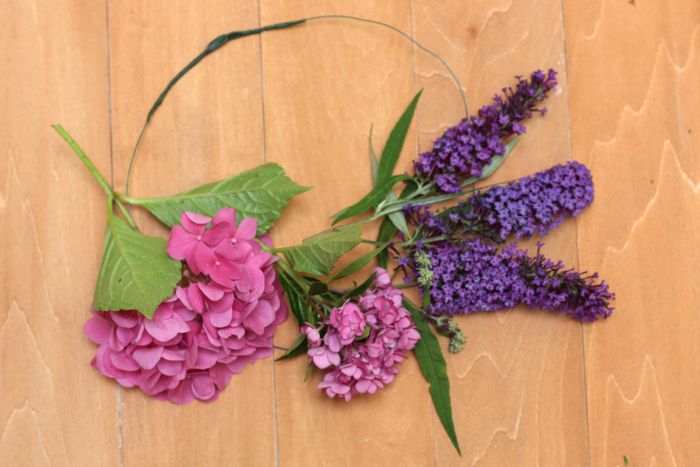
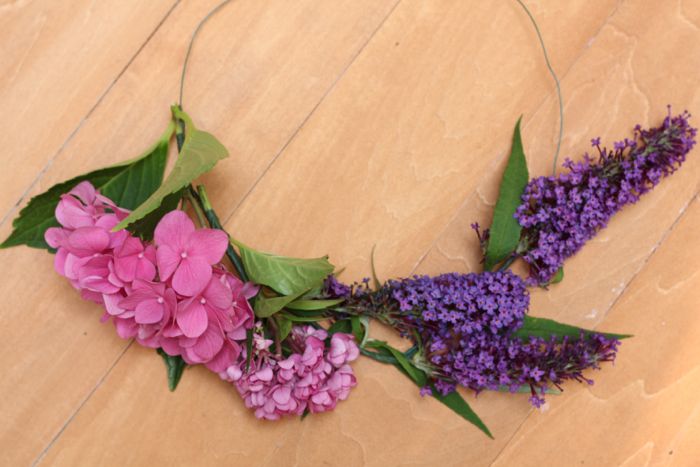
 Floral crowns are surprisingly easy to make, but they are so fancy and such a novelty! I made them with my goddaughter and her sister (remember these girls from last year’s tea party?), and they couldn’t get enough pictures in them. They picked out their clothes and made sure their hair looked nice, and we looted my godmother’s beautiful garden. They each made their own crowns with their favorite flowers (with some help), and I made a hydrangea and butterfly-bush crown (shown above). Just for fun, I also used the same method to affix a gorgeous hydrangea cluster to a headband, too (see the pic with the headband at the end of the post). That’s a great shortcut if you don’t want to do the full crown. Then we went into the forest to have a little photo shoot.

We had so, so much fun! Can you feel the delight in the photo above? If not, scroll to the bottom and tell me that little sweetie isn’t beyond happy. The girls were amazing models, and I realized that my goddaughter is growing up way too fast (that’s her in the white dress). She looked like a beautiful little wood nymph or forest fairy!
If this post inspired, you, check out more floral crown tutorials at Bright Bold & Beautiful as part of the Martha Stewart #SavorSummer series. Look for the hashtag #SavorSummer on Instagram and Twitter for more examples, and share your own with the same hashtag!
DIY Floral Crowns
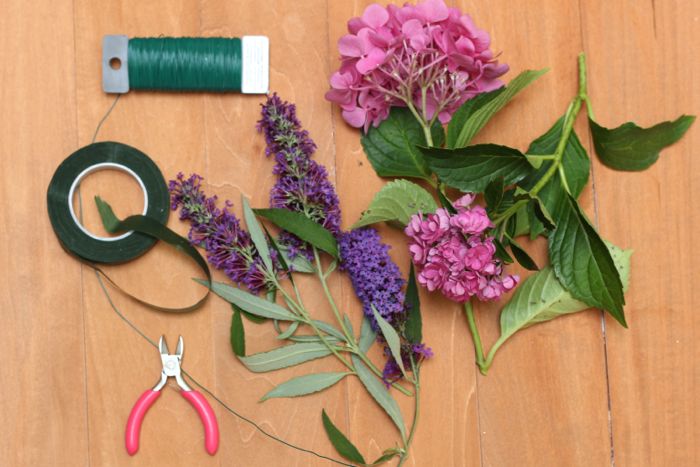
What you’ll need:
22 gauge floral wire
wire cutters
floral tape
your favorite flowers with an inch or two of the stems intact
What to do:
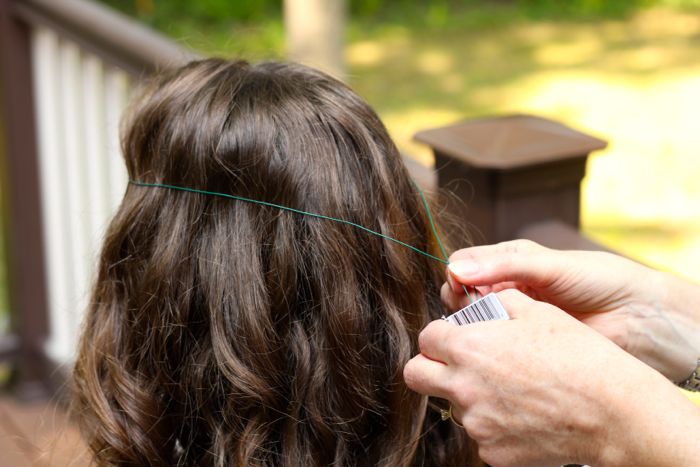
1. Measure a piece of floral wire to fit around your head with a few inches to spare on each end.
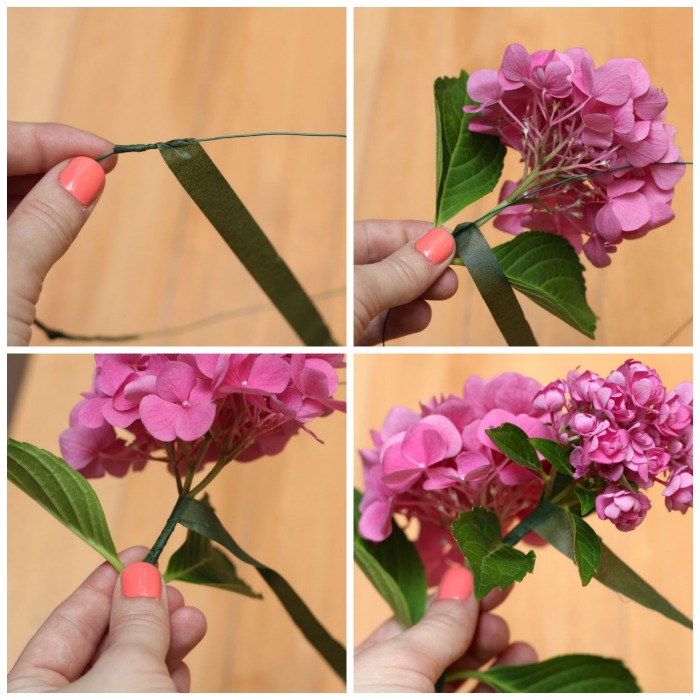
2. Link the ends of the wire together to form a circle the size of your head. Twist the ends of the wire around the band to secure it. Tape the ends with floral tape to prevent it from snagging on your hair.
3. Lay out the flowers in the design you want. You can go all the way around your head, or just put some flowers in the front. You can make it asymmetrical, use a big bloom as a focal point, or use a bunch of small flowers for a dainty look. Add greenery for a more natural look. The sky’s the limit!
4. Starting at one edge of your design, start wrapping the floral tape around the wire to anchor it to the wire. Add the blooms one at a time and line the stem up along the wire. Wrap the tape around the stem and wire to secure the flower. Continue with the remaining flowers until you’re happy with your design! You can go back and add floral tape where necessary to secure the blooms.
5. Depending on the heat and the type of flowers you use, these can start wilting fairly quickly. If not using right away, store in the refrigerator until ready to use.



What fun little crowns! Love all the fresh flowers. We should all wear flowers in our hair more often.
Also – HOLY BLOG MAKEOVER!!!!! I <3 <3 <3 <3 it!
PS. I've been carrying mail for you around in my purse for almost two weeks hoping to find a mailbox but always forgetting it's in my purse. I'd make a terrible mailman. Someday you'll get it;)