This isn’t the first time it’s happened. We have a lot in common and like a lot of the same things. So we do occasionally have remarkably similar ideas for A&C posts. And usually we figure out a way to make it work, because they’re different enough.
But this week we both had vases planned. Not just any vases, either. Both of our vases turn drinking vessels into vases. And we didn’t think you guys would be very excited about TWO “alcohol-containers-turned-vases” posts. So we’re combining then into one and hoping that you like both of our ideas!
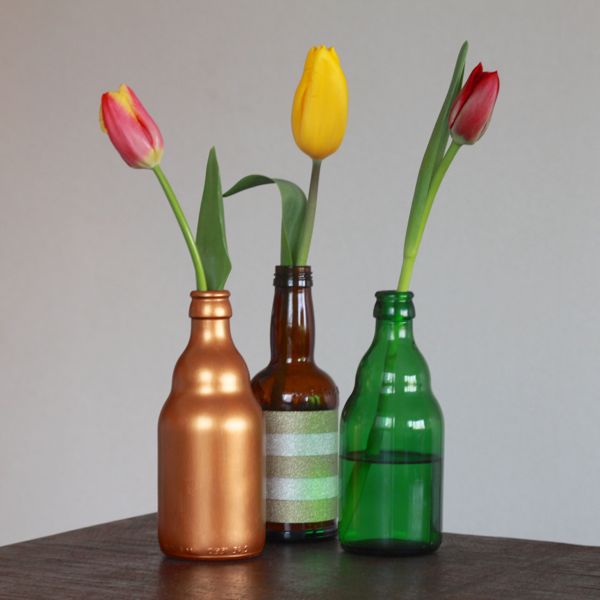
Alyssa’s post is about upcycling beer or soda bottles. It’s fun because you first have to DRINK whatever is in the bottle before you can continue. Choose bottles with a fun shape, like Vedett Extra White or Fentiman’s Ginger Beer.
- Glass beer or soda bottles
- All-surface or glass paint, and primer if you have some
- A paintbrush
- Washi or glitter tape
- Drink the contents of the bottle 😉
- Wash the bottle. Peel off any labels. A few minutes' soak in hot water usually does the trick. Try goo-gone if you still have glue remnants.
- Let the bottle dry thoroughly.
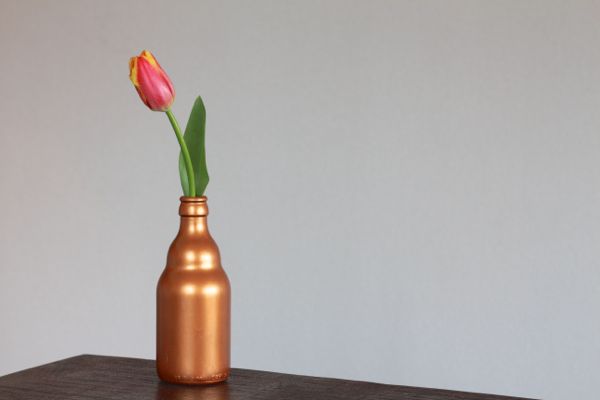
- For painted bottles, a primer would help. But it's not necessary, you'll just need an extra layer or two of paint. My metallic bronze bottle took 3 coats and a few touch-ups before I was happy with the results. Just apply one thin coat at a time and let the paint dry thoroughly between coats.
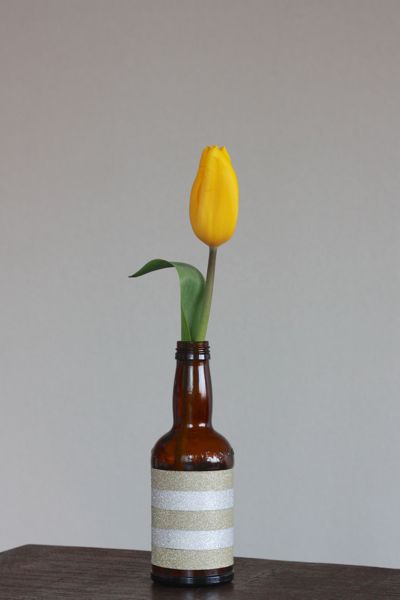
- My striped bottle is just alternating rows of gold and silver glitter tape wrapped around the bottle. You could also pick a few coordinating colors of washi tape and do the same.
Carla here, for the Carla portion of the vase idea!
My DIY bud vase journey really started last May when I was visiting Alyssa in Japan. We were shopping in Kappabashi when I happened upon the most lovely mint sake bottle. Even though it wasn’t intended to be a vase, I knew it would be just the perfect vessel for a single bloom. Since then, I’ve tried to come up with a way to jazz up sake bottles, which tend to be inexpensive and easily found. I quasi-destroyed several versions attempting to gold leaf them. I’ve successfully used gold leaf before, but something about the process wasn’t working: the adhesive was too runny, then the leaf wasn’t sticking to it properly. Oh, bother.
I’m still working on a gold leaf version since I’d love to be able to share how to get that sparkly shine you can only get from gold leaf paper, but in the meantime I LOVE this version. Make some for your leftover Valentine’s blooms when you bouquet starts to whittle down or start planning ahead for Mother’s Day or May Day or your next birthday party. (I also recommend getting carried away and decorating several to have on hand as a last minute table topper or gift! I now have 5.)
Two items, people. All you need are two items!
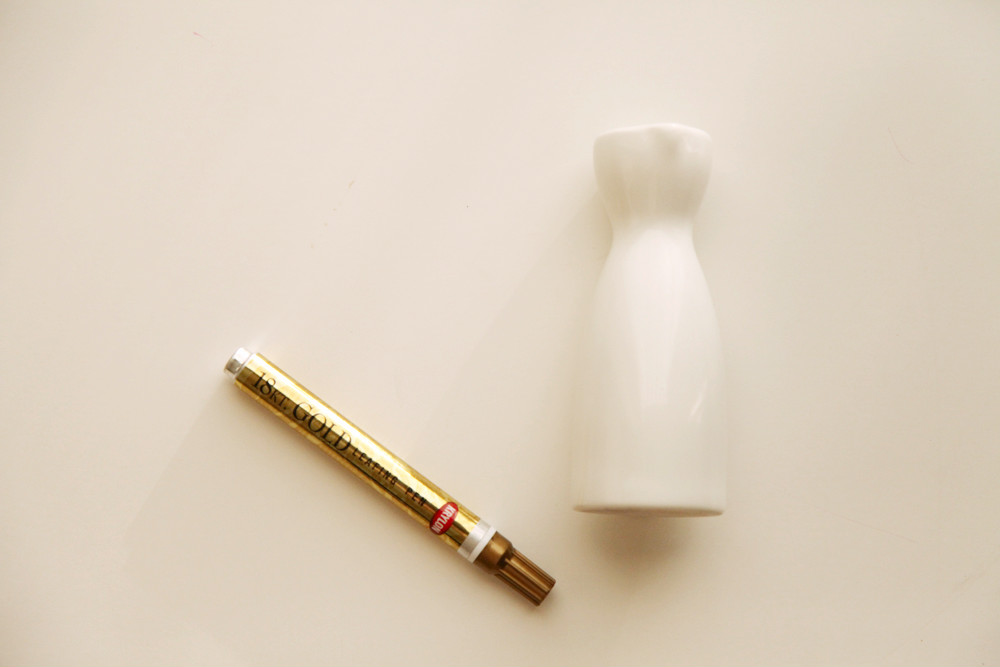
Grab a sake bottle and a gold leafing pen. This one is stocked at my local hardware store, right next to the specialty paints. In a pinch, Sharpies will work- but the color is not as even or as awesome. One word to the wise- go slow and expect the curves of the bottle. The pen glides so easily you want to careful about slipping around a smooth corner and getting ink where you don’t want it!
Use the pen to paint on your design and… voila! Pretty vase, you artist, you!
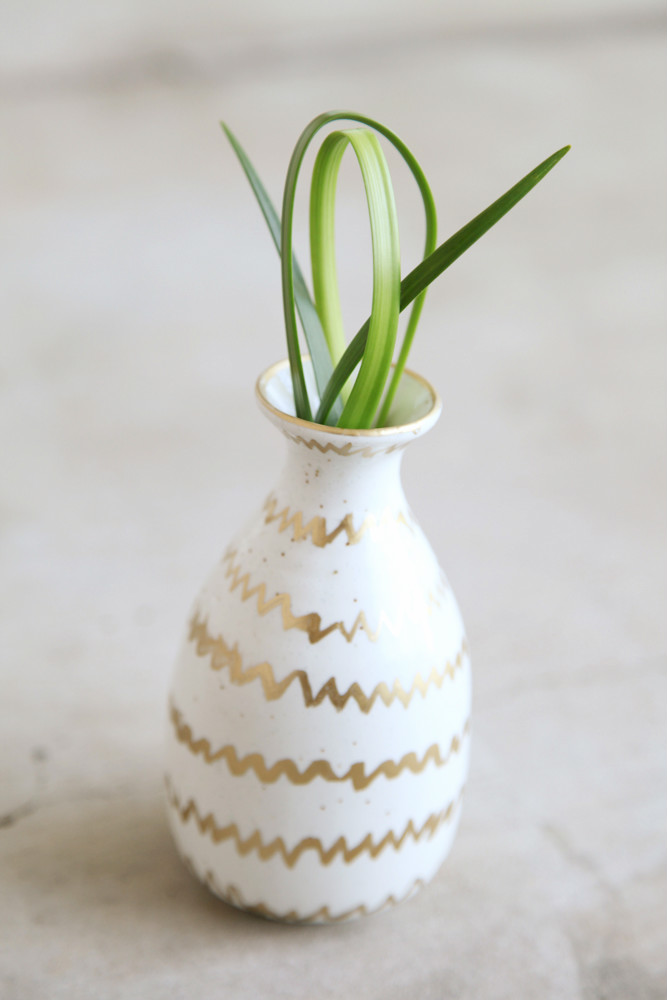
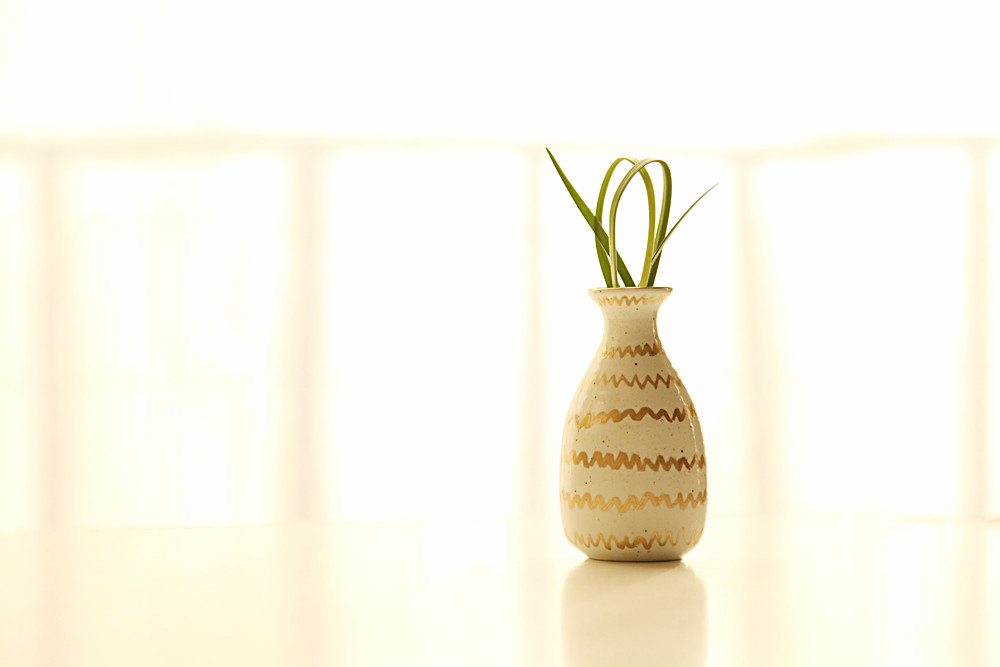
The sake bottle is definitely my favorite. I need to remember this! Sushi party this weekend, anyone? 🙂
Allison Katelyn @ https://www.SimpleSilverLinings.blogspot.com