I have a bit of a servingware addiction. To the point where I’m running out of room to keep things. Salad tongs, wooden bowls, pretty spoons, countless dishes and platters, etc., etc. I need to start giving a piece away for every new one that I buy or we’ll need to repurpose a closet soon! But my serving trays and platters won’t be going anywhere. They’re easy to store because they stack so well and are incredibly useful. Especially these dollar store trays that I gave a makeover! You can serve appetizers on them (bruschetta, anyone?), they’re the perfect size for tea or coffee for two, and they’re great for breakfast in bed (Valentine’s Day, hint hint).
Oh! And since these trays are lightweight, easy to clean, and aren’t breakable, they’re also great for picnics. Have you ever tried to set a wine glass down on grass or a picnic blanket? Dangerous! Use one of these trays to provide a flat surface. Hmm, can you tell I’m ready for spring? Already dreaming of picnics.
And if those truffles are looking pretty delicious to you, they’re the orange liqueur truffles from our DIY Box of chocolates.
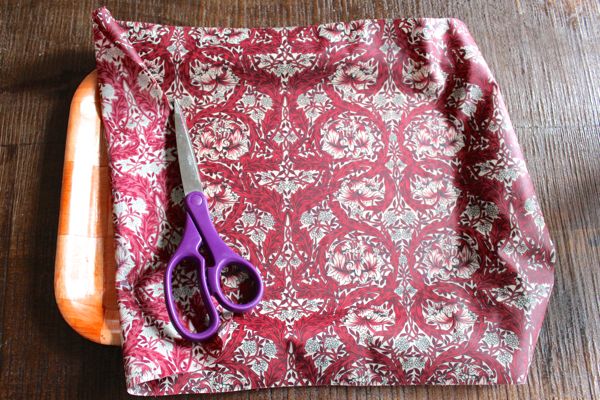
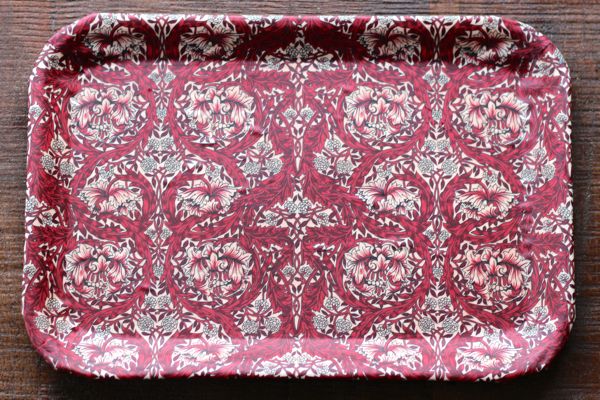
 I found some fantastic Art Nouveau-inspired Liberty printed fabric at my local craft store. Of course, I bought it last year and I can’t find this specific print or the laminated version of their fabric on their website. If you’re in Tokyo, the craft store Yuzawaya in Shinjuku has an absolutely amazing array of Liberty prints in different types of fabric, and they even have a rack full of Hello Kitty/Liberty collaboration prints. Anyway, for this specific fabric, the back is cotton while the front is a thin laminate, which makes it easy to glue onto the tray. And it’s flexible enough to bend into the corners and curves. I love laminated fabric because you can cut the edges without any fear of fraying and it will wipe clean easily with a damp towel. It’s terrific stuff! Especially if you can get it in a great print.
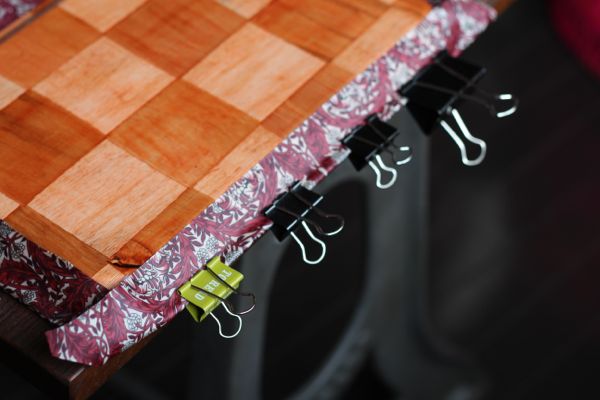
The tray I used has a little lip around the edge, which made things much more difficult! I had to glue the fabric down against the lip in a separate step, before step #5. I glued the lip down and secured it with binder clips, then let the glue dry. Then I was able to glue the rest of the back flaps onto the sloped edges. If you can find a tray without one of these lips, definitely use that instead.
One more tip: it really helps to have some patience with this project. Letting the glue dry between each step ensures that you don’t end up with any air bubbles or areas where the fabric gaps away from the tray.
What you’ll need:
A dollar store tray
Laminated cotton fabric (enough to cover the tray)
Tacky craft glue
Scissors
Paint brush
Binder clips
What to do:
1. Cut the fabric to fit the tip side of the tray and wrap around to the backside and cover the raised edges. It doesn’t need to cover the whole back of the tray, just the parts that sit above the table. The edges don’t need to be perfect, and you should leave yourself a little extra buffer so you can trim it later. If you’re using a printed fabric, keep in mind how you want the pattern displayed on the front.
2. Spread a thin layer of glue over the flat part of front of the tray. Don’t glue the raised edges yet. Position the fabric on the tray and press to glue down. Use books to weigh down the fabric. Let dry.
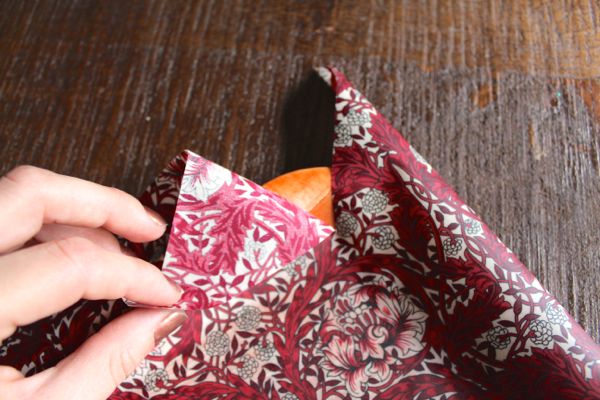
3. Cut a slit into each corner of the fabric. It should extend to where the flat bottom of the tray meets the slanted edge. We’ll need to overlap the edges, kind of like you’re gift-wrapping, and the slit will allow us to do that.
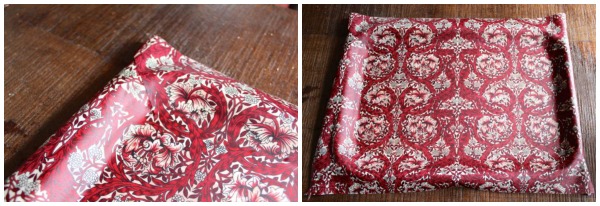
4. Spread a thin layer of glue over the slanted edge of one of the shorter sides of the tray. Press the fabric down and use binder clips to secure it into place until the glue dries. Repeat with the other short side. Then repeat with the longer sides, overlapping the corners and gluing them down. Your pattern will break, but that’s inevitable! Be sure to wipe any excess glue off the corners or it will dry a little bit shiny. Let dry.
5. Flip the tray over. Working with the short ends, glue the sides down onto the back of the tray. Use binder clips to secure into place. When you get to the curved edges, cut a few flaps that extend down to the edge of the tray. Overlap the flaps so that it creates as smooth of a curve as possible. Again, use binder clips to secure. Let the short sides dry.
6. Repeat with the long sides, securing with binder clips and letting dry. Trim any uneven edges. It’s ready to use.



Oh, binder clips… Is there anything they cannot do?? I was thinking about how we need a serving tray or two recently – might have to make a trip to the dollar store!
Allison Katelyn @ https://www.simplesilverlinings.blogspot.com
I know, binder clips are a DIY must-have!
I hope you can find a great print in the laminated fabric, Allison Katelyn. Let us know how it turns out (if you make it) 😉
I did this to a serving plate and bowl set with a Green Bay Packers theme. Everyone loved them!