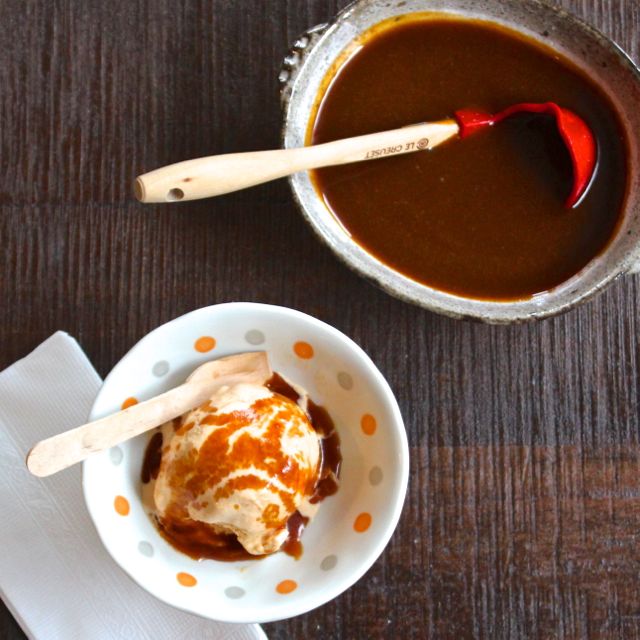
This ice cream is not too sweet, and has subtle hints of pumpkin pie spices (but not too much! I still wanted it to taste like pumpkin). While the ice cream is fantastic on its own, the caramel topping takes it from “wow” to “WOW!” This combination is absolutely amazing together. I really can’t stress how fantastic this recipe is! It’s the perfect fall/winter dessert. We served it at a dinner party and people were practically licking the container I had frozen the ice cream in to get the last drops.
I love Jeni’s Splendid Ice Cream‘s base recipe and technique for making ice cream. I use her base recipe because has the creamy texture of a custard-based ice cream but without the fuss of making a custard. It also keeps beautifully in the refrigerator for over a week without getting icy like many homemade ice creams do. (It may actually last longer than that. But ice cream does not stick around that long in our house!)
- 3/4 cup pumpkin puree
- 2 cups milk
- 1 tablespoon + 1 teaspoon cornstarch
- 1 1/2 oz cream cheese, softened
- 1/4 teaspoon sea salt
- 1 1/4 cup heavy cream
- 2/3 cup light brown sugar
- 2 tablespoon corn syrup
- 1/2 teaspoon ground ginger
- 1/2 teaspoon cinnamon
- 1/2 teaspoon vanilla extract
- pinch of nutmeg
- Make a slurry by whisking cornstarch together with 2 tablespoons of milk in a small bowl.
- Whisk the cream cheese and salt together in a medium bowl until smooth. Add the pumpkin puree and whisk until smooth.
- Combine the rest of the milk, cream, brown sugar, corn syrup, ginger, cinnamon, vanilla and nutmeg in a medium saucepan. Bring to a boil, cook for 4 minutes on a rolling boil.
- Remove from heat and whisk in the cornstarch slurry. Place back on the heat, and bring back to a boil. Cook until thickened (about 2 minutes), stirring often with a spatula. Remove from the heat.
- Whisk the milk mixture into the pumpkin mixture, 1 cup at a time.
- Jeni suggests that you pour the mixture into a large Ziploc bag and submerge in an ice bath at this point. I'm usually way too lazy for this. Since there are no eggs in this recipe, we don't have to worry about cooling them down right away. I let the mixture cool in the bowl on the counter for about 30 minutes, whisking frequently. Then I cover the bowl and refrigerate it overnight, churning the ice cream the next morning.
- Freeze according to your ice cream machine's instructions. Pour into a storage container and freeze for at least 4 hours before serving.
- This ice cream is not very sweet because I developed the recipe to be served with the caramel sauce. If you're not using the sauce, you may wish to add a few tablespoons of honey in step 2.
- Also, this would be amazing with the caramel sauce as a swirl in the ice cream itself. I wanted to give people the option of not using the sauce, but if you want to go for drizzle 1/2 cup of warm caramel into the ice cream machine while it's running. Do it right before you turn off the machine, or the caramel will be more incorporated into the ice cream and less of a noticeable swirl in the ice cream itself.
- 1 cup sugar
- 1/4 cup water
- 1/2 cup whipping cream
- 1/2 teaspoon vanilla extract
- 1/2 teaspoon sea salt
- Combine sugar and water in a small, heavy saucepan. Stir over medium-low heat until the sugar dissolves.
- Increase the heat to medium-high. Swirl the pan periodically to prevent burning but don't stir it. Use a wet pastry brush to brush down the sides of the pan and prevent burning as well. Cook until the syrup is deep amber color (but be careful, if it gets too dark it will become bitter). Depending on how hot your burner is, this could take 8-15 minutes. I'm afraid of burning the caramel, so I keep my burner a little on the lower side and it tends to take me longer! Remove from the heat.
- Slowly add the cream. Be careful! It will bubble up like crazy and you will mildly panic, so only add a tiny bit at first. Once the mixture cools down a little bit it will stop bubbling so much.
- Return to low heat and stir in the vanilla and salt. Stir until the caramel is smooth. You will be tempted to taste it at this point, but please don't! It will burn your mouth, and caramel burns are nasty. Let it cool off the heat for a few minutes before tasting and adjusting vanilla or salt.
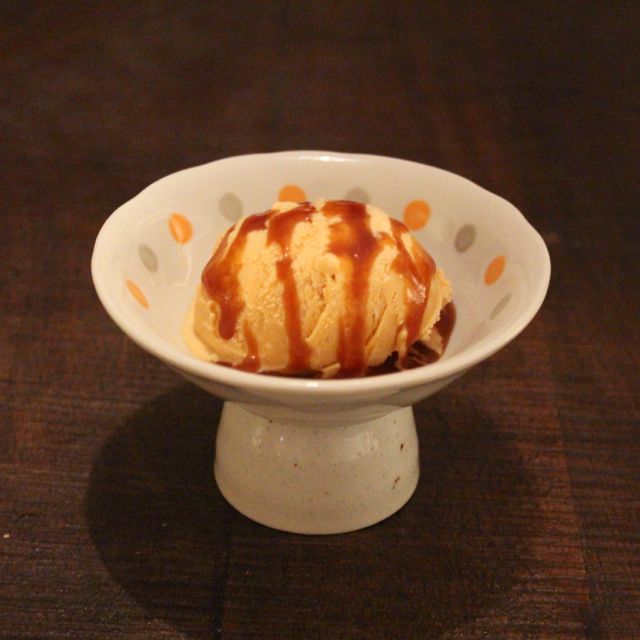
P.S. I just realized today that these cute bowls from my DIY serving dish post also make perfect ice cream dishes! Multi-purpose, I love it!

Is it getting creepy that I love ALL your posts?! That’s what you get for having tastes identical to mine! I adore Jeni’s, and this is perfect balance of flavors in my mind. Salted caramel sauce belongs on everything, anyway. Everything.
Everything.
It just means we’re awesome 😉