Growing up, my family drove everywhere because my dad doesn’t fly. In fact, I didn’t set foot on an airplane until my first year of college. That didn’t stop us from taking yearly summer vacations, which usually centered around following the Cleveland Indians to an away game and visiting different ballparks around the country. Now that we’re older, my brother and I tend to fly anywhere longer than a 5 hour drive away. But my parents continue their epic road trips, and they have done the trip from Ohio to California at least 3 times, maybe 4. I’ve never done that; my longest trip was from Ohio to Florida to visit Disney World. Yes, it’s was a very long trip, but we read books, played games and stopped at interesting sights along the way. I don’t remember ever really being bored, and some of my favorite memories are from those family vacations.
As the person doing most of the driving on these trips, my father has probably logged twice as many hours behind the wheel in his fifty-some years than the average person sees in a lifetime. For his birthday, I wanted to do something to celebrate these wonderful memories and let him know how much I appreciated our vacations. That was the inspiration for this map collage.
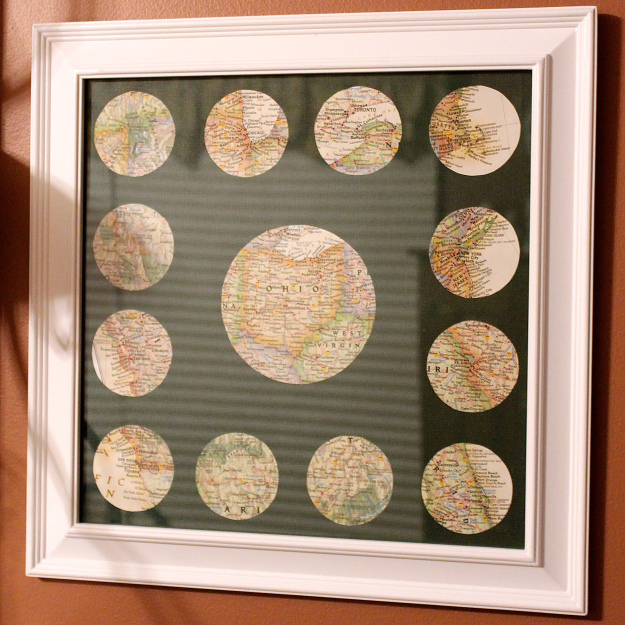
I chose our favorite locations and arranged them around a large cutout of Ohio. Some of my personal favorites were San Francisco, San Diego, Chicago, New York City and Orlando. I liked the idea of putting our home in the center of the collage, but you can arrange your locations however you like.
I had to plan ahead to order the map for this DIY, but once I had the supplies it only took about an hour to complete.
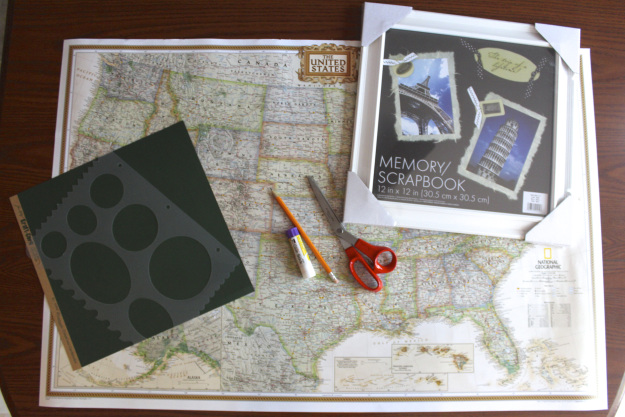
You’ll need:
- a map of whatever locations you wish to celebrate. I bought an executive poster-sized wall map of the US, since all of our destinations were in the US or near the US/Canada border.
- stencils in whatever shapes you wish to use. I used circles, but you could do hearts, squares or ovals really easily
- a frame
- paper for the background of the collage
- a pencil
- scissors
- a glue stick or rubber cement
Steps:
1. Plan out the locations you wish to use. Consider how many you want to do and how big each cutout will be while buying your frame.
2. Make sure the locations are spaced far enough apart that you have room to cut the stencil shapes out without overlapping.
2. Trace the shapes on the map using the stencil and a pencil.
3. Cut out each shape.
4. Arrange the cutouts on the background paper and glue down.
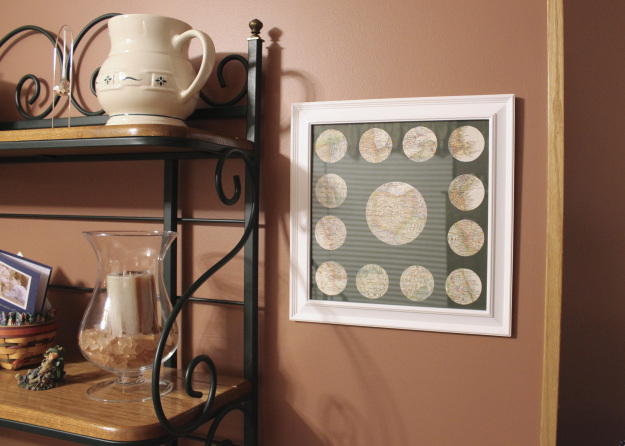
5. Frame, hang, and enjoy!

This looks lovely, and I love the story behind the collage! xx
http://www.jessthetics.wordpress.com
Thank you! It was a fun project to work on 🙂