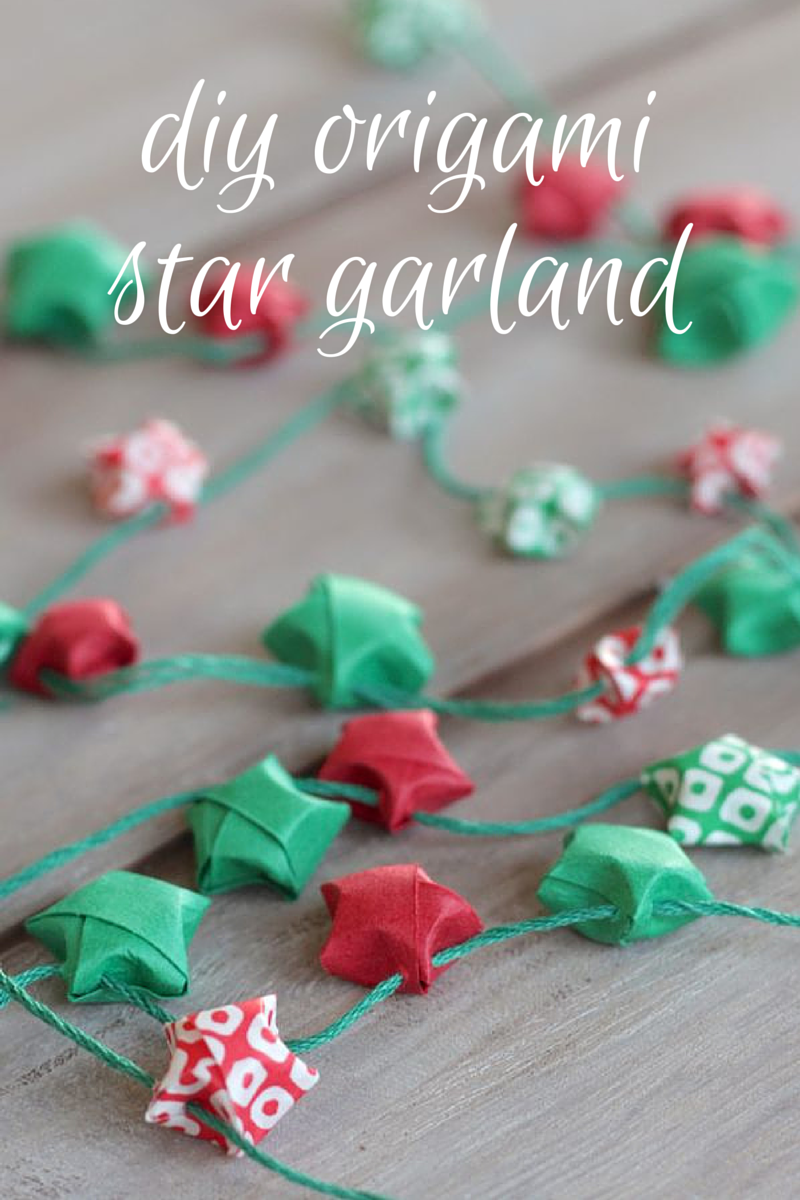
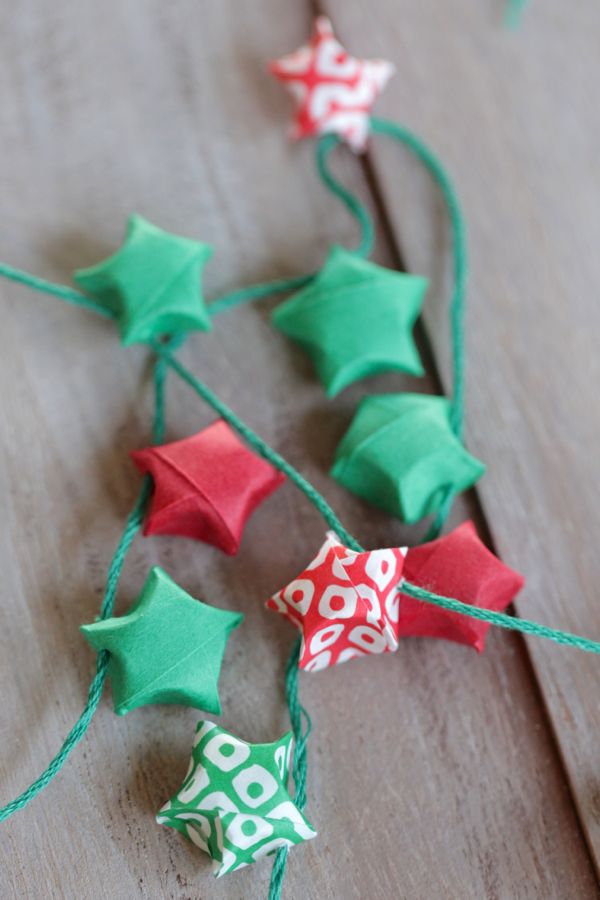
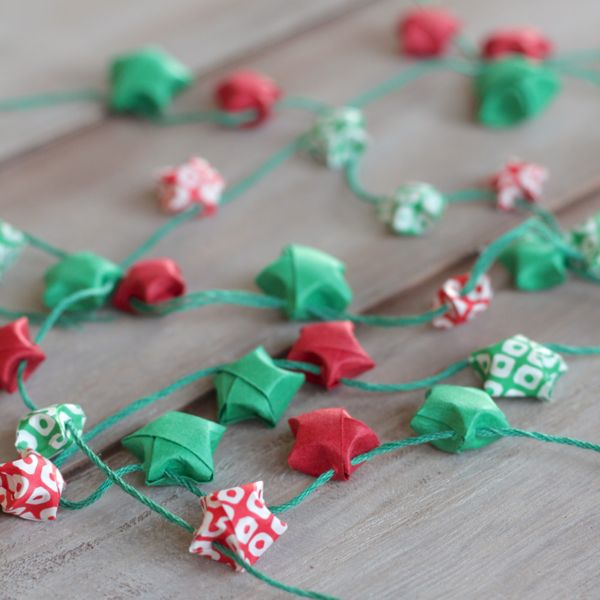
I loooove my tv shows. I think most of us do. But I can’t just sit still and watch most of them (exception: Game of Thrones). I need to do something with my hands, to be productive. This origami star garland is the perfect, mindless way to keep my hands busy. Once I got the hang of making the stars, they took about 90 seconds each to do. Spread this project out over a few nights, and you’ll be caught up on your tv shows AND you’ll have some lovely, unique holiday decor.
Another bonus: this is a really, really cheap decorating project! All it takes is a few sheets of paper, a skein of embroidery floss, a needle and some time. I think you could probably make enough garland to decorate an entire tree for a few dollars and about 6 episodes of Lost, which is my current show (yes, I know! But I haven’t seen it yet). Enlist some help from others and it’ll be done even faster.
How to make the stars:
What you’ll need:
Paper in the colors or patterns you want (origami paper is great, as is something a little thicker. Avoid anything too thin, I tried using metallic paper and only about 1 in 3 actually worked)
A paper cutter or a ruler, pencil and scissors
How to fold them:
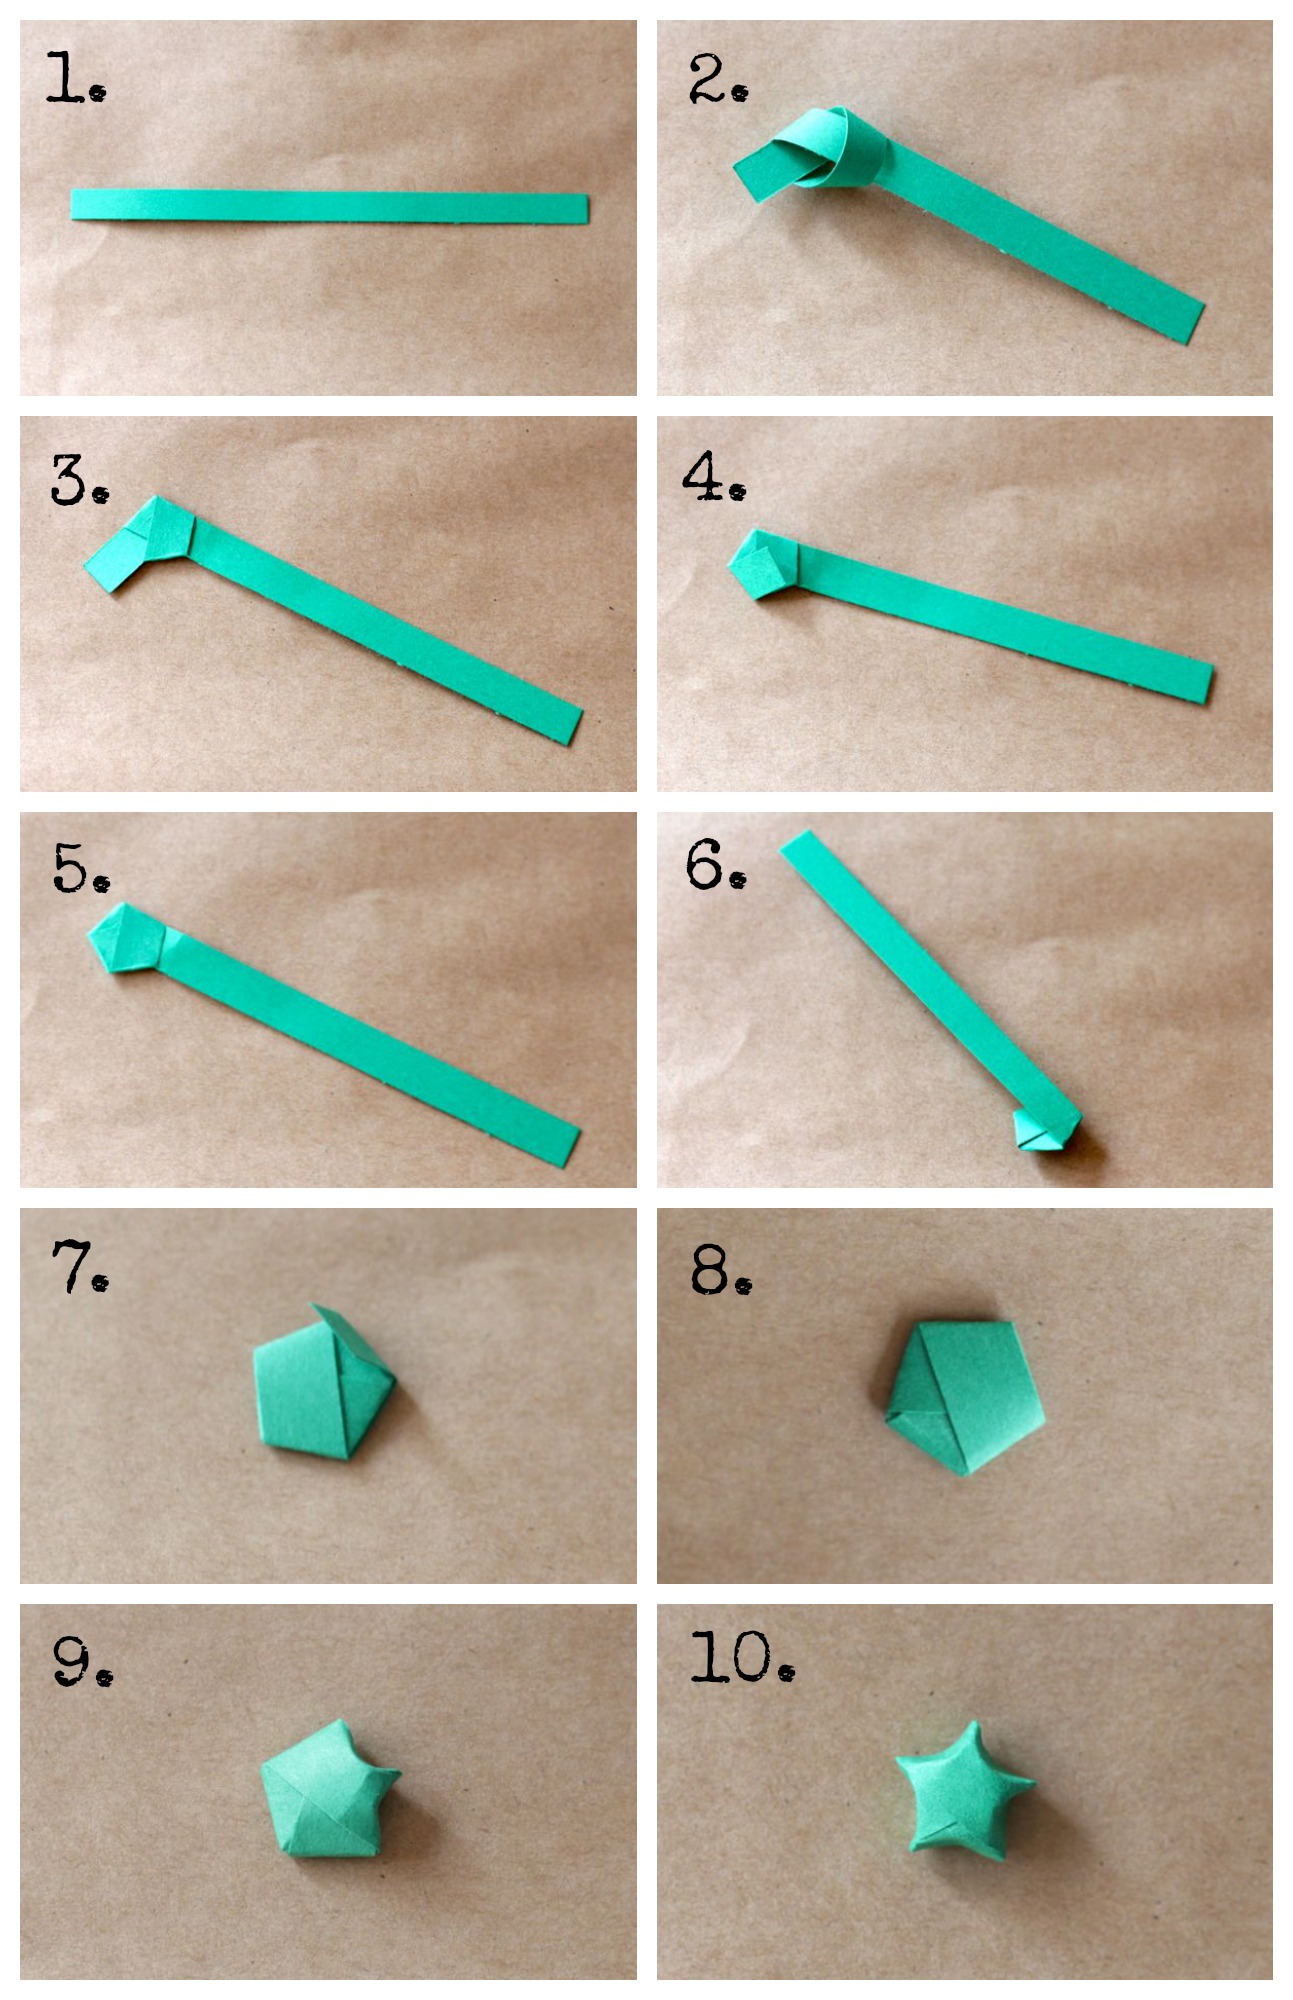
1. Cut as many strips as you need. I cut them to slightly different widths so the stars would be different sizes. They were between 3/8 inch and 1/2 inch wide, and 6-7 inches long.
2. Tie a knot toward one end of the strip. Leave just enough room at the short end to tuck it back into the knot when you’re done.
3. Crease the knot to form a tight, flat pentagon with a short end and a long end.
4. Fold the short end back toward the pentagon and crease the edge.
5. Tuck the short end into the pentagon.
6. Fold the long end of the strip back over the pentagon and crease the edge.
7. Continue to fold the strip around the pentagon, now loosely creasing the edges as you fold it. Stop once the strip is too short to fold again. You want it to long enough to be able to securely tuck it into the pentagon. If it’s not long enough, cut off the last fold to create a new end.
8. Tuck end into the pentagon.
9. Pinch each corner of the pentagon between your thumb and forefinger to create an indentation.
10. Continue with each point until the star is defined.
How to make 9 feet of the garland:
About 50 origami stars
9 feet of embroidery floss or string
A needle with an eye large enough to thread the string
String the stars:
1. Tie a knot in one end of the string. Thread the needle through the opposite end.
2. String the stars on the floss, spacing them about 2 inches apart.
3. Once all the stars have been strung, tie another knot at the end.
P.S. If you like this idea, try our origami heart garland as well!
One Year Ago: Two savory roasted appetizer skewers. One with roasted apples & sweet potatoes, chestnuts and rosemary. The other with roasted brussels, mushrooms, shallots and balsamic. Perfect for Thanksgiving or Christmas!
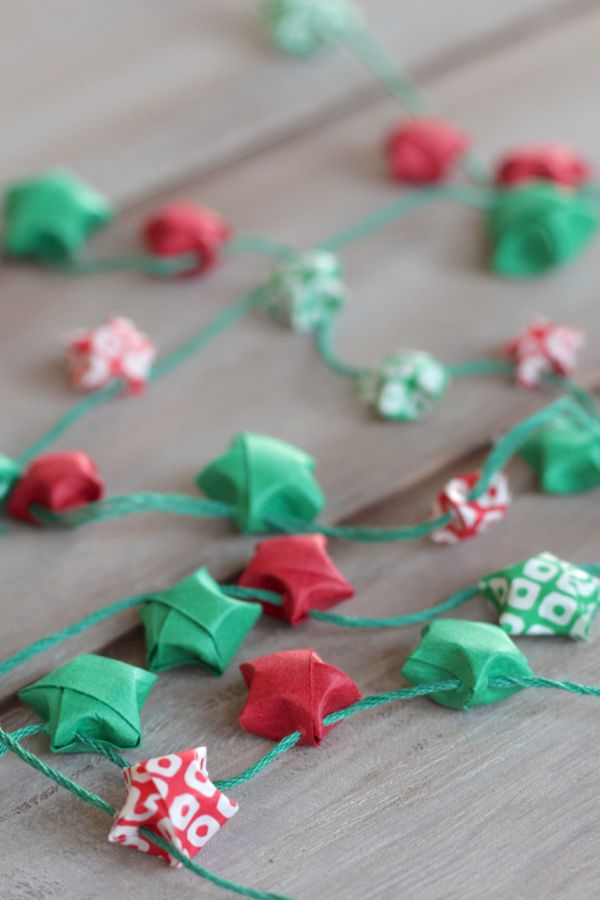
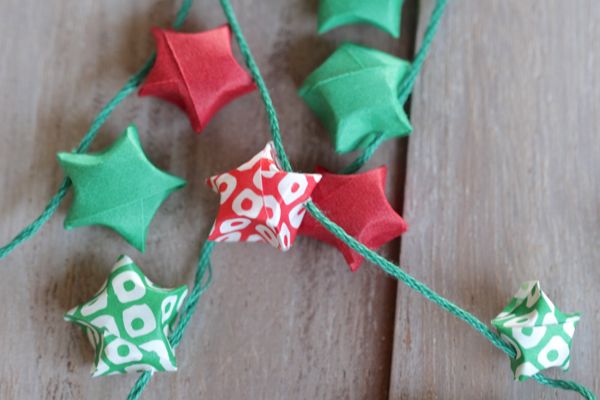

What a cute garland! I used to make these stars all the time as a kid but I didn’t think to use them for my Christmas decorations. Love it.
Thanks, Alicia!
This is really adorable. I’m so impressed!! I’m the same way about not being able to just sit and watch TV, but I’m usually on my laptop or phone instead of making cute crafts. Maybe I need to try this!
Thanks, Andi! It does take some time, but it’s so cute that it’s worth it 🙂
Oh. My. Gosh! These paper stars were ALL I would make when I was in middle school! Every girl in school was in love with making a mass of them for their boy crush – LOL!
Did you know there’s a version just like this but instead of paper, it’s made out of plastic straws? (like drinking straws but super long.)
-K
Hi Kayiu, I have seen the straw ones, yes! but I like being able to make them in pretty prints and colors 🙂
What a cute idea!
Hi made a ton of these to hang from the ceiling in my office. We all have a cubicle and we have a decorating contest each year. The theme this year is “green” to be interpreted in any way. I made all my stars in shades of green strung on green twine. People at work can’t believe I made them. Thanks for the idea and instructions.
Hi Krista! That sounds so amazing! We would absolutely love to see a picture, can you send something? Maybe email us at alyssaandcarla(at)gmail(dot)com, or tag us on facebook, instagram or twitter. We’re so glad you liked the project.
Thanku this is verry nice star