A couple months ago, I posted a tutorial to make your own Etched Gifting Jars (go there if you still need some fun packaging for your holiday treats!) and we’re back with a SECOND easy-peasy way to get that gorgeous look- this time on ornaments for your tree!
These easy monogram etched ornaments are a perfect afternoon craft for your own tree and would be such a great gift! I love the idea of whipping up a tray for someone who is celebrating their first Christmas in a new house or is just married, but I’m not above creating several for my very own tree.
The technique on these is different than the above-mentioned gifting jars: instead of using etching cream we’re using a specialty spray that most people use to frost windows for privacy. The bonuses here are that you’re more likely get an even look (especially if you go slow and use several coats) and that you can do several at once, factory-line style! Another bonus: while the spray that I used specifically comes in white, there are also very similar stained glass versions with the some benefits housed in the same aisle at the hardware store. I’m going back to try a pretty green stained glass version of these!
- plain glass ornament balls
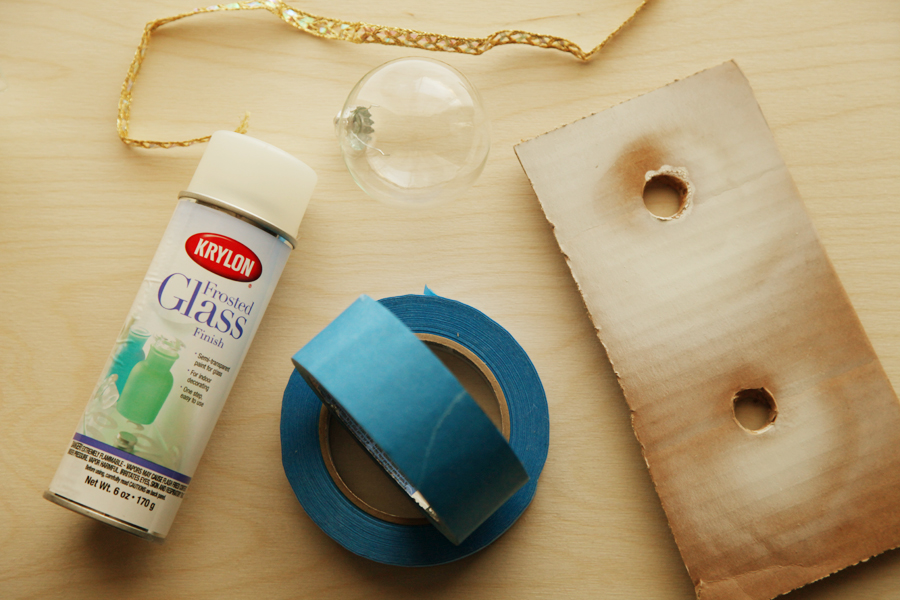
- painter's tape (different sizes)
- letter stencils
- frosted glass spray paint (there are several manufacturers who make it, I'd ask an associate at your hardware store)
- cardboard
- ribbon to hang
- scissors/X-Acto knife
- Remove the metal toppers from your glass ornaments. (Be careful with these as they tend to be very flexible and if you're too heavy-handed you may warp them and make them hard to re-insert.)
- Prepare your cardboard by poking holes into it and widening the holes just enough to be able to stick the top of the ornament into it (upside-down). I was able to do this very easily with a pair of needle-nose pliers, rotated in the cardboard about two inches down the handle.
- Prepare your monogram stencil by tracing the outline onto your painter's tape. Cut out with scissors or X-Acto knife.
- Adhere stencil to the glass ornament, taking care to firmly press all edges so that paint won't seep through.
- Once all ornaments have their designs adhered, take yourself out to a well-ventilated area and shake your paint can for a few minutes.
- Spray your ornaments from about a foot away from several different angles to ensure you're coating the whole ball. (You may wish to read the manufacturer's directions in case there are additional tips.)
- One thick coat will work, but will generally lead to some dripping. It's best to apply several coats (about 4-5) that are thinner, allowing about 5 minutes of dry time between coats.
- Let dry for at least 30 minutes, or overnight (if you're me).
- Remove all tape from your ornament.
- Replace the metal ornament tops and hang ribbon through the hanger. Ta-da!
- If you can't find letter stencils, you can certainly use letter stickers themselves. I would be prepared with some Goo Be Gone (or other adhesive remover) if so, as these can be much stickier and might be harder to remove.
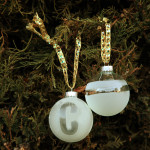
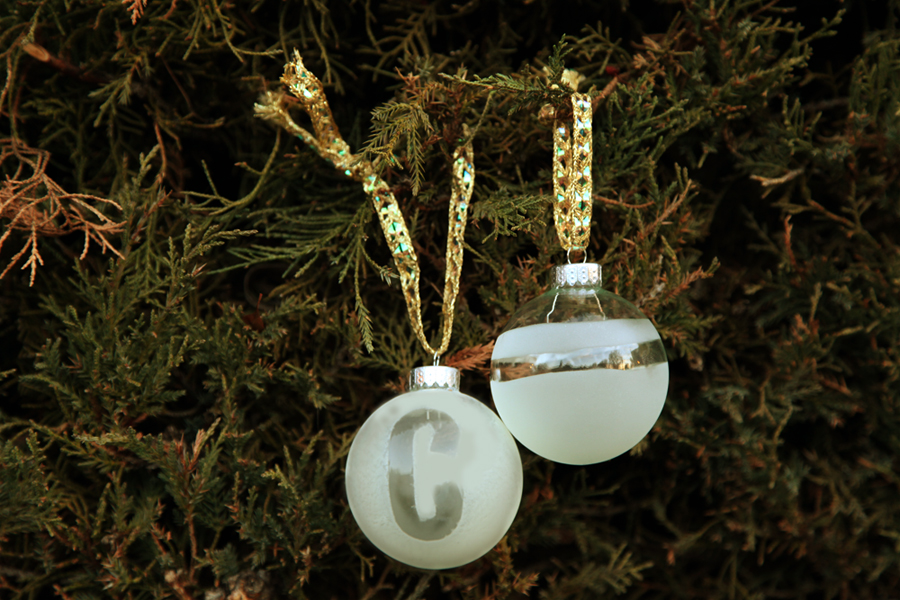
- Of course, other designs are just as easy. The striped ornament in the photo above was just a few rows of painter's tape!


These are just gorgeous! And totally genius. I’m terrified of actually using etching cream because I feel like it’s so messy and creepily toxic, so this is the perfect answer! And such a great way to “etch” casserole dishes, etc., like I’ve seen a lot of DIY’s.. without the etching cream!
YES! EXACTLY! I don’t want to knock etching cream cause it definitely has its uses, BUT this is SO MUCH easier and I don’t have to wear gloves! I think it’d be SO easy to create an opposite monogram on a mirror or casserole dish with a painter’s tape stencil. Oooh, I’m re-excited just thinking of it! 🙂
Happy to send my address for taking test pieces off your hands! Haha!
If you use this for casserole dishes is it able to go into the oven? It is paint….
Cheryl- I’ve reached out to Krylon for some information, but their response this morning was about food safety, not the safety of the product itself in the oven (not touching food). I will update you as soon as I hear from them! 🙂
Hi Cheryl! Unfortunately, Krylon has confirmed that their frosting paint is not suitable for baking or use in the oven. -C
Thank you.. I figured as much- I was just concerned when Cheryl above said she would use on a casserole dish. Hope she doesn’t.