When I came upon this recipe for homemade peanut butter cups recently, I knew it wouldn’t be long before I tried them. Peanut butter cups are incredibly delicious and there are so many varieties to try now: milk chocolate or dark chocolate. Organic. Natural. Mini.
As I was gathering ingredients, I was sure I didn’t need to buy any peanut butter. Some people hoard canned foods, but I hoard peanut butter. There was simply NO way that I wouldn’t have some available for the recipe. I was elbow deep in chocolate when I actually bothered to look and, oh, hm, well. I only had chunky versions. Chunky natural, chunky organic, chunky almond. Nothing smooth, nothing creamy and certainly nothing “unsalted” (as listed in the original recipe).
I ended up settling on what could be considered the polar opposite of creamy and unsalted: natural super chunk. In my opinion, the chunks only elevated the filling and gave it an extra crunch that added texture and plenty of delicious flavor. Cutting down on sugar and substituting easily acquired chocolate chips made this one super easy, super tasty treat.
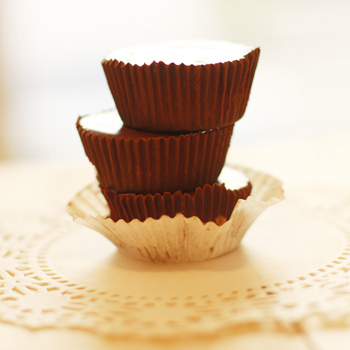
- 1 cup crunchy peanut butter (I used Skippy's Natural Super Chunk)
- 4 tablespoons unsalted butter
- 1/3 cup light brown sugar
- 1/2 cups powdered sugar
- 1 teaspoon salt
- 32 ounces high-quality chocolate (I used semi-sweet chocolate chips and they were excellent)
- Arrange mini cupcake wrappers on a baking sheet.
- Mix together peanut butter, butter, sugars, and salt in a bowl. I mixed by hand and wanted to be sure there were no lumps in either my brown or powdered sugar, so I blended those in another bowl first.
- Melt chocolate until smooth in a heavy bottomed saucepan over low heat on the stove top. (The original recipe has microwave instructions, but I can't speak to them because I don't have one! Definitely check it out if you want to go that route.)
- Transfer half to a heatproof measuring cup. Pour just enough chocolate in your baking wrappers to fill the bottom of the wrapper about 1/8 of an inch. Gently lift and drop the try once or twice to flatten out the chocolate, then place in the fridge for 10 minutes.
- While the chocolate is chilling, begin shaping heaping teaspoons of peanut butter filling into discs about the diameter of a quarter and setting them aside on parchment paper. Use an empty baking wrapper to help you with your size- you'll want it to be small enough that it can be completely covered in chocolate once placed in the wrapper.
- Remove the chilled chocolate from the fridge, then place each peanut butter disc into a cupcake wrapper.
- Transfer the remaining chocolate to your heatproof measuring cup. (You'll likely need to re-warm to make sure it will pour easily.)
- Pour into cupcake wrappers until peanut butter discs are just covered. Once you’ve covered all of them, gently lift and drop the tray again to even out the chocolate, then add more chocolate to the wrappers as needed.
- Place the tray in the fridge for 30 minutes.
- Head over to the original recipe to see some great recipe tweaks! Commenters have responded with lots of ideas, including sweetening with dates instead of sugar, sprinkling salt on top for extra flavor, and creating a peanut butter/Nutella center.
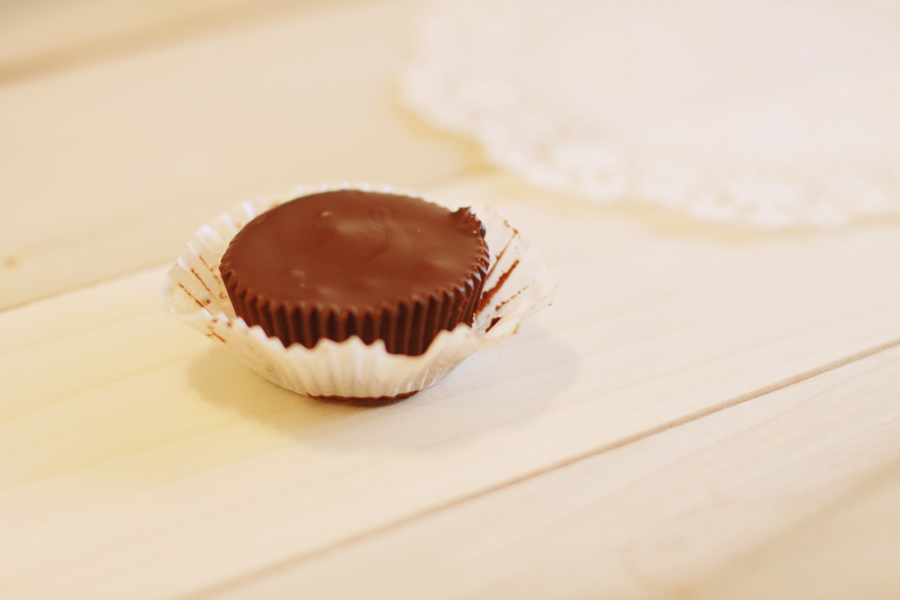
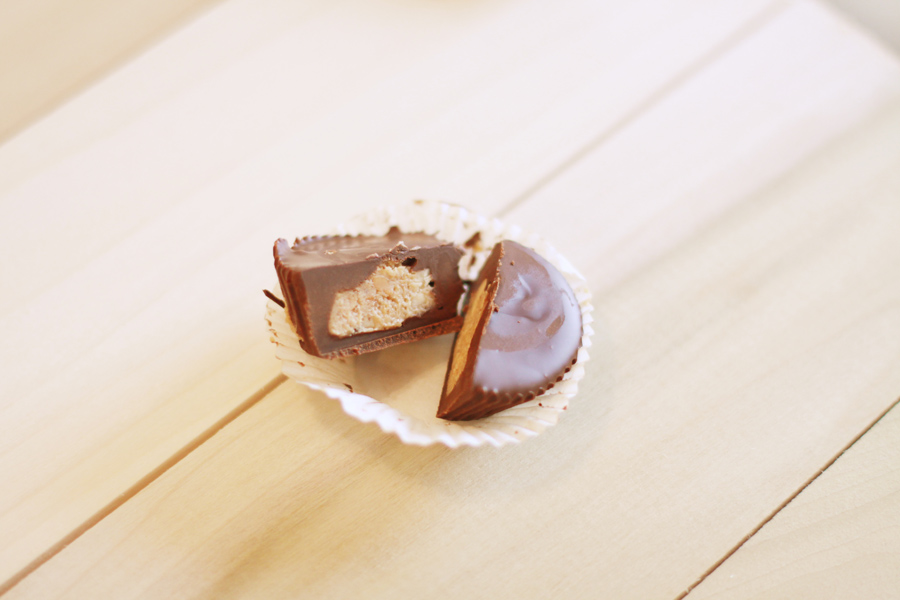
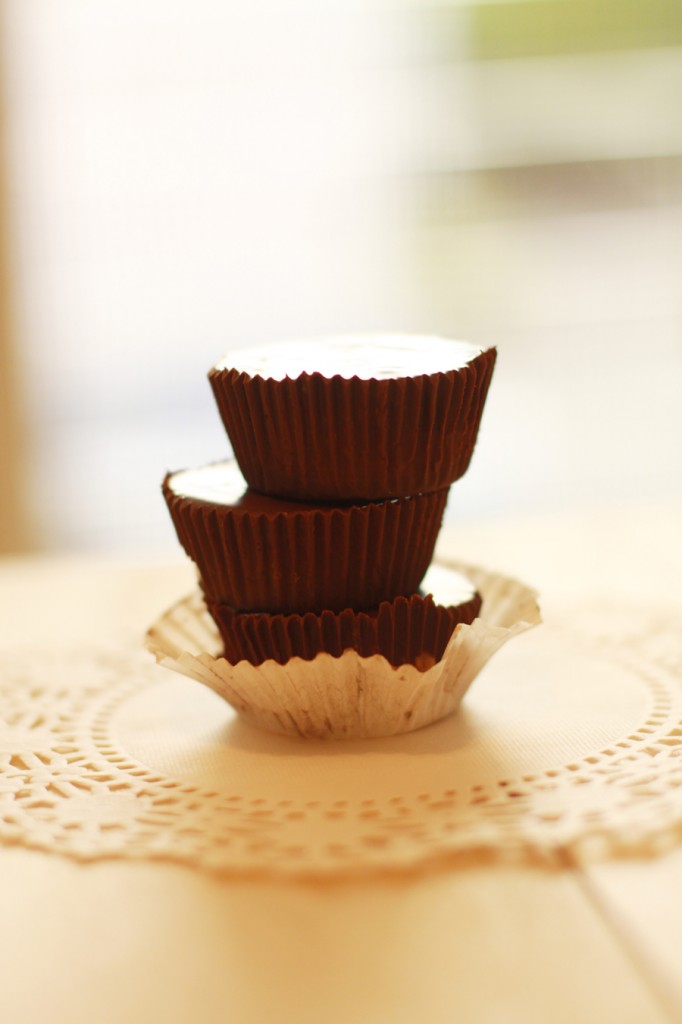
Oh my gosh, these look so yummy!!
Thanks, Hannah! They’re a total crowd pleaser too- hope you get a chance to make some of your own!
A few things missing…. How do get the melted chocolate to be liquid enough to work with? If I didn’t add milk I’d never be able to get it in the paper cups.
How do you form disks of the peanut butter? It’s so sticky it gets everywhere; impossible. Even putting peanut butter mix in fridge for a bit didn’t help.
That’s it.
Hi Alyshia! Let me do my best to answer your questions. 🙂
I was able to pour my chocolate quite easily once melted. It could be that you need to melt the chocolate further? I’m thinking it might be melted, but still relatively cool. I would suggest melting it a bit longer until it’s got a more liquid consistency.
For the disks, I used a spoon to scoop the proper amount of peanut butter (in a ball shape, straight from the bowl) onto the parchment paper. Once it was on the paper, I “shaped” it with my fingers and the back of a spoon into a round/flat shape. My peanut butter got easier to use after refrigerating a bit, so you may want to try about 30 minutes in the fridge (not sure if that’s longer than what you tried) and see if that helps! The discs will be sticky when you put them into the cup. If it’s TOO sticky for you to even work with, you may want to use wax paper to try to get the shape up from the paper more easily.
If you can’t get shapes to form, I might try adding globs right into the paper cups and flattening them a bit! Start with just a little and just make sure you don’t hit any of the edges so that chocolate can encase it in the final pouring step.
Hope that helps!