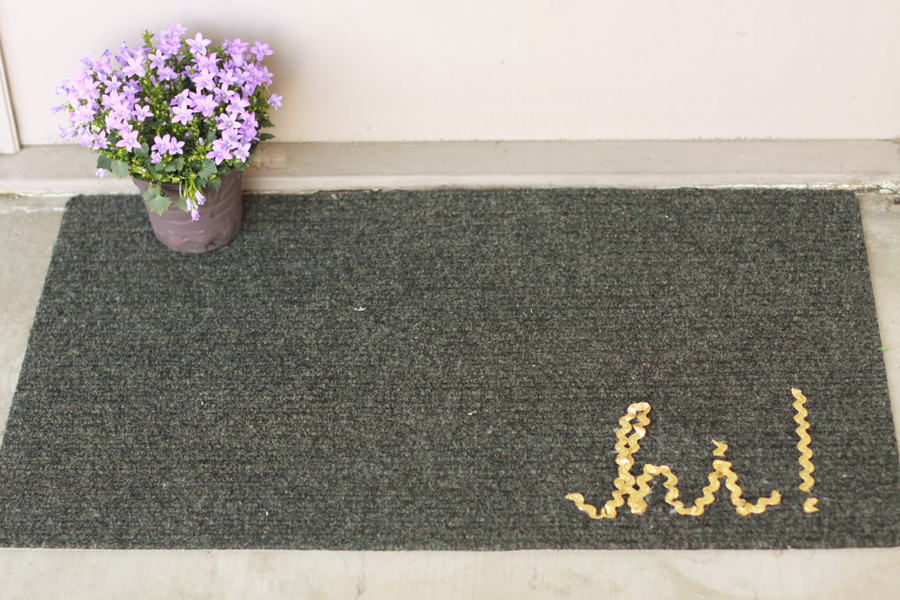
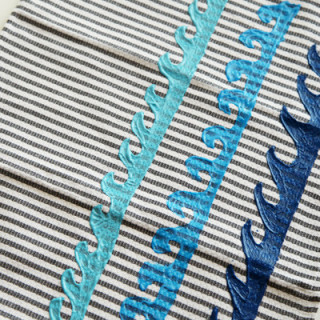
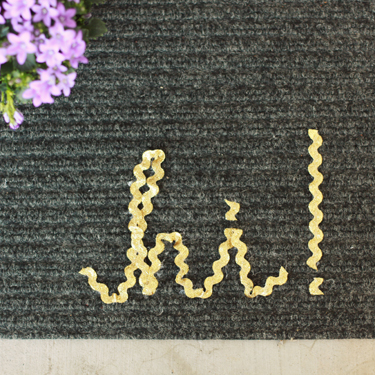
Love having a personal welcome at your door, but no space to store a new mat for every season? Enter the perfect solution: DIY bric-a-brac greetings with this welcome mat!
In addition to wanting something personal, I also prefer a thin mat (easier to wipe on, especially in CA weather where you’re not encountering heavy duty boots or snow). Applying the ribbon trim with a glue gun means it will last for several months without becoming unglued, but can also be easily pulled off and changed out for the holidays, a new look, even a party!
DIY Customized Welcome Mat
2013-10-22 21:20:42
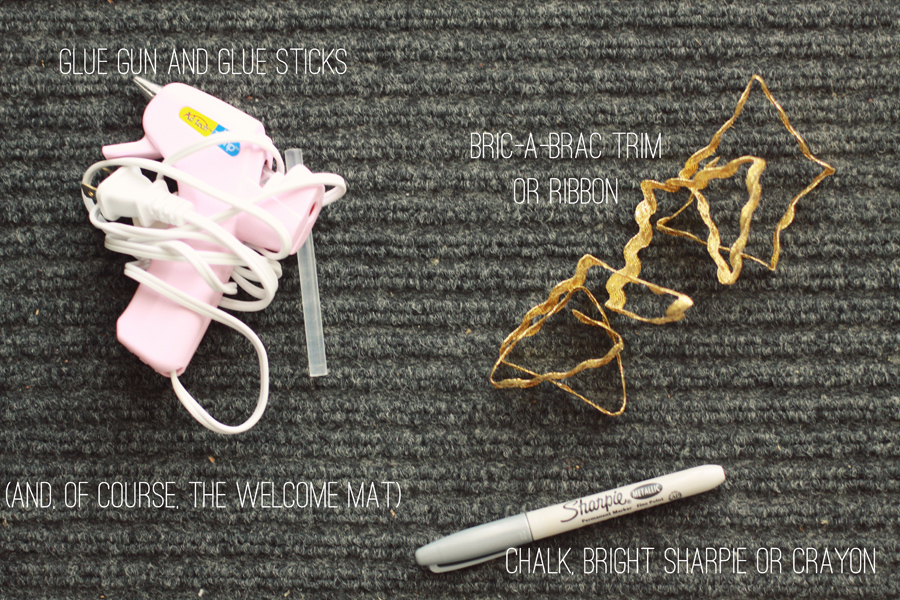
Ingredients
- glue gun and glue sticks
- bric-a-brac trim (or your favorite ribbon!)
- a welcome mat (mine is similar to: http://www.target.com/p/mohawk-home-ribbed-utility-doormat-gray-2x4/-/A-13742311)
- chalk, bright sharpie or crayon
- scissors
Instructions
- Make sure your mat is clean and free of debris- a quick shake should do it!
- Use your writing instrument to draw an outline of your design, giving yourself a pattern to follow with the glue gun.
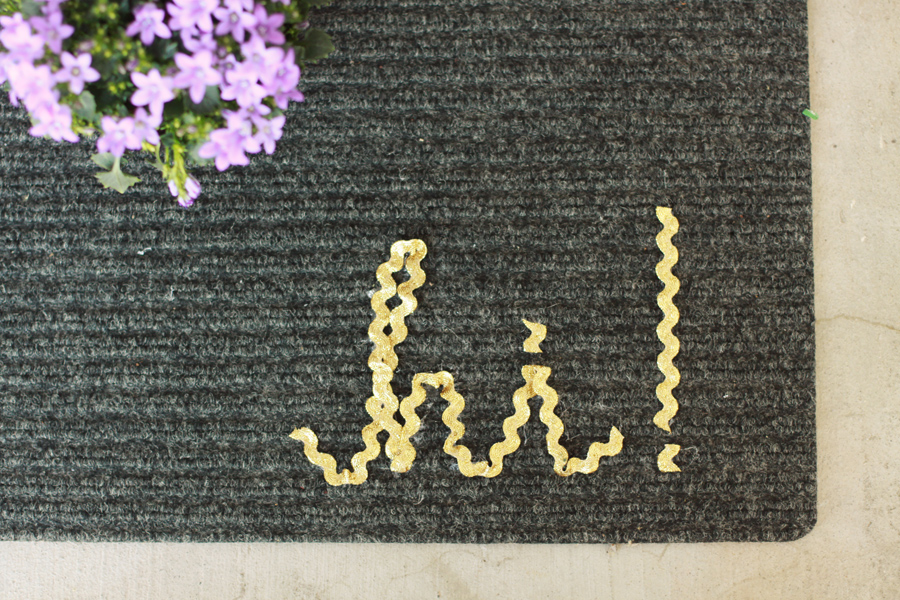
- Following your outline, apply two or so inches of hot glue to your mat. Follow with your ribbon, pressing firmly to ensure adhesion.
- Repeat until your design is complete. And that's it- all done!
Alyssa and Carla https://www.alyssaandcarla.com/
